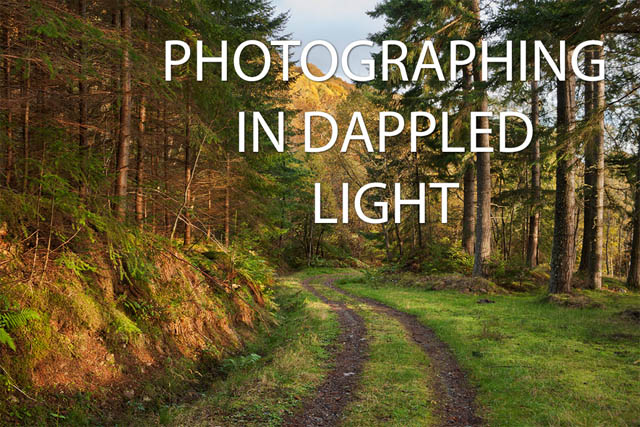
Photographing in dappled light
Dappled light is often found in woodland, or any time you are shooting under tree cover. As the light from the sun comes down through the trees, it gets broken into areas of light and shadow by the leaves. Depending on how dense the foliage is, the leaves can act like lenses, making spots of out of focus light on the forest floor.
There are a couple of issues when photographing in dappled light that can be difficult to deal with. The first is that the difference in tone between the shadow and highlight areas can be very large. This results in photos where the highlight areas are blown out and overexposed. The other issue is that the uneven pattern of dappled light typically doesn't work well for portraits. In this article we'll look at how you can overcome these issues.
Dappled light and portraits
When you're working with a specific subject in a scene there are quite a few things you can do to mitigate the effect of dappled light. This doesn't apply only to portraits, but any medium (or smaller) sized subject, such as a plant. You don't need to control the light over the whole scene, but only for your subject, which makes the job a lot easier.
For portraits, the most important thing is the subject's face. The rest of their body can be in dappled light, but if there is a pattern of light and dark areas across their face, it generally does not look good. So try and position your subject so that their face is in an area of shadow. Then use some fill flash or a reflector to light their face.
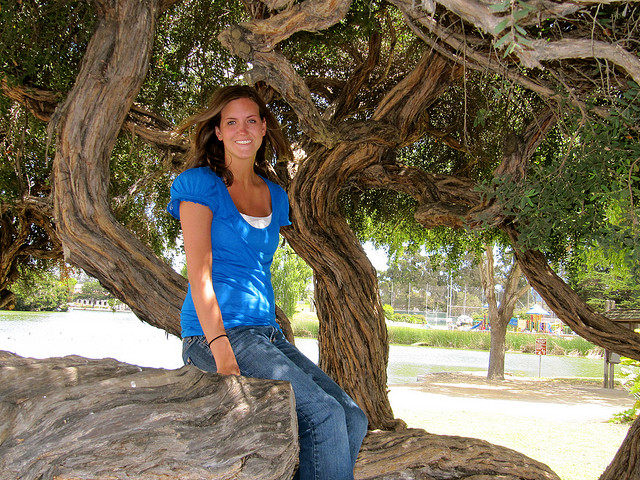
Gnarly meets beautiful by Rachel Kramer on Flickr (licensed CC-BY)
You may want to consider using a snoot or grid with your flash to create a narrow beam of light that will highlight only the subject's face. Doing this avoids the flash adding extra light to other areas of the image that may already be receiving a lot of light, which could result in those areas blowing out to pure white.
A similar option that can be used in many cases (though it does depend on the position of the sun), is to simply position the subject so that their back is to the sun. This will then result in their front side being in shadow. Add some fill flash or a reflector to brighten up your subject, and you can achieve a nice shot without the dappled lighting effect over the face.

Nico by Ian Muttoo on Flickr (licensed CC-BY-SA)
An alternative solution is to create your own shadowed area for the subject to stand under. This can be done by holding a scrim / diffusion panel above your subject to even out the light falling on your subject. This technique does require a stand or assistant to hold the panel above your subject though. Also, it won't be suitable if you want to frame your subject with a large gap above them (unless your assistant has really long arms like Mr. Tickle) as the panel would get in the frame.
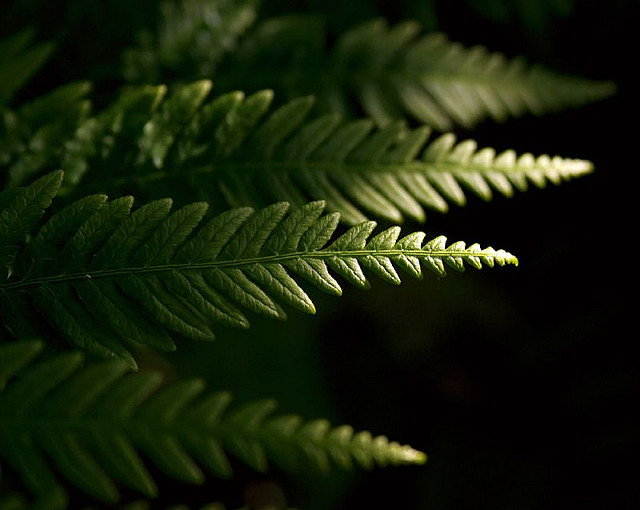
If you have a scene where there is a spotlight of bright light, then try positioning your subject within this area. Expose for the bright area, so the shadow areas become very dark. This can create a very dramatic image, with your subject lit in the small pool of light, contrasting with the much darker areas around.
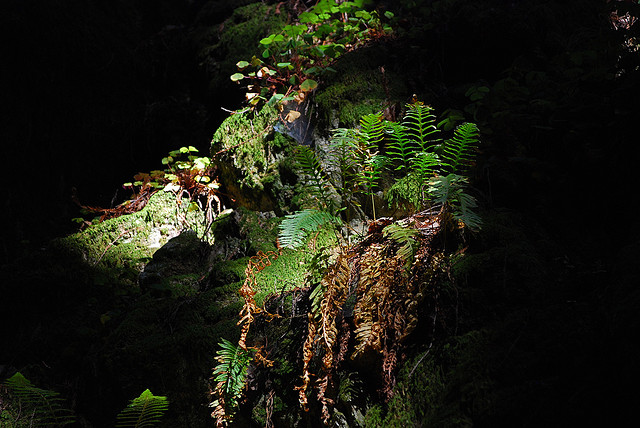
fern in the spotlight by Eric Chan on Flickr (licensed CC-BY)
Dappled light and landscapes
When you are capturing a wide scene covered in dappled light, then the main issue is the exposure difference between the highlight areas and the shadow areas. Most of the time this difference is too great for your camera to capture in its default exposure mode, and you end up with an image where the highlight areas are blown out white.
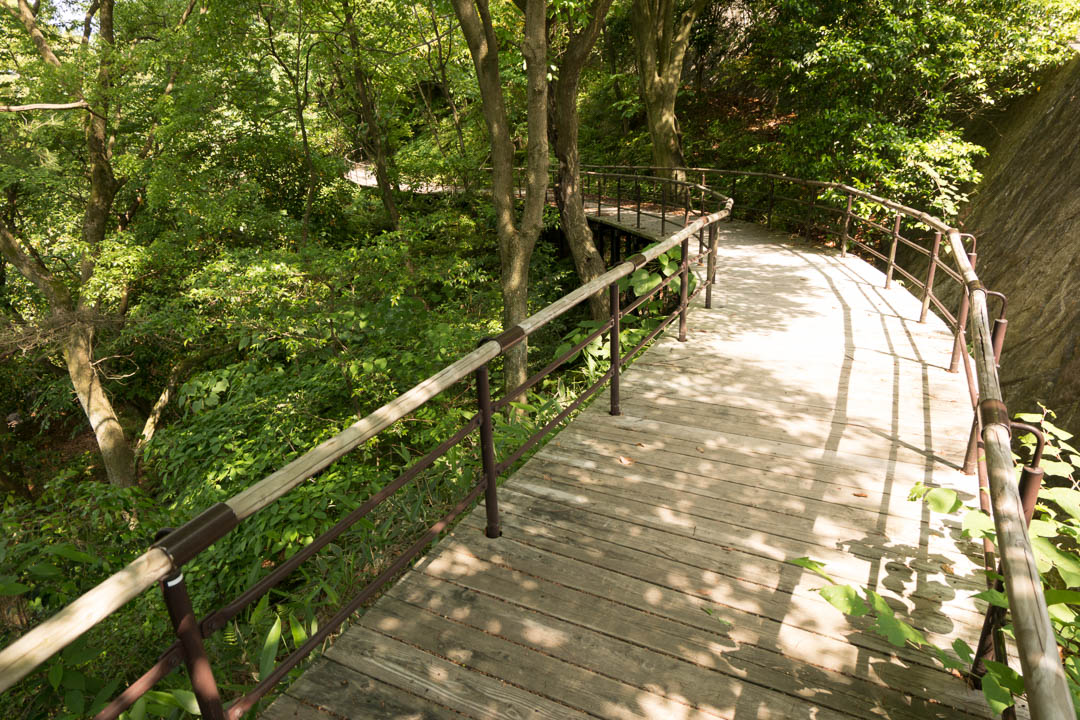
Although this image was underexposed by 1 stop compared to the metered reading, the highlight areas are blown out pure white
While it won't work for all scenes, one solution to this problem can be to purposefully underexpose the image to ensure you retain detail in the highlight areas. Then bring up the exposure in the rest of the image when processing it. To do this you want to ensure that your camera is shooting in RAW mode, as this captures a much larger range of tonal information than a JPEG image.
Then either use manual exposure mode to purposefully set the exposure settings to something less than what the camera's meter suggests for the correct exposure. Or use exposure compensation to dial in some negative exposure compensation.
You may need to make a couple of test shots to ensure you've dialed in the correct amount of compensation for an exposure that keeps the highlight detail. As well as reviewing the image on the camera's screen, the Histogram and Highlight clipping warning can aid you here.
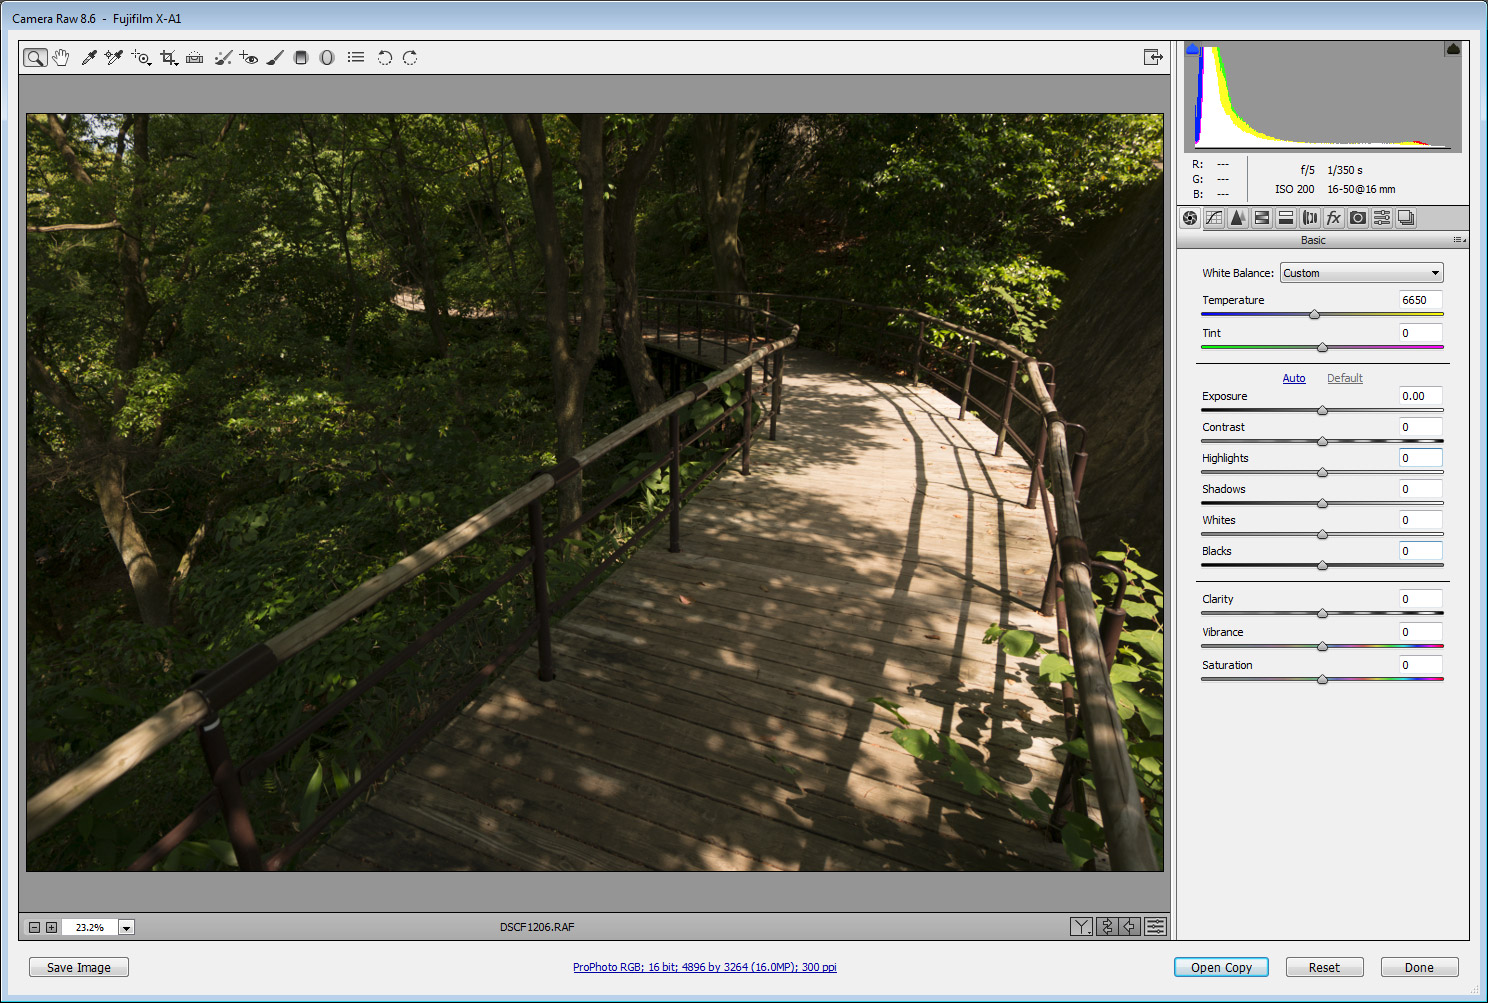
Image underexposed to keep highlight detail before performing any post processing
Then, when processing the image, increase the brightness of the shadows using your RAW software to 'undo' the underexposure, without blowing out the highlights. This technique does bring with it the possibility of introducing noise into the image.
In extreme situations you may find that you had to underexpose the image so much to keep the highlight detail that you've now lost shadow detail and shadows have gone to solid black. But modern cameras are generally very good, and these potential issues are usually not a big problem.
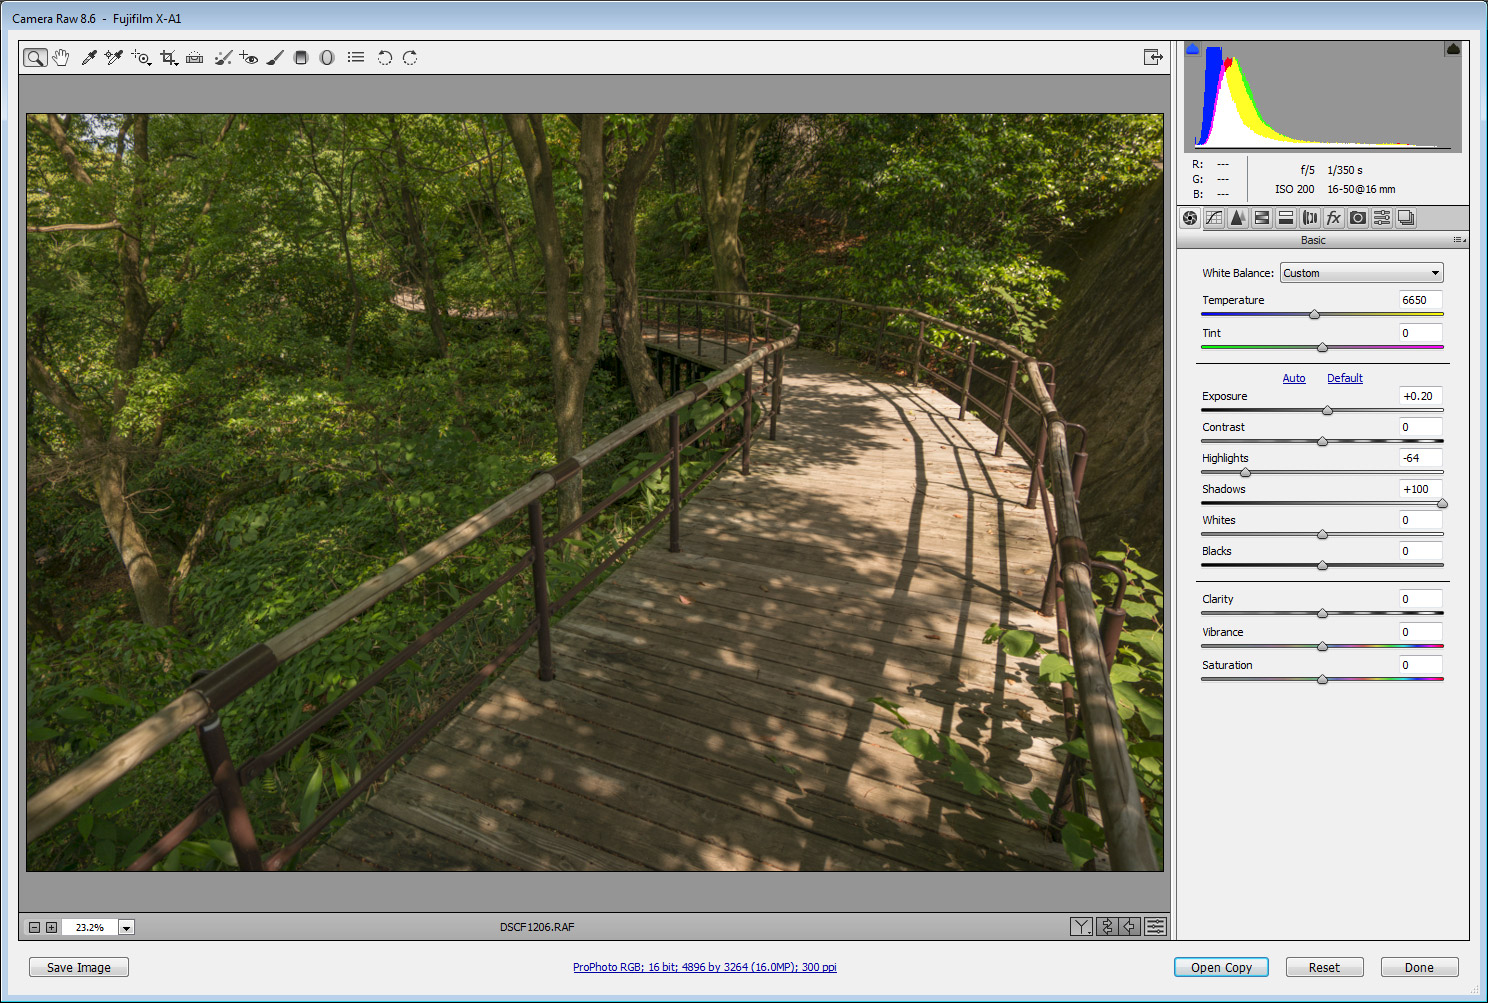
Image exposed to keep detail in the highlights after performing adjustments to brighten the shadows
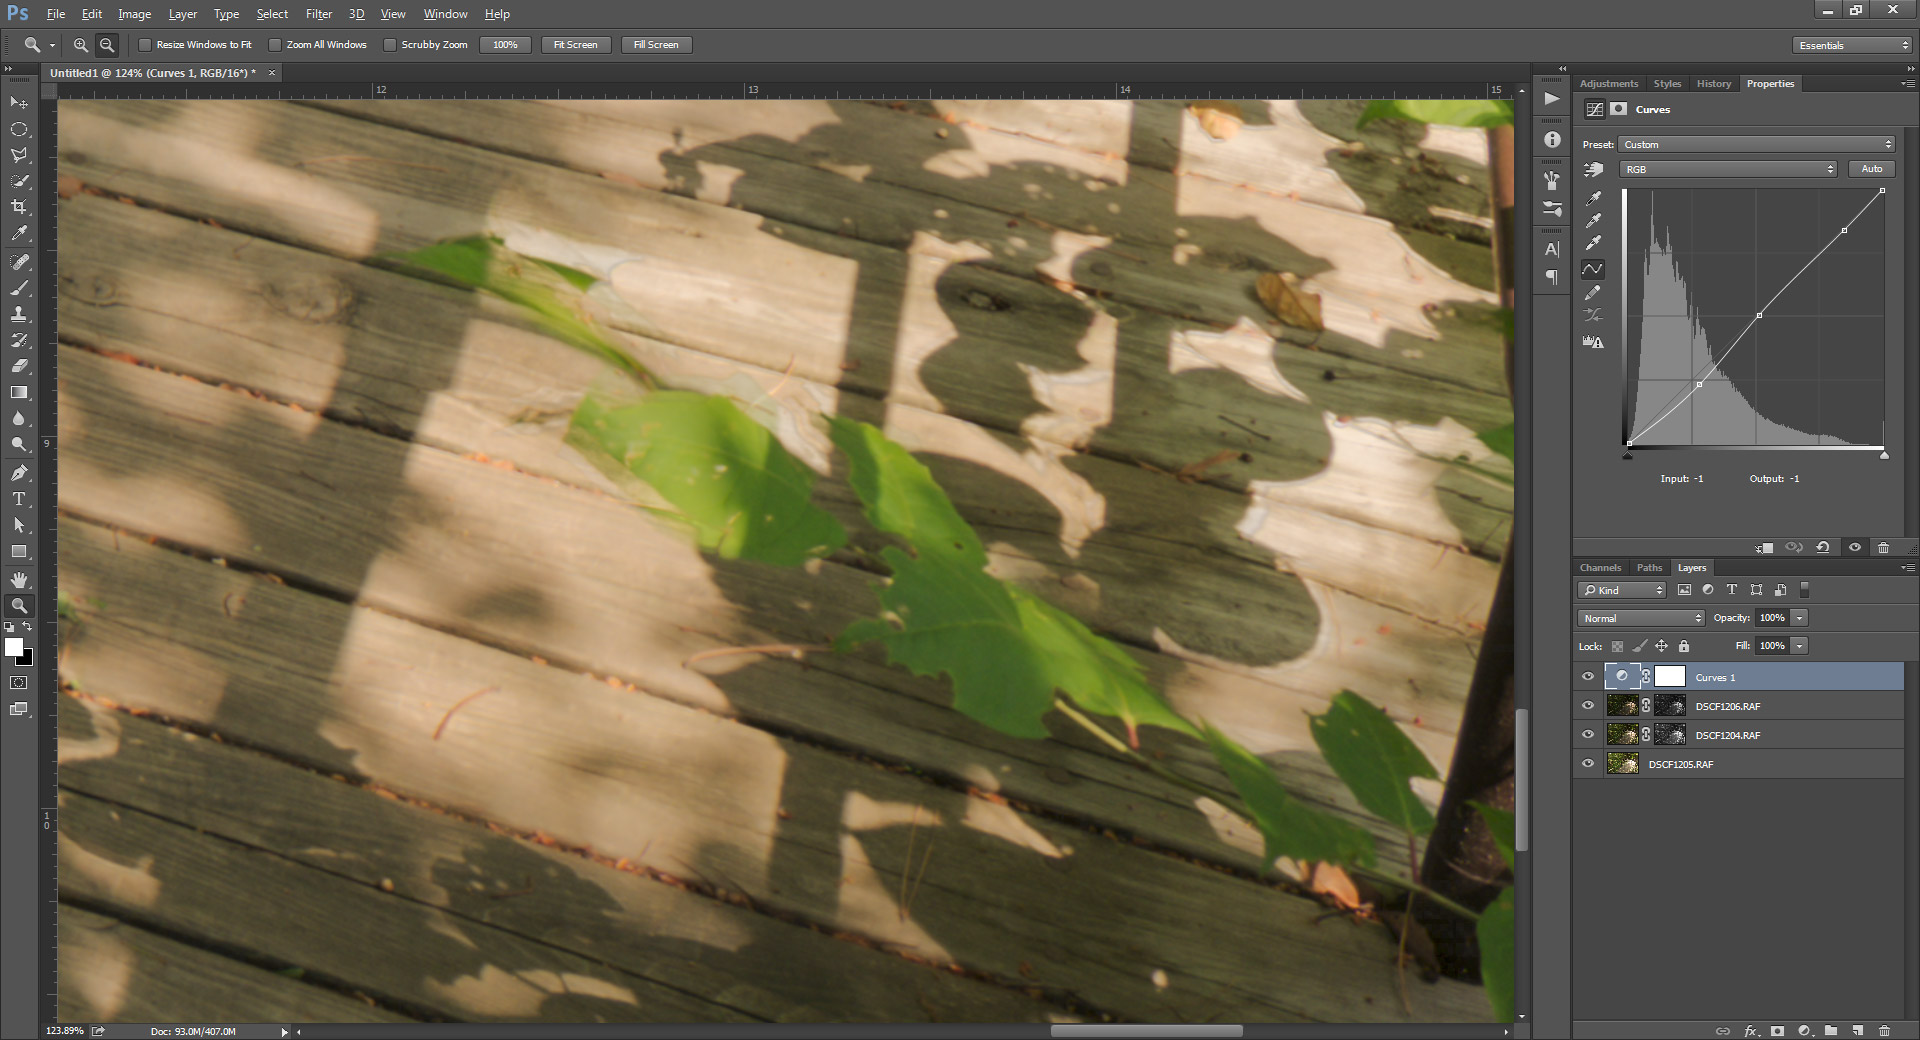
If you have an image you've already taken in RAW format where the highlight areas are blown out, then you may be able to recover some detail by using the highlight recovery slider in your RAW conversion software. This will pull back the exposure in the highlight area, and with a RAW file you can usually recover quite a bit of information. If your shot was just in JPEG, then sorry, but there is no way to recover blown highlights in a JPEG.
It is generally best to make sure that you expose for the highlights when taking the photo though. Don't rely on being able to recover highlight data from the RAW as the highlight recovery is typically limited to around 1 stop. Shadow recovery, on the other hand, is more like 3 stops on most modern DSLR and mirrorless cameras. So it is easier to recover detail in underexposed shadow areas than it is to recover detail in overexposed highlight areas.
An alternative to this technique is to use HDR / exposure blending. With HDR the camera takes 3 (or more) shots - one exposed correctly, one (or more) underexposed, and one (or more) overexposed. Between the different images, this then captures detail in both the highlights and the shadows. If you use in-camera HDR, then the camera will automatically process the images together into a single HDR image. If you use exposure bracketing to take the images, then you can process the images together using software on your computer.

Bracketed exposures exposure blended into a single image to keep shadow and highlight detail
The benefit of HDR is that the data for the shadows is taken from the image exposed for the shadows, it is not taking underexposed data and then just brightening it. This ensures that you won't get as much image noise in the shadows as you would when bringing up the shadows exposure from an underexposed image.
The problem with HDR is that anything moving in the image won't match up between the different exposures. This can create a ghost effect when the frames are merged together to create the HDR image.
Ghosting artifacts in exposure blended images caused by leaves blowing in the wind between the different frames
My personal preference is to use exposure bracketing, then either technique can be used. The bracketed exposures can be blended together into a single HDR image, or if there are problems with movement, then you can just take the underexposed image from the bracket and use the technique of brightening the shadows instead.
Hopefully this article has given you some ideas on how you can avoid problems when shooting under dappled light in the future. One last point to make is that sometimes, rather than trying to work around dappled light, why not try and use it creatively to your advantage? Have fun and experiment!
Dappled light by Louise Docker on Flickr (licensed CC-BY)


