How to process RAW images
Capturing your photos in RAW format allows you more control over the final image. You can bring back detail in areas that would otherwise appear bright white, or lighten up dark areas to reveal detail hidden in the shadows. You can change the white balance and adjust the contrast to suit the image.
While you can make adjustments to a certain extent with a JPEG image, the larger amount of data stored in a RAW image allows you to go further and achieve a better result.

You can read more about the RAW image format and how it compares to the standard JPEG image format here: What is RAW image format? But to summarize, RAW format records all the data that the camera captured. JPEG format compresses and applies processing to the data that the camera captured. RAW allows us to apply the processing and compression later, so we can change processing settings with no loss of quality.
So, you've shot some photos in RAW format. The next step is processing the RAW file to a standard image format (typically JPEG). You can't upload RAW images to the web for people to view, they need to be converted into standard images first. To do this you need some RAW conversion software.
There are quite a few different choices of RAW conversion software. Some of the most popular ones are:
- RAW therapee (free)
- ACR, included as part of Photoshop, a basic version is also included with Photoshop Elements
- Capture One
- Aperture (Mac only)
- DXO Optics Pro
- Lightroom
Each RAW conversion software offers slightly different features and a different way of processing images. You can always download free trials of the software, try running some of your images through each of them, and see which one offers the best results, features, and ease of use for your needs.
Generally there are certain tools that are available in all RAW conversion software. So, for this article I want to look at the standard sorts of adjustments you might want to apply to your RAW images.
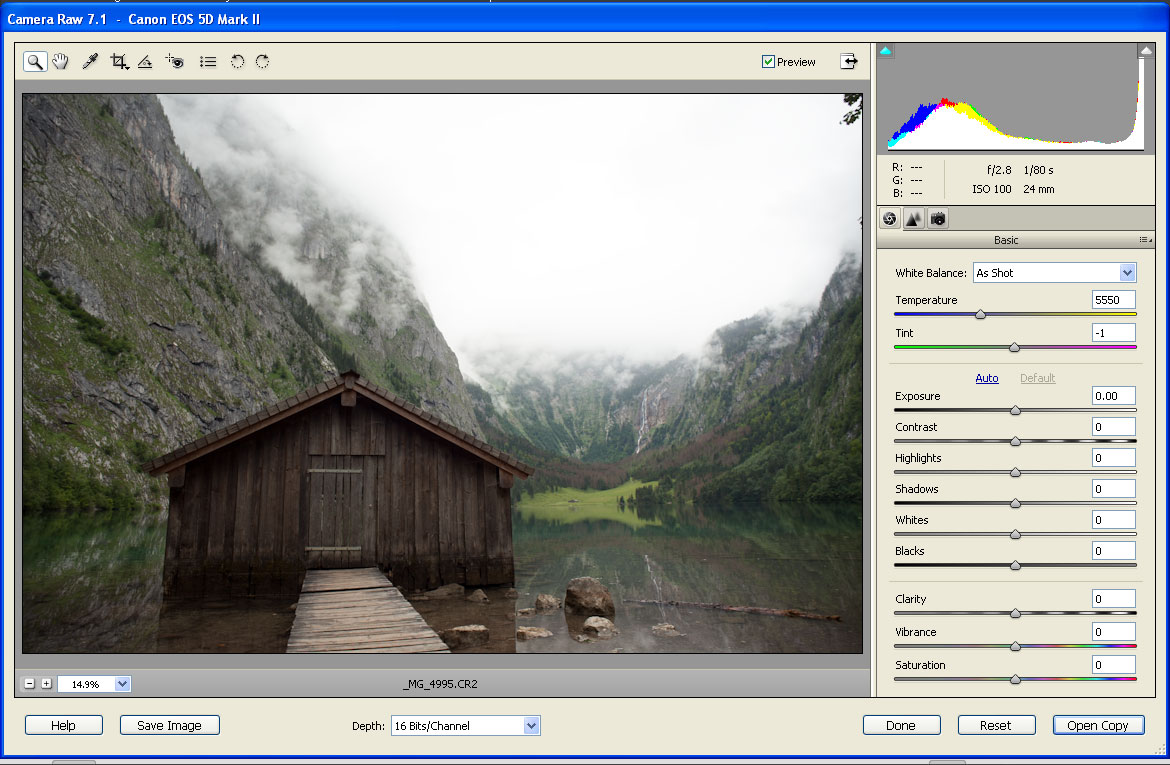
White balance
Adjusting the white balance is a reasonably common task when you want your final output to be a color image. This adjustment is used to remove any color cast from your image.
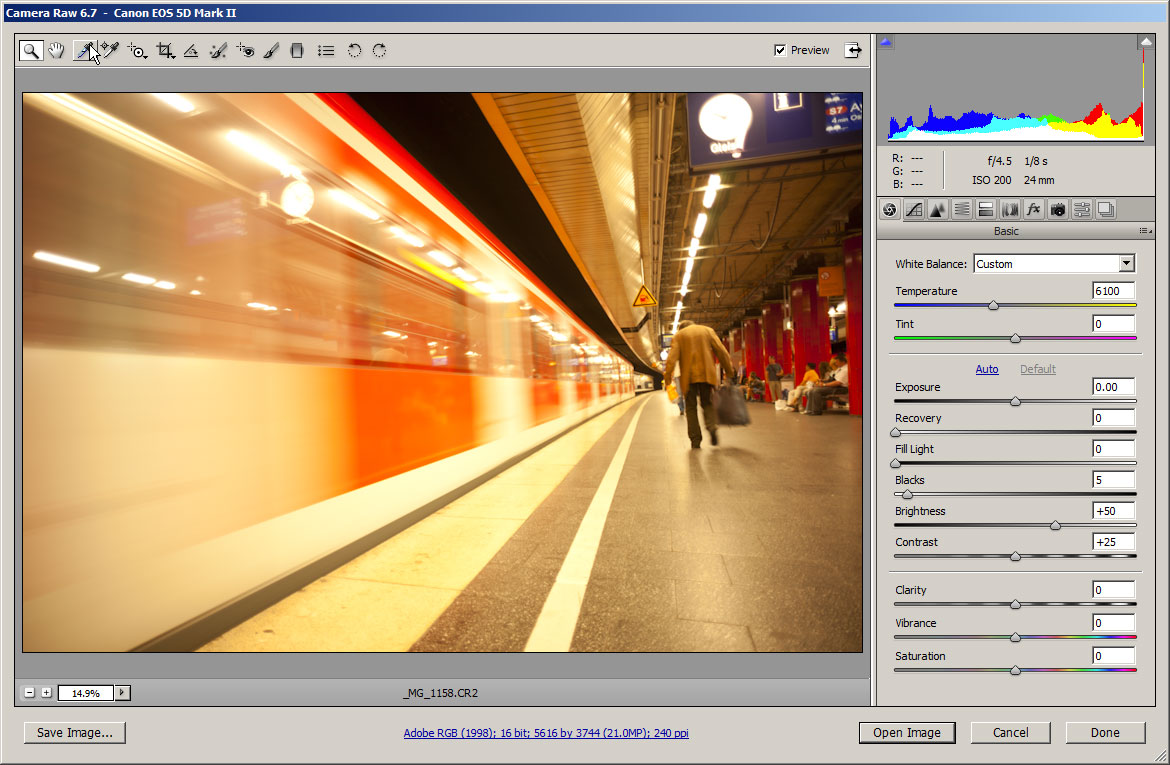
Image with wrong white balance set when the photo was taken, resulting in a yellow color cast
Most RAW conversion software will offer two ways of adjusting the white balance. With the white balance eyedropper tool, you can click on an area of the image that should be neutral (should have no color). This will then neutralize the color cast.

White balance eye dropper tool used to set white balance by clicking on grey part of train, which should be neutral grey
The other option is using the temperature and tint sliders. The temperature slider allows you to make an image warmer (more yellow) or cooler (more blue). The tint slider allows you to make an image more magenta or more green. By adjusting both of these sliders you can remove any color cast.
Generally I prefer using the temperature and tint adjustments. I don't always have something neutral colored in my image to click on, and I prefer a slightly warm image to completely neutral. You can also use the dropper tool and then made a fine adjustment using the temperature and tint sliders.
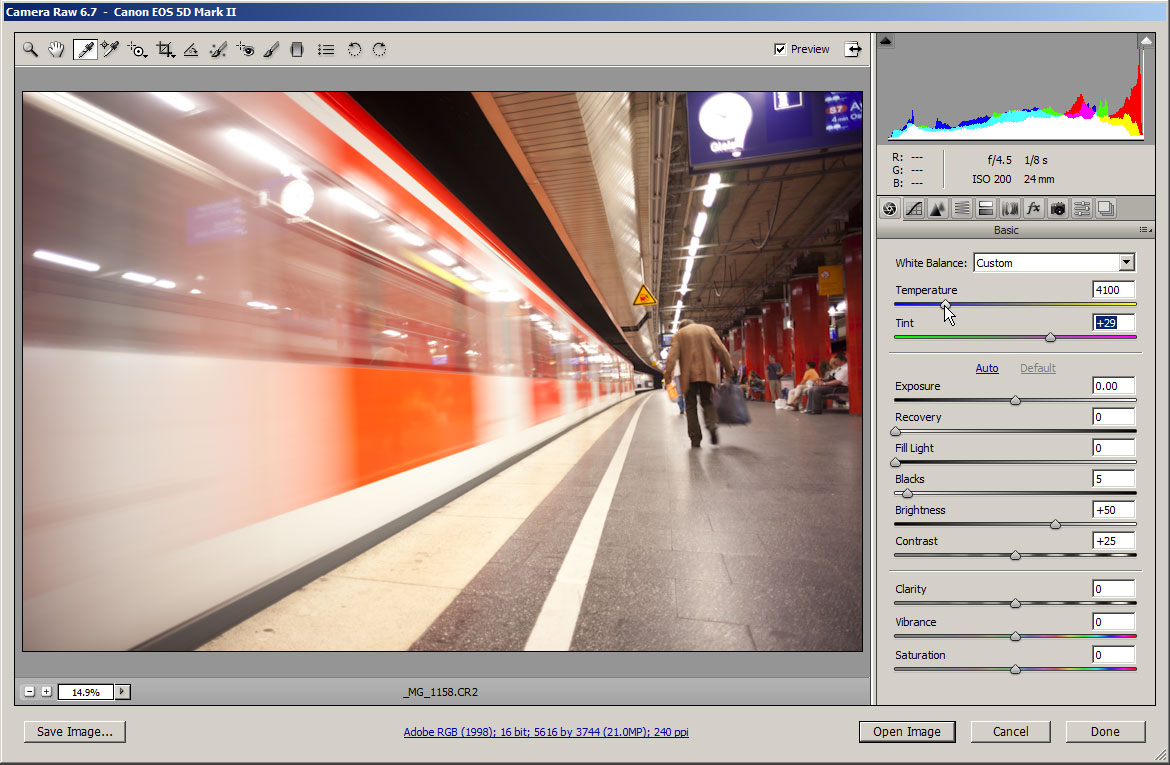
White balance adjusted manually for a slightly warmer image
Lens corrections
Most RAW conversion software will automatically correct for lens problems such as chromatic aberration, vignetting, and distortion. You can usually adjust these settings manually as well. Note that ACR for Photoshop Elements does correct for lens problems, but there is a trick you can do to make it apply automatic lens corrections.
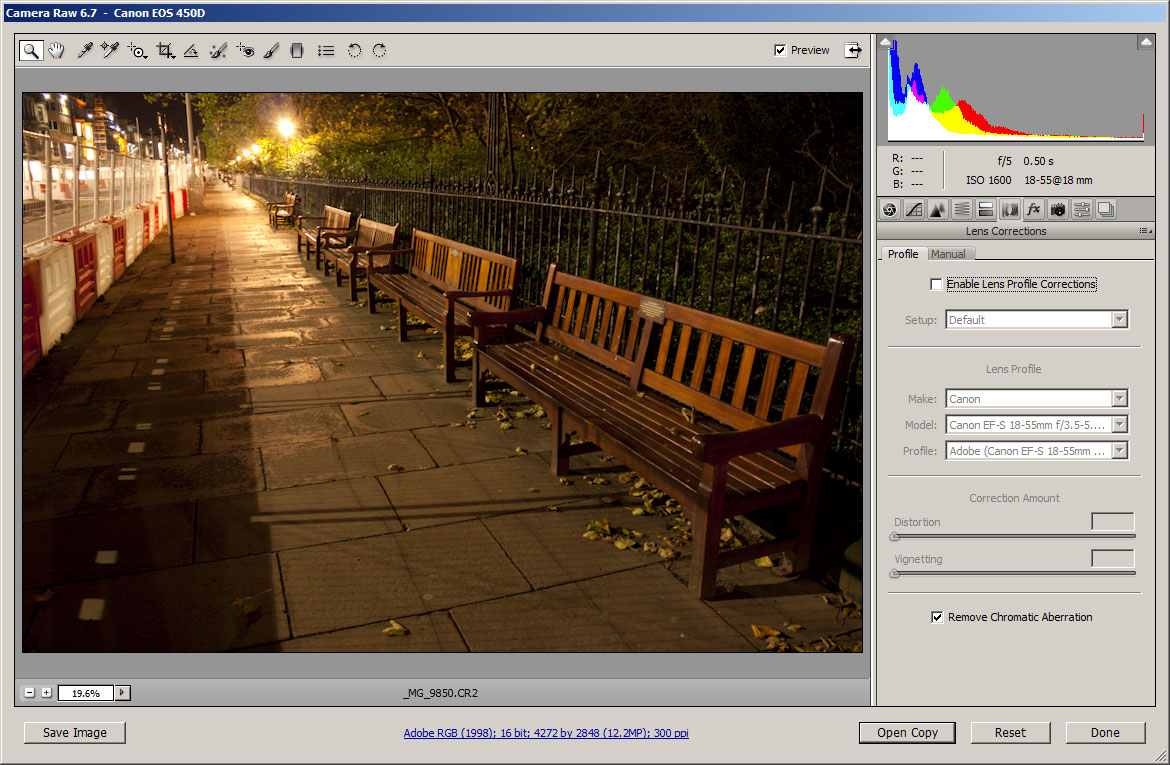
Image without lens corrections applied - note the top of the fence appears slightly bowed
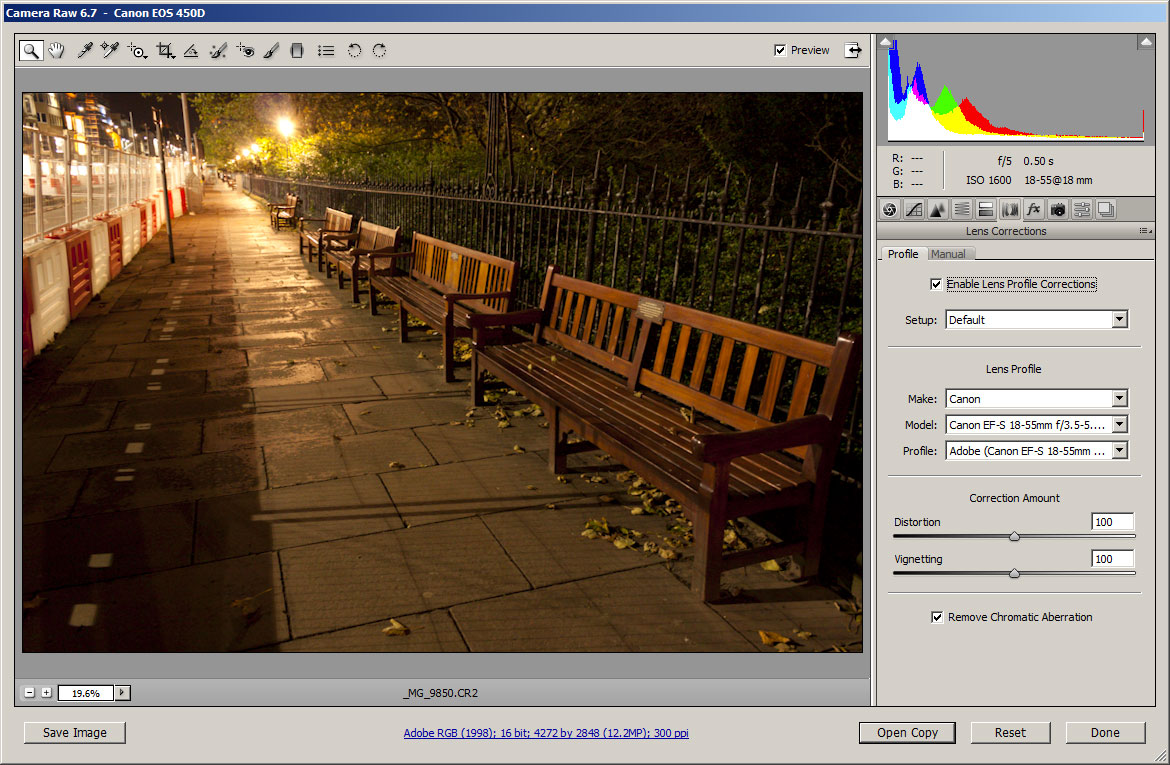
Image with lens corrections applied
Enabling lens distortion correction ensures that lines that should be straight are straight, rather than being bent due to distortion.
Chromatic aberration (CA) can be corrected. This appears as colored halos around the edges of objects, often being most noticeable near the edges of the image. I can't really think of an instance where you wouldn't want chromatic aberration corrected.
Vignetting correction removes dark corners from the image. Or, if you want, you can use it in the opposite way, to darken the corners more. Whether you want vignetting or not is dependent on the image and your tastes. Most of the time I don't correct vignetting as it helps draw the viewer's eye to the center of the image.
Some RAW conversion software also offers purple fringing correction. This can be used to eliminate or reduce blue or purple fringes that you can sometimes find around bright highlight areas in your images. Personally I have had limited success with this and prefer to use the old fashioned way of a saturation adjustment layer in photo editing software.
Crop & Straighten
If your image is visibly crooked, you can use a straighten tool to draw along a line in the image that should be straight. The software will then automatically rotate (or create a rotated crop selection) to straighten the image.
Using the straighten tool to draw a line between two points that should be straight
You can also adjust the crop of the image if you wish, to crop out distractions at the edge of the frame, or simply to enlarge your subject in the frame.

Adjusting the crop to create a more symmetrical composition

Straighten and crop applied
Your RAW conversion software may also have distortion tools that let you correct for keystoning / perspective distortion. This is not present in all RAW conversion software though as it is more of an image manipulation technique.
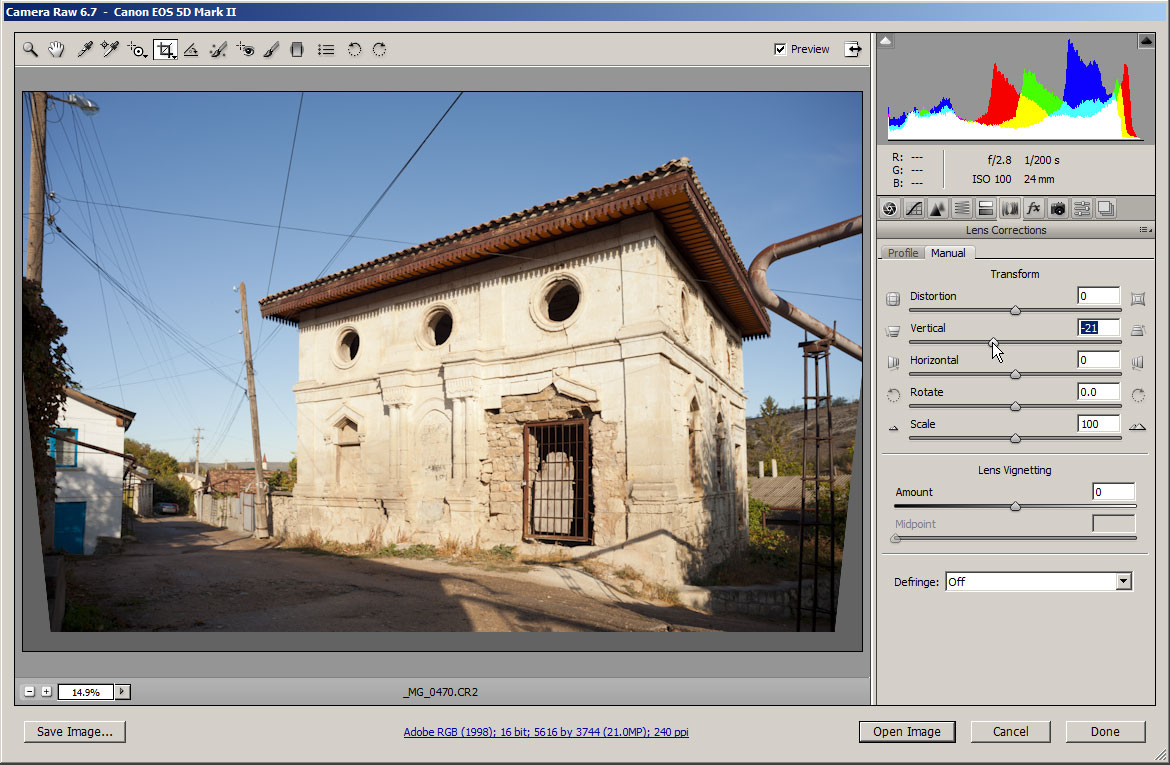
Using perspective correction to correct for keystoning
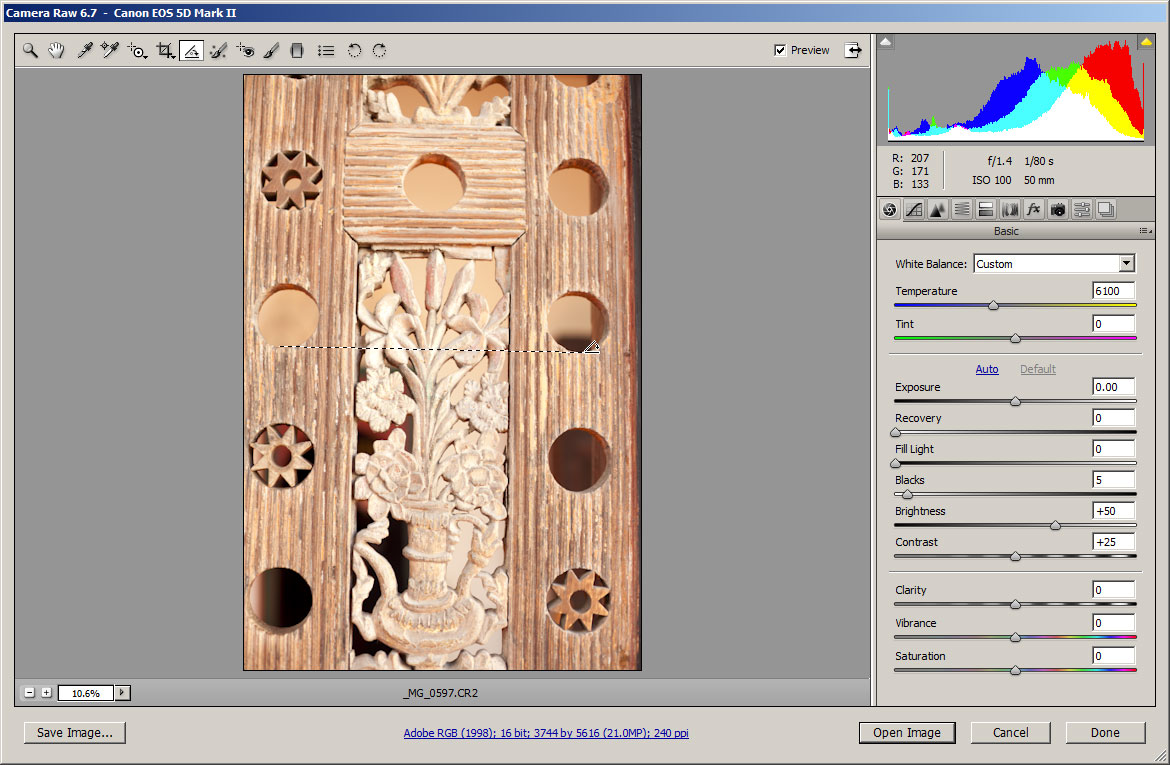
Brightness & Contrast
Adjusting brightness and contrast is where RAW really shines over JPEG. RAW image files typically have quite a bit of extra highlight information in them (often termed Highlight Headroom). This means that you can get away with part of an image being slightly over exposed, and then reduce the exposure when converting the RAW file to bring the highlight data back.
The exposure slider can be used to reduce or increase the exposure of the image.
The Recovery or Highlights adjustment can be used to adjust the exposure of only the highlight areas.
The Fill or Shadows adjustment can be used to adjust the exposure of only the shadow areas.
Before making exposure adjustments
After making exposure adjustments - detail has been brought back into the sky that would have been lost with a JPEG image
The blacks setting adjusts the black point of your image. The higher the value of the slider, the more likely very dark colors will clip to solid black. A higher value will also increase contrast.
Brightness can be used to adjust the brightness of the image, but it can often result in an image that looks flat and is lacking in contrast. Generally this setting is best left alone.
Contrast can be used to increase the contrast of the image.
Some RAW convertors will allow you to adjust the curves for the image. Personally, I prefer to adjust the curves over using the contrast and blacks sliders.

Tone curve adjustment in Adobe Camera RAW
Sharpening
There are three schools of thought on sharpening:
- Apply a small amount of capture sharpening in the RAW conversion software, then apply output sharpening on the image later depending on the output type and size of the image.
- Apply sharpening to the image so it looks as sharp as possible without any sharpening artifacts at 100% view as part of the RAW conversion process. Don't add any more sharpening later.
- Don't apply any sharpening to the image as part of the RAW conversion process. Only apply output sharpening later.
All three are equally valid ways of working. Most RAW conversion software has a few different sliders you can tweak to adjust the sharpening to taste. In the case of Adobe Camera RAW, the sharpening adjustments are:
- Amount
- Magnitude of sharpening effect, as dictated by radius, and detail.
- Radius
- How "tightly" the sharpening is "pulled in" around whatever is being considered an edge to be sharpened.
- Detail
- Sharpening algorithm determiner. Algorithm at zero is biased to sharpen object edges, algorithm at 100 is biased to sharpen textural details. In between settings somehow blend or interpolate...
- Masking
- Constructs a "layer mask" which modulates the opacity of the sharpening based on edge analysis... Alt-slider to see mask.
(Above information taken from a post by Rob Cole on the Adobe forums - the best summary of how the settings work that I have read).
Other RAW conversion software will have similar sharpening settings, but it is best to check the help (and play around with them) to see exactly how they work.
Noise reduction
Similar to sharpening, opinions on whether to use noise reduction when converting a RAW file are varied. Some people prefer not to do any noise reduction as part of the RAW conversion, but then to apply noise reduction later (often using specialist noise reduction software).
Again, the noise reduction controls available to you will vary between different software. But generally most RAW conversion software allows you to adjust luminance noise and chrominance (color) noise separately.
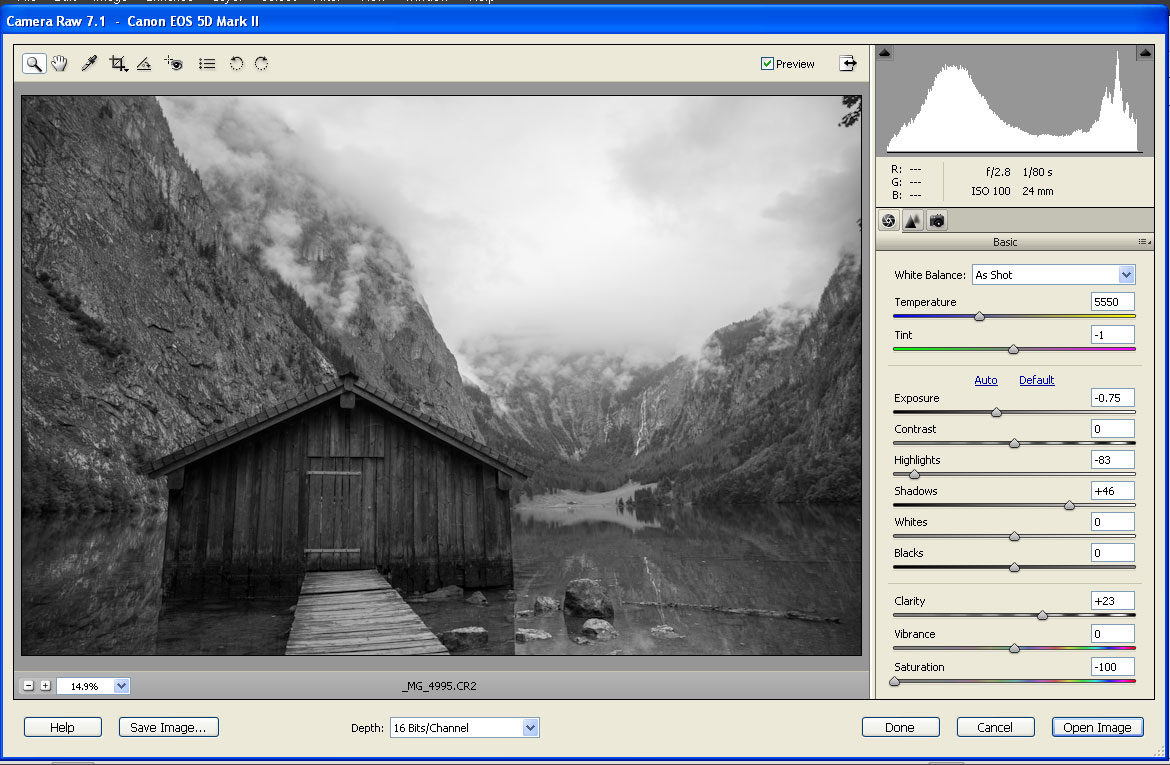
Clarity, Vibrance, Saturation, B&W
Clarity is an adjustment found in the full version of ACR and Lightoom. Clarity is a form of Local Contrast Enhancement, in other RAW conversion software this adjustment may be named something like 'local contrast' or 'micro contrast'. Increasing this can make an image look more punchy.
Saturation allows you to increase or decrease the saturation of colors. Moving to zero saturation converts an image to black and white.
Vibrance works like saturation, but it does not increase the saturation of colors that are already strong. This way you can get an image with strong colors, but without the neon colors effect that a high saturation value can give.
Some RAW conversion software will give you more control when converting an image to black and white. You can choose how colors will map to black and white, changing how bright or dark they will appear. A common use for this is to pull down the blue and cyan values for an image with a blue sky, to create a very dark sky in a black and white image.
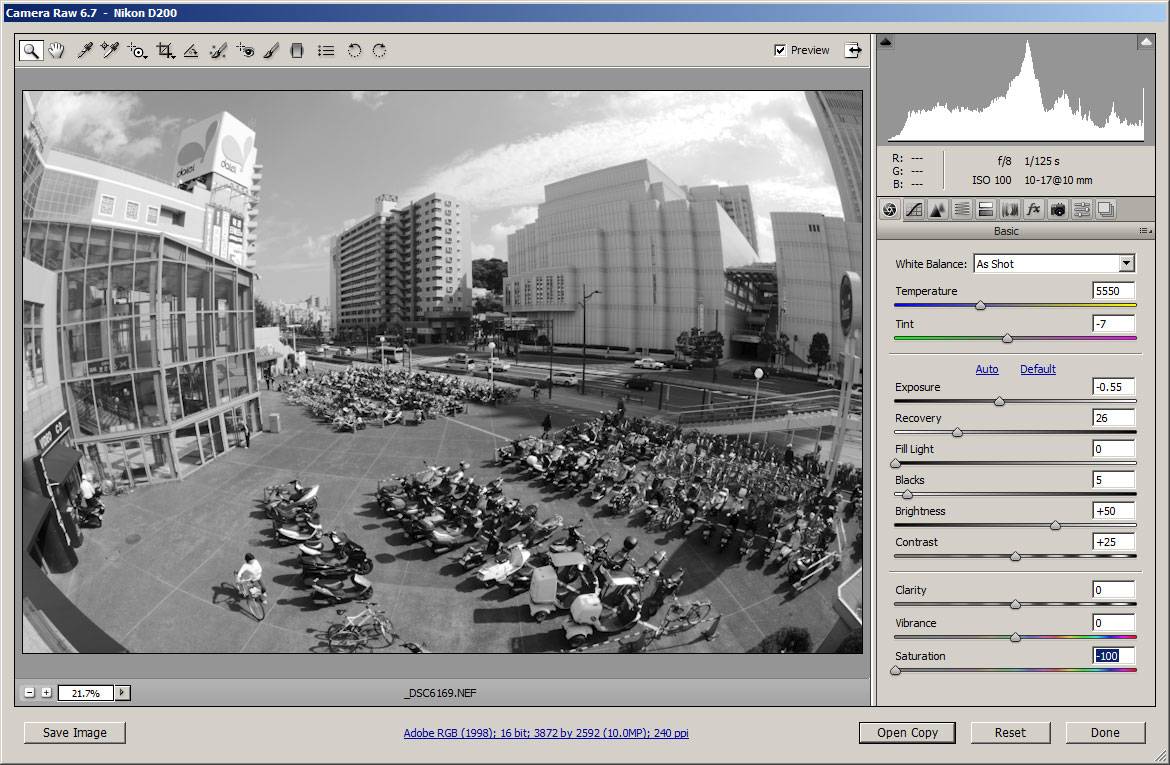
Black & White image created by decreasing the saturation to zero
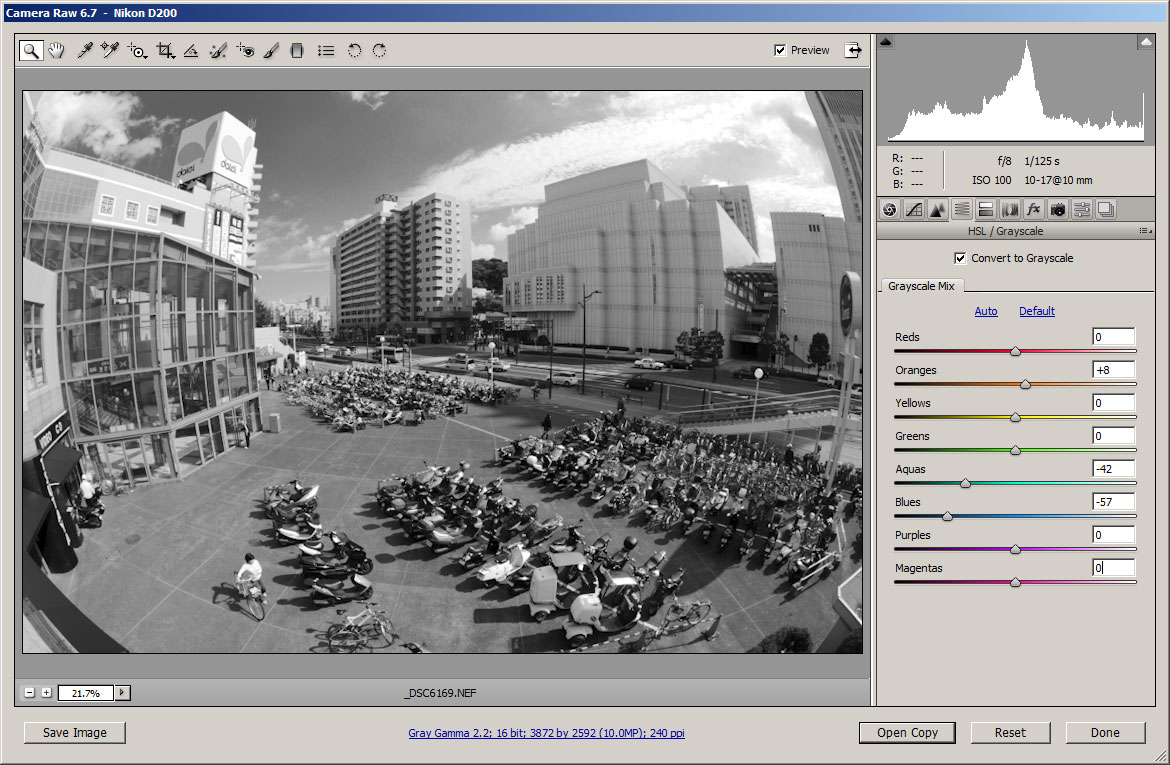
Black & White image created by using Grayscale mixer to darken blue sky
As you can see, there are a large range of different adjustments you can make to your images when converting RAW files. And there are plenty of other adjustments many RAW conversion programs offer that I haven't covered.
The benefit of RAW is that you can make fine adjustments suited to each image, or you can just batch process all your images in one go using the default settings. You can easily go back to a RAW file and change some, or all of the settings.
If your camera supports RAW format, why not give it a try and see if you enjoy the extra options it opens up.


