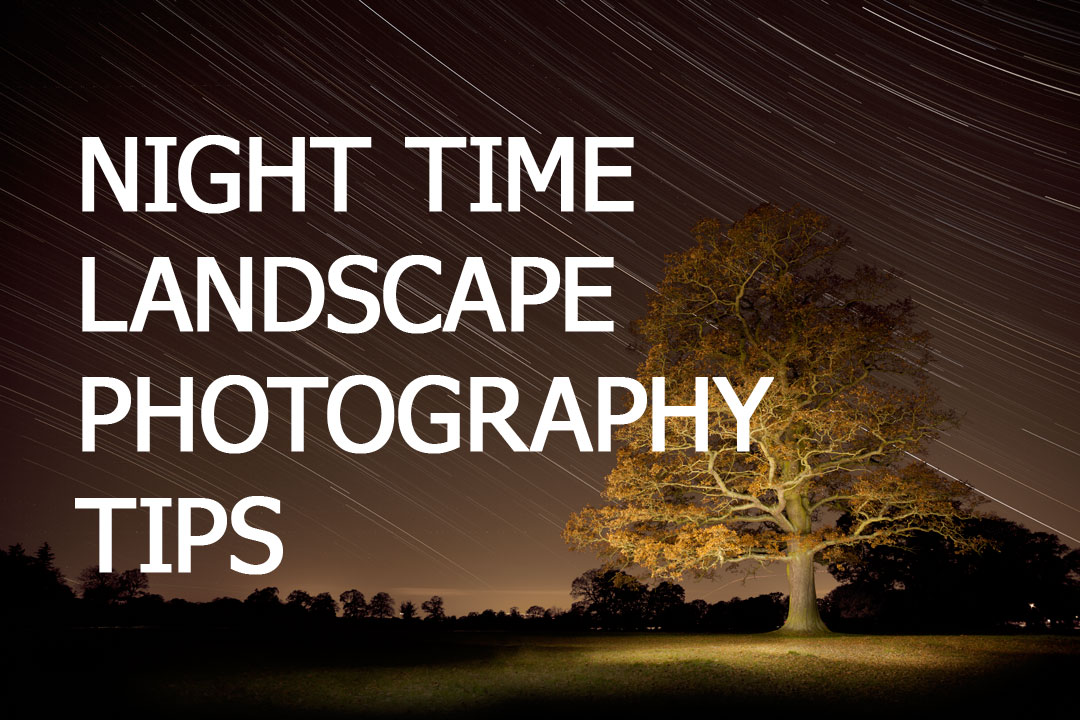
Night time Landscape Photography Tips
Most landscape photography is carried out during the day, particularly during the 'golden hours' of sunset and sunrise. But have you thought about taking landscape photos after the sun has gone down, when it's dark?
We don't see many landscape photos shot at night, mainly because of the extra effort that has to go into a night photo. But landscapes at night can make for some great photographic opportunities.
One of the main problems with shooting at night is that there isn't much light. To get an image that is well exposed requires using a slow shutter speed (or equivalent), so the camera can collect light over a long period.
Although using a high ISO setting can reduce the needed shutter speed, generally a low ISO setting is preferred. This keeps image noise to a minimum and lets you captured blurred clouds moving across the sky, or star trails.
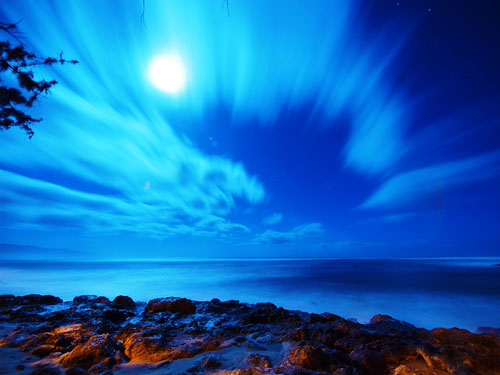
moonlight shadow by paul bica on flickr (licensed CC-BY)
You will want a tripod to keep to your camera steady during the long exposures needed. A remote shutter release is highly recommended, especially if you intend on doing image stacking of multiple exposures. By using a remote release you don't have to touch the camera at all while it is taking photos. So you shouldn't have any problems with blurry photos from camera movement, or image alignment issues.
Using a Long exposure
For a long exposure photograph, you will probably want to use your camera's bulb mode. This lets you keep the shutter open for as long as you want (or until the camera battery runs out). You can read an article on using bulb mode, which includes some advice on how to estimate the exposure time necessary for a good exposure here: How to use bulb mode for long exposure photography.
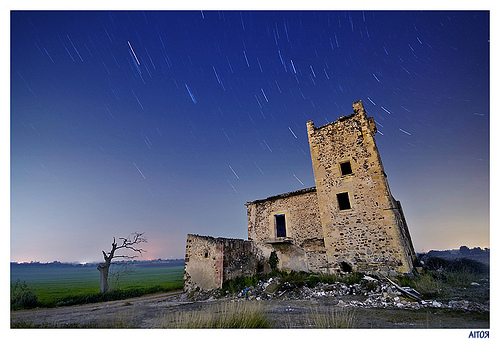
Startrails_7_ by Aitor Escauriaza on flickr (licensed CC-BY)
Photographing Stars
If you want to capture the night sky above your landscape full of stars, then you will have the most success away from artificial light sources. In areas near towns and cities the sky will have an orange glow from the light pollution. This can look quite nice, but it makes it difficult to record the stars in the sky.
A lack of clouds is also a must for capturing clear images of stars. If you specifically want to capture stars in your photos, make sure you check the weather will be conducive before you leave.
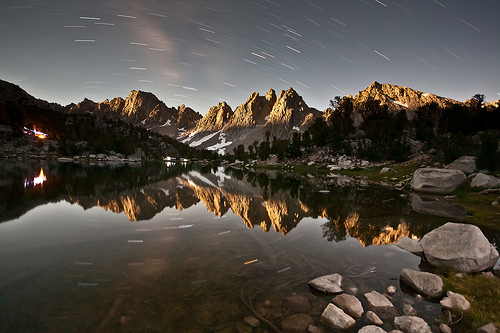
Kearsarge Pinnacles by Moonlight by Jeff Pang on flickr (licensed CC-BY)
Capturing Star Trails
Star trails are made by using a long exposure that captures the light trails of stars as the earth rotates. They can be captured using a single long exposure, or multiple shorter exposures. Shorter exposures can be stacked (combined) into a single image equivalent to a single long exposure.
When stacking multiple exposures for the purpose of creating a star trail image, you can layer the images on top of each other in your image editing software, and use the 'screen' blend mode. This has an additive effect, adding the brightness of each image to the image(s) in the layer below. This will give the same result as a single long exposure photograph.
However, a more common method is to get your exposure settings correct for a single exposure. This might be something like f/5.6 ISO200, 30s. You then take multiple photos in a row with these settings, resulting in a set of photos where each photo is exposed 'properly', just the stars are in a slightly different place. These can then be combined in image editing software using the 'Lighten' blend mode.
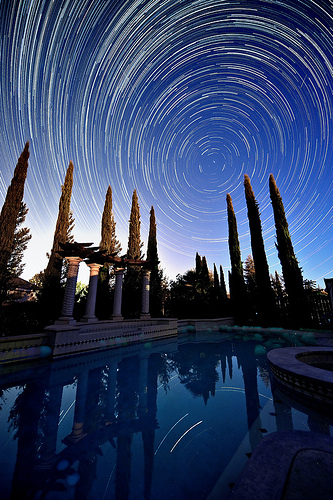
Startrails by TuckerH586 on flickr (licensed CC-BY-ND)
Unlike 'screen' blend mode, which adds the brightness of each layer together, 'lighten' blend mode only shows the areas of that image that are brighter than the image below. The only difference in brightness between all the images should be where the stars are moving across the dark sky. So you end up with a photo that has the same brightness of one individual photo, but the star movements from all the photos.

Photo comprised of 135 30s exposures, by using image stacking the sky is not washed out. The star trails are clearly visible against the dark sky.
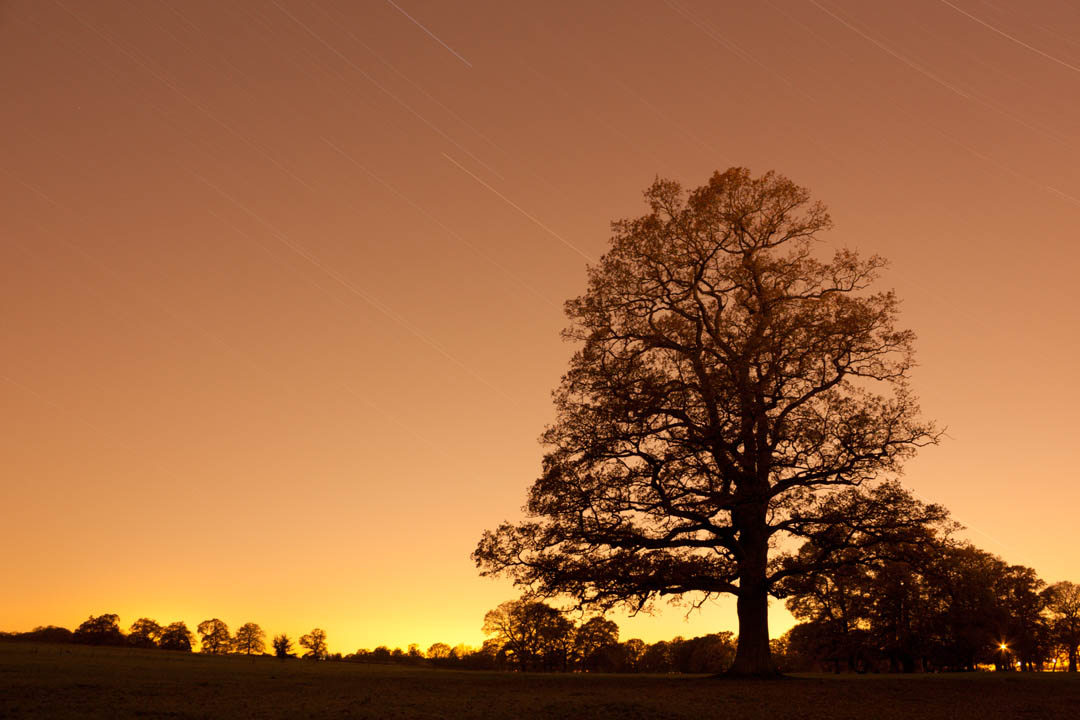
Photo comprised of a single long exposure. Light pollution overpowers the sky, and it is very difficult to see the star trails.
Stacking images in this way can allow you to get star trail photos where light pollution would otherwise ruin a long exposure photo.
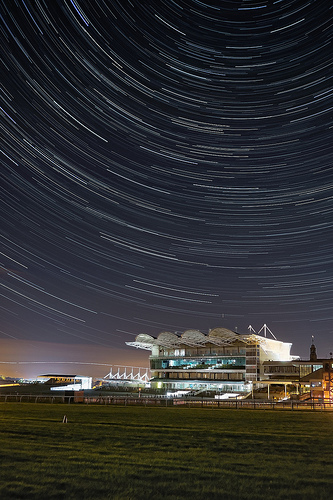
Newmarket Nights by Andrew Stawarz on flickr (licensed CC-BY-ND)
However, I wouldn't recommend stacking images together in Photoshop and changing the blend mode of each layer manually. This would take a long time and result in a rather large document. Instead, you can use image stacking software designed for this purpose. Have a look at startrails or Image Stacker.
If you decide to go the stacking route, an intervalometer can be a very good idea. This lets you take the photos one after another without having to press the shutter button each time. Some cameras have an intervalometer built in, the settings of which can be accessed through the camera menus.
With other cameras you will need to purchase a separate intervalometer, which is like a special remote release with a built in timer system.
Alternatively, set your camera to the longest shutter speed available (typically 30s). Change the other exposure settings as necessary for the wanted exposure. Make sure the camera's drive mode is on continuous. Using a remote shutter release, put the shutter into the locked / hold position. This will then force the camera to continuously take photos at the set shutter speed until you release the shutter lock.
Capturing Stars without trails
Photographing stars while avoiding trails is more difficult. You can purchase an equatorial mount (designed for use with telescopes) that will let you track the movements of the stars. But this is probably out of most people's budgets, and can result in blurring of foreground objects (rather than the stars).
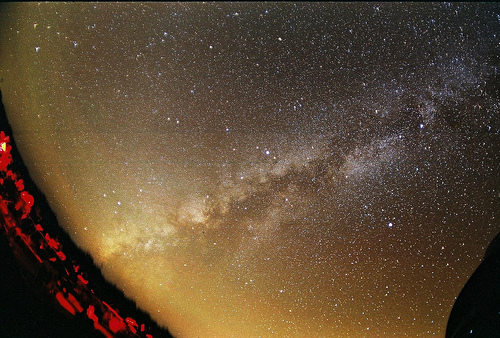
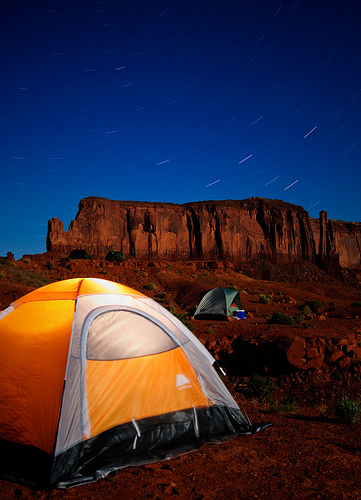
Fall/Late-Summer Milky Way by chipdatajeffb on flickr (licensed CC-BY-SA)
So for most people, the answer is a wide-angle focal length, a high ISO, a large aperture, and a shortish shutter speed.
Using a wide-angle focal length allows you to capture more of the sky in a single image. But most importantly, it allows you to use a longer shutter speed. Because the stars will appear smaller in the image than they would with a longer focal length, you can use a longer shutter speed before any movement of the stars (or should I say the earth?) becomes visible.
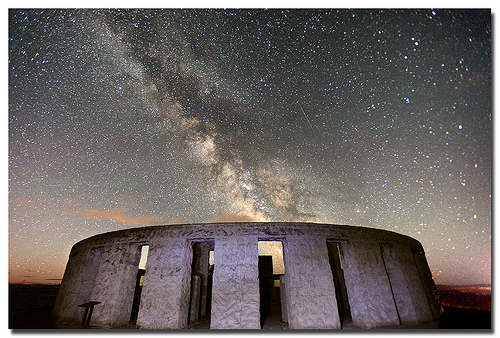
Smoking Stonehenge by .Bala on flickr (licensed CC-BY)
Boosting the ISO and using a large aperture (e.g. f/4) means you should still be able to get a nicely exposed photo despite the relatively short shutter speed. A shutter speed between around 15s - 30s should be okay with a wide angle lens. Note that if you zoom into your photo at 100% you'll likely still see a bit of movement on the stars.
Include foreground interest
Quite often landscape photography is more about the sky than the actual landscape. But the landscape is still very important. Including some interest in the photo, such as a lone tree, or a building, helps give the image some perspective, and makes for a more interesting photo.
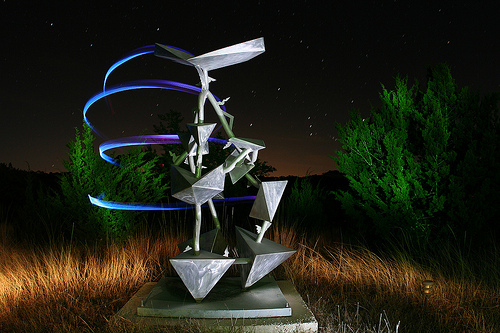
Under the Stars by bhanu.t on flickr (licensed CC-BY)
Don't wait until dark
Trying to make your way to a location, find a nice spot for a photo, get everything setup, and the settings correct, all in the dark, is best avoided if possible. Ideally, get to the location while it is still light. Find a good spot for a photo, bearing in mind how it will likely look under darkness.
Set your camera up, and focus the lens while there is still enough light for focusing. Set the lens to manual focus after this, to avoid the lens trying to autofocus in the dark. If you try to autofocus the lens in the dark, it will likely fail to find focus as there is not enough light.
If you can't make it to your location before dark, then setting the focus point on your camera can be a bit tricky. If your camera only offers autofocus, try focusing on a bright light (e.g. the moon) in the distance. If your camera / lens offers manual focus and a focusing scale, then setting the focus isn't too difficult - just position the focus point just before infinity.

Old manual focus lenses have good focus distance scales, making it easy to set the correct focus distance in the dark.
If your camera / lens offers manual focus but no focusing scale, then focus the camera on the distance when it is still day time. Depending on the lens design, you may now be able to tape the focus ring down, so that it can't move. Alternatively use a pencil or a couple of bits of colored tape to mark on the focusing ring and the lens barrel. Then you know that when these two marks are aligned, the lens is at (or near) infinity focus.

Some cheap modern lenses are missing focus distance scales. Manually marking the infinity focus point can be helpful.
Other equipment
It can get quite chilly at night, so a warm coat is a good idea. A torch to help you see what you're doing is also very useful.
If you're using a DSLR camera with an optical viewfinder, then a viewfinder cap could come in handy. This blocks off the viewfinder, so that stray light can't enter the camera through the viewfinder.
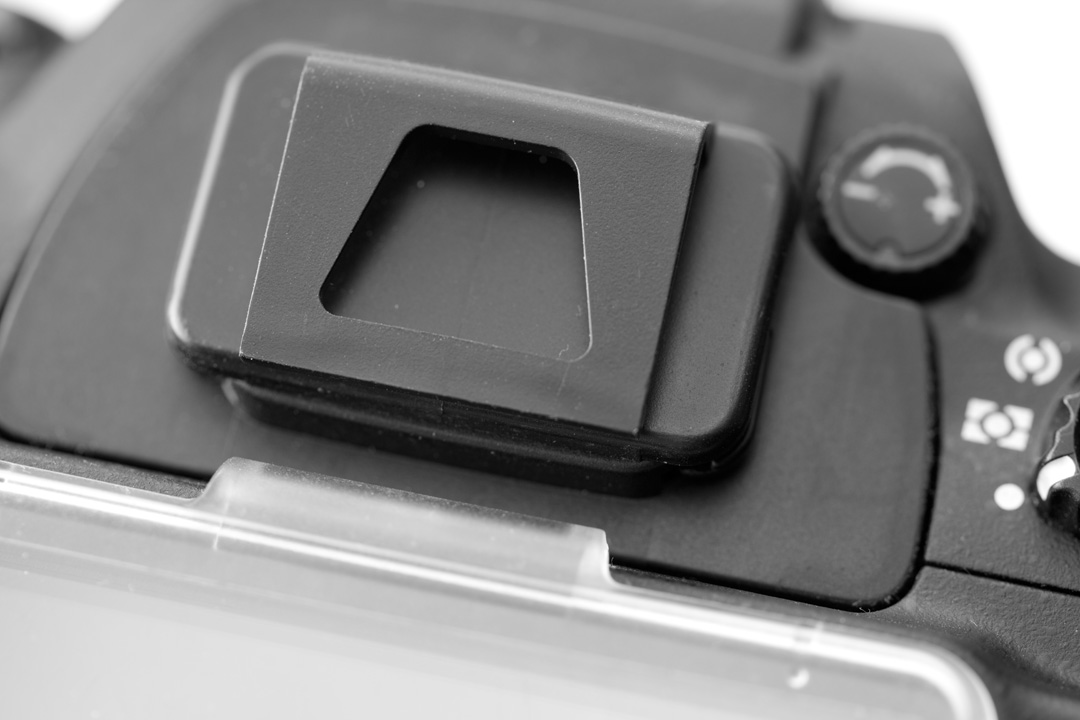
The stray light can affect the camera's metering, but since you will likely be working with manual exposure anyway, this doesn't matter. It is possible that it could affect the actual image as well. I can't say I've ever had any issues shooting long exposures at night without a viewfinder cap, but it is an accessory that some people like to use.
Painting with light
Another reason for bringing a torch with you is that it can be used for painting the image with light. During the long exposure, simply use your torch to brush light over areas that you would like to be brighter in the final image.
Birds at 3AM by StandUPP on flickr (licensed CC-BY)
This can be a good way to add dimension to an image where the lighting is otherwise quite flat (which it often is at night). You can read more about this technique here: Light Painting How To. Bear in mind that the relatively narrow beam of a torch can give quite harsh light. When light painting you might want to use a larger light source (such as an LED panel), or use some form of diffusion in front of your light source for softer light.
Landscape photography at night certainly isn't for everyone. You have to wait around for long periods (due to the long exposure times needed) and it can often be quite cold. Clouds and light pollution can also cause issues if you're trying to capture a star filled sky.
But it also allows you to capture stunning images that you just can't get at any other time of day. The difficulties involved with night photography also mean not as many people are taking night photos, and so a good night photograph can stand out more than a good photograph taken during the day. Why not give it a try and see if you enjoy it?


