How to use a honeycomb grid with your speedlight flash to create a spot of light
Highlighting a small part of a photo with flash can be used to help draw the viewer's attention to that part of the image. When this technique is combined with an overall lack of light over the rest of the image, this can create a very dramatic photo, with the highlighted area really standing out.
However, with a standard speedlight flash this technique can be difficult to achieve as the light from the flash spreads out too much, covering most of the frame. You can reduce the coverage of the flash by moving it closer to the subject, but depending on how small an area you want highlighted, this could result in the flash having to be so close that it appears in the frame.
A cheap and simple solution to this problem is a grid. A grid attaches in front of your flash, and creates a narrow, focused beam of light. This allows you to have your flash positioned further away from your subject, while highlighting just a small area with the flash. In this article we'll look particularly at how to create your own DIY grid for your speedlight flash, and how different variations affect the light.
What is a grid and how does it work?
Grids are often used with studio strobes to narrow the beam of light they produce. But they are just as appropriate for use with speedlight flashes. A grid is usually constructed similar to a honeycomb, with 'cells' that the light passes through. The walls of the cells block light from going off at an angle, so only light that is traveling straight on will get through the grid unimpeded. This is how the grid creates the strong spot light effect.
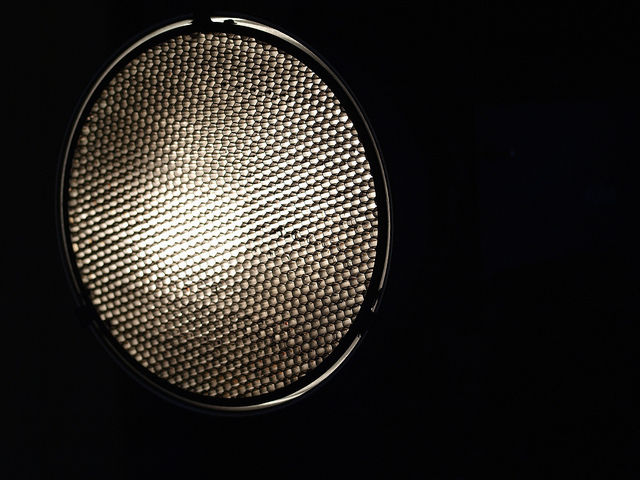
7dcp3035969-4mm-grid-modeling-light by Wolfgang Lonien on Flickr (licensed CC-BY-SA)
Light traveling almost parallel to the walls of the grid can still get through the grid and there will also be some light that bounces around inside the grid and gets out. So you don't get a perfectly focused beam of light with a grid, but a central 'hotspot' with the light tapering off around the edge. The size and depth of the grid both affect how focused / narrow the light beam will be, and we will look at this later.
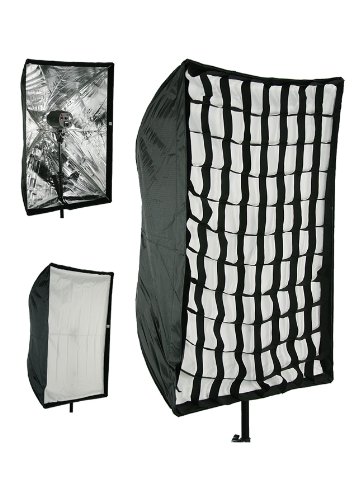
Although grids are often produced in a honeycomb structure, this is mainly just a manufacturing decision. The honeycomb structure is a good way to produce a strong grid from plastic. Grids designed for use with softboxes are often square. And the DIY grid we'll look at making uses circles.
Making your own grid for use with a speedlight flash
You can buy commercially made grids for use with speedlight flashes. These vary in price from about $10 - $50. Making your own grid is much cheaper in terms of material costs, but it is not a particularly quick process. So for most people, when you factor in the time to make a DIY grid, then buying a grid works out much cheaper. Still, if you enjoy making things, or you want your grid customized in some way (such as the size of the grid 'cells'), then you may want to have a go at making your own grid.
To make the grid you need some cardboard, some black paper (if the card isn't black), some black straws, and some glue. Black straws can be purchased quite cheaply from eBay, though obviously if you can find them in a local shop they'll be even cheaper as there will be no postage costs. In my experience though most shops only stock colored straws.
To start off with, you need to decide how long you want the cells that make up your grid to be. The longer the cells, the narrower the beam of light will be. Try 2 cm (a little less than an inch) if you're unsure. You can always make another grid using longer sections later if you find that a 2 cm grid doesn't give you a tight enough beam. (Or using shorter sections if you find the light through a 2 cm grid is too narrow).
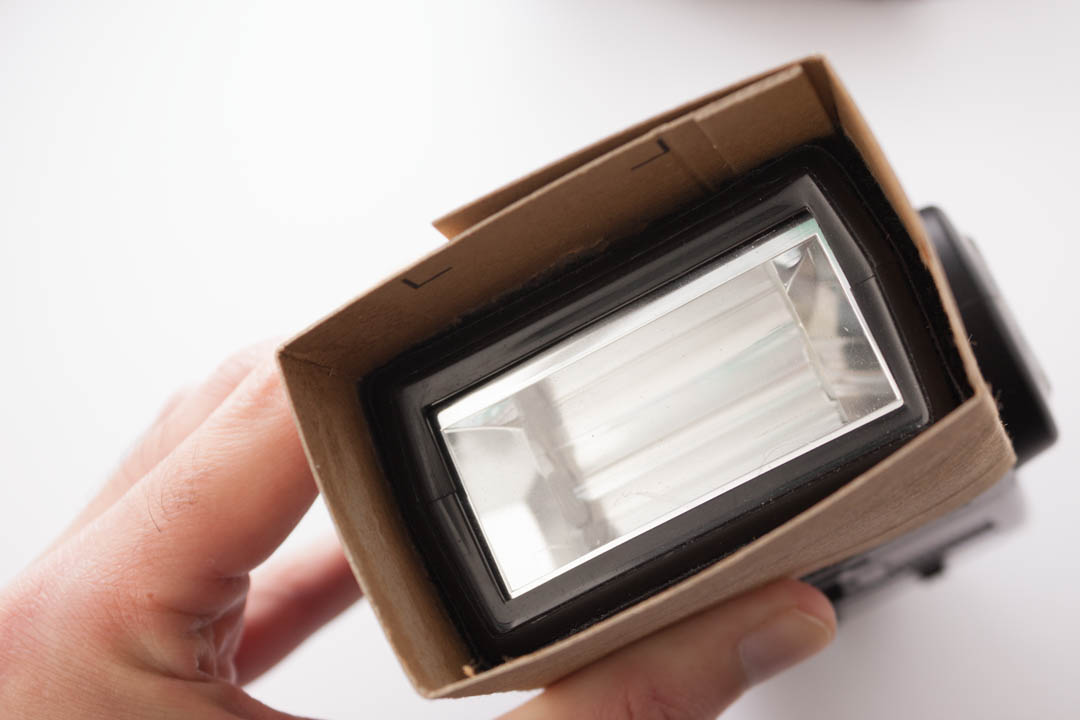
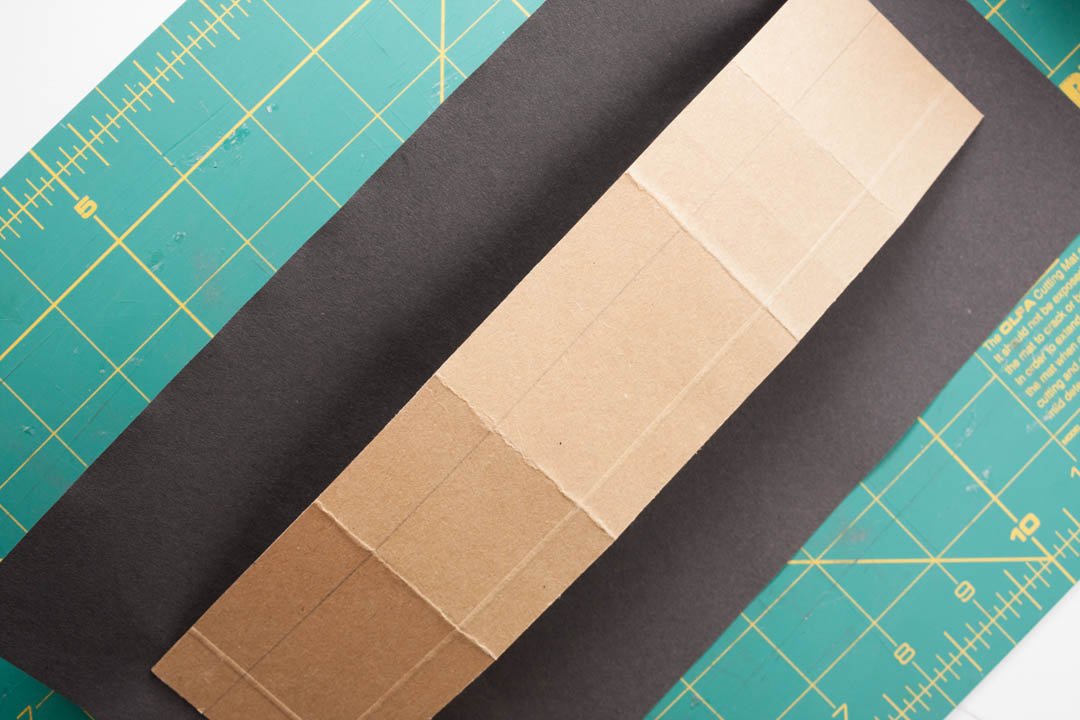
With that decided, you can make the sleeve that will contain the grid and attach to the flash. Place the head of your speedlight flash on the piece of cardboard, and mark the cardboard using a pencil and ruler to give a piece of card that will wrap around the speedlight's head, with enough space in front of the head for the length of the grid you've decided on. Cut the card out, which should give you a long strip.

Bend the card along the edge of a ruler so that the card will wrap round the flash head. Using a ruler gives you cleaner bends.
If you're using card that is not black, then glue a piece of black paper to the card to make it black. You can do this before or after you bend the card to make it fit round the flash head, it doesn't really matter. But if you do it before, then make sure you wait for the glue to dry before trying to bend it.

Now comes the slow part. Take your black straws, and cut off sections in the size you decided on for your grid. Don't use the parts with the bendy section in.
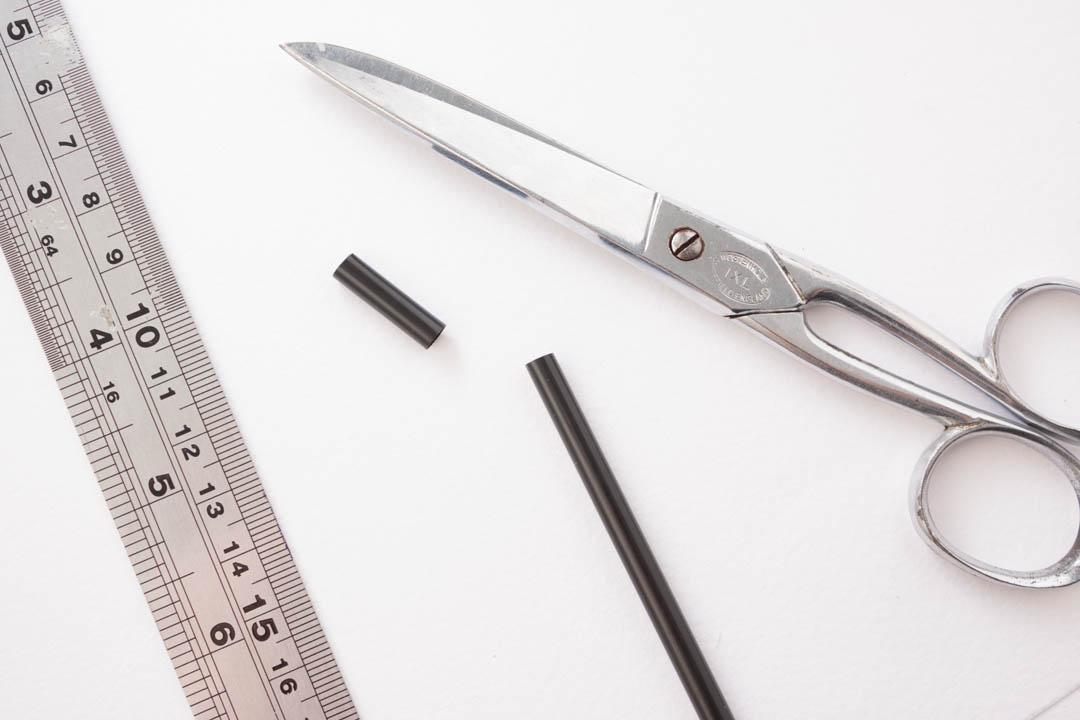

It's not really possible to say how many pieces you'll need as it depends on the size of your flash and the diameter of the straws. Just stop when you think you've got enough pieces, and if it turns out you haven't, then you'll just need to cut some more.
Now glue the straw sections to the piece of card, ensuring that they are straight on with the edges of the card.
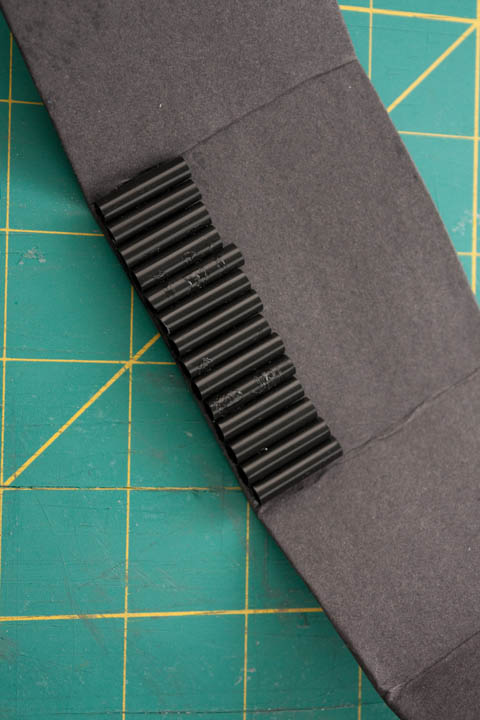
On top of those, glue a second layer of straws.

And keep repeating...

...until you have enough layers to complete the grid. When you have nearly enough layers, you'll have to check you do need another layer by wrapping the card around your speedlight flash to see how it fits. You might also find that you need to add more straws onto the sides of the grid.
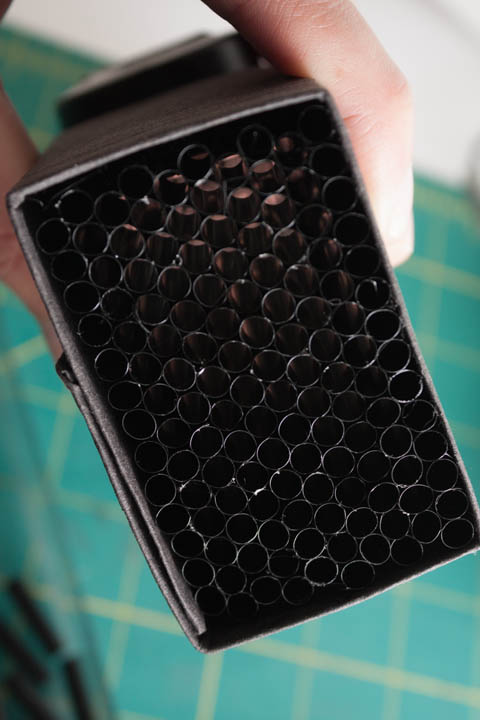
When it's finished, it's just a case of wrapping the card around the flashgun's head, and then taping round the card to stop it unfolding. You want to tape it loose enough that the grid can be added and removed from the flash without too much trouble, but tight enough that it won't easily slip off the flash head.

If you have strips of velcro around your flash head, this can help provide a surface for the grid to grip onto, as opposed to the smooth plastic surface of the flash.

Effect of length, diameter, and color of grid
Now, let's look at some comparisons of how the length, diameter, and color of straws used in a grid can affect the light produced by the flash.
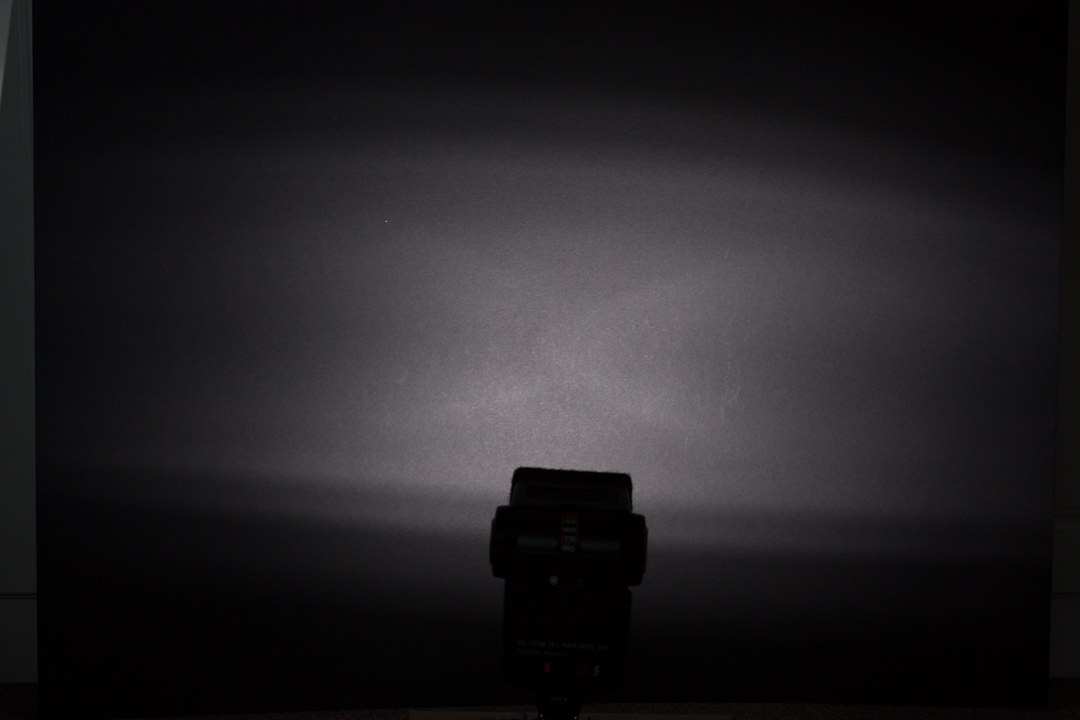
Flash with no grid
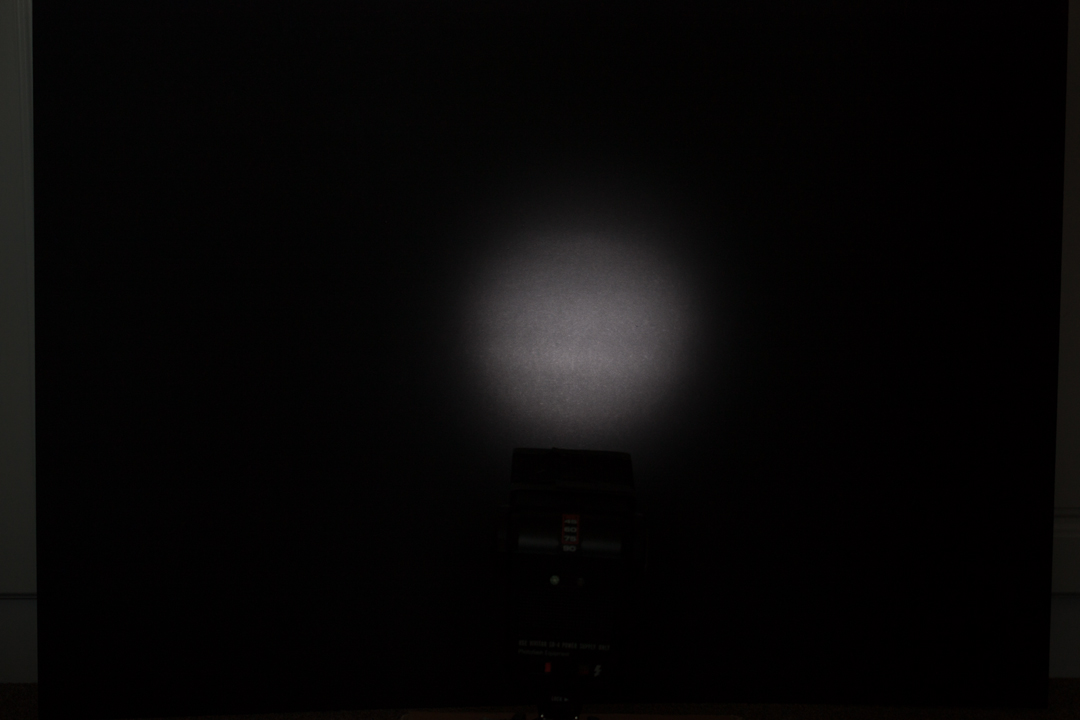
Flash with DIY grid made using 2cm long sections of black straws
If we turn up the flash power a bit and move it a bit further from the background:

2cm black straws
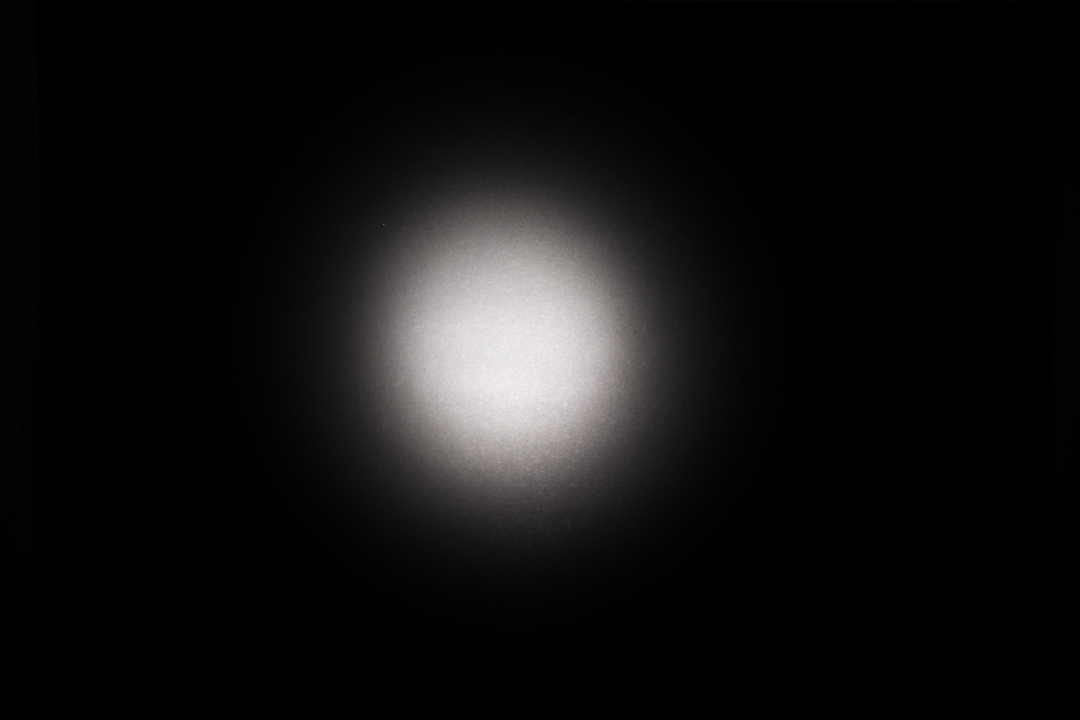
4cm black straws. Using longer sections of straw gives a narrower beam of light
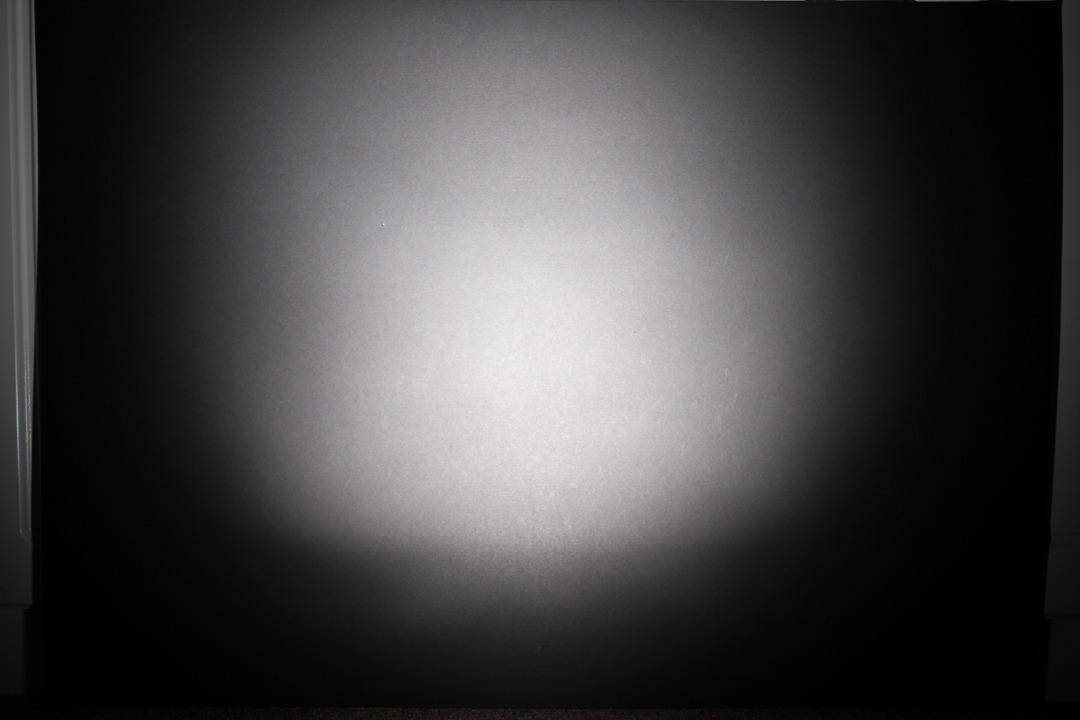
2cm jumbo black straws. Using straws with a large diameter gives a much larger beam of light (though obviously still narrower than no grid at all).

2cm white straws. Using white straws gives an extremely gradual fall off in light from the center. Rather than cropping these images to the black card, I purposefully left in the cupboard doors in the background - you can see how much brighter they are in this shot compared to the previous ones.

2cm colored straws. I wondered if using colored straws in an alternating pattern might produce a near neutral colored light (Red + Blue + Green light = White light). As you can see the answer (with these straws at least) was no. The light has a purple tinge, indicating that the dyes in the red and blue straws were stronger than those used in the green and yellow straws. The light fall off is very gradual, similar to the white straws.
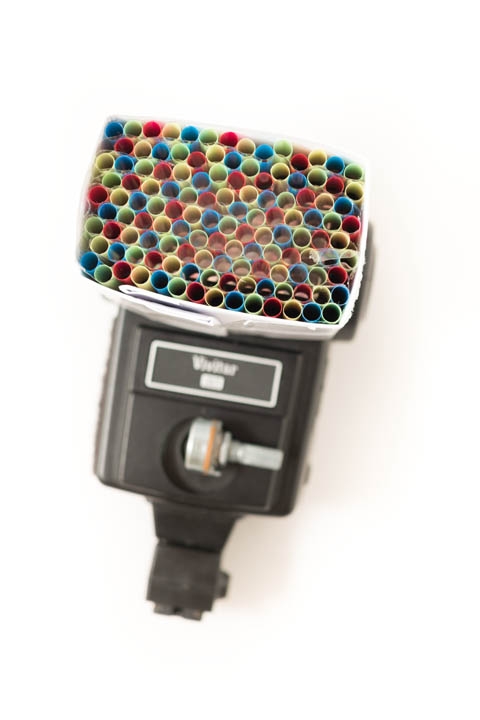
Colored straws grid
A grid for your flash can be a very effective way to create a small spot of lighting, whether that be to highlight part of a subject, or to create a spot on the background behind a subject. It does reduce the effective light output of the flash, since most of the off-axis light rays are absorbed by the edges of the black grid. But overall, it's a great addition to your kit when working with off-camera flash.


Very nice article. I have a DIY project I can’t solve. My Nikon SB-400 flash has no manual button to set off the flash. Do you know of any accessory that will plug-in to trip the flash off camera other than another camera or some thing I could make. There has been times I would like to paint a large building or other subject at night while my camera is on a tripod set to bulb.
Thanks Ron Kuner
Hi Ron
I’m not aware of any accessory designed for manually triggering a flash. However, here are a few quick ideas:
Hope that gives you some ideas.
Regards
Dave
Dave
Thanks for the reply. You gave me ideas that give me hope that I can solve my problem. I really appreciate your insite. Ron Kuner
hi id like to know why use the color black specifically ?
Hi Collinz
The reason for the black color is to prevent the light bouncing from the straws. If you use white straws, then the light can bounce around in the straw and come out of the end at an angle. This results in a larger, less directed beam of light, as you can see in the example pics.
With black straws much less light will bounce around inside the straws – light at an angle would be absorbed by the straw rather than reflected. This means that the black straws restrict the light to a much narrower beam, which you can see in the example pics too.
Hope that explains the theory behind it.
Dave
Hi 🙂 I have seen a video done by someone else who is using a rectangular honeycomb as well BUT his example pics show a sort of oval or stretched circle of light, while yours is nice and round.
Just to be sure, with a rectangular grid, you can get a round spotlight like this? Or should I use something like a Pringles can to ensure I get a nice spot?
Thanks in advance!
Hi Amy
Good question! I thought the best way to answer it would be to try them out and see what the results were:
So for a nice round spot you want either a round snoot or a round / honeycomb shape grid. The straw grid gives a more direct light, while the snoot spills more light to the sides.
Regards
Dave
Well thank you so much for that! 😀
Will flash zoom affect the result?
What your zoom measurement for those tests?
Thanks.
Hi Hendry
Great question! The more the flash is zoomed in, the brighter the spot will be. But the size of the spot is not affected.
If you used a grid with large spacing (so it made a very large spot) then using a flash zoomed far in could affect the size as well. But I can’t imagine anyone doing that – you might as well just zoom the flash in and not bother with a very wide grid.
The flash used for the tests was one that doesn’t have a zoom head. It is fixed to cover a field of view equivalent to the field of view of a 35mm lens on a 35mm film camera / ‘full frame’ Digital.
Cheers
Dave
Thank you for sharing!