How to photograph Lightning
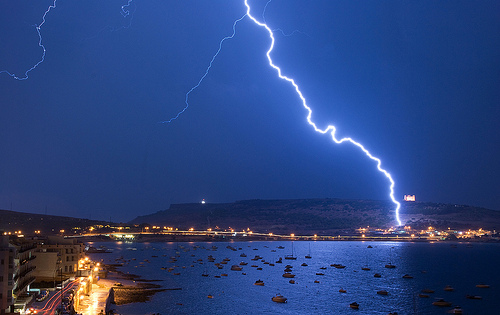
Storms that generate lightning aren't something that you see every day. But when you do get a thunderstorm, the flashes of lightning can make for some spectacular photos.

Eclairs by ComputerHotline on flickr (licensed CC-BY)
There is one obvious difficulty with Lightning Photography. The strike happens so fast that there is no way you can press the shutter button of your camera in time to capture a strike when you see it. Thankfully though, there are a number of different ways you can work round this.
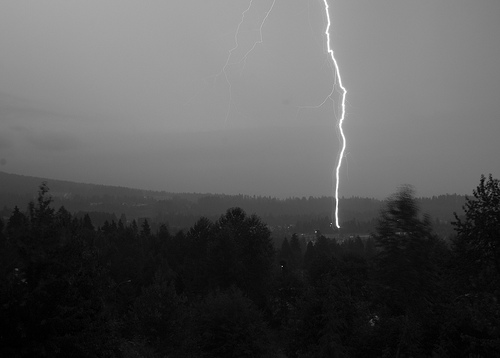
Long exposure lightning photography
The most common method of lightning photography is simply to use a long exposure. Any lightning strikes that occur during the time the camera's shutter is open will be recorded in the image, so you don't have to worry about timing your shot at all.
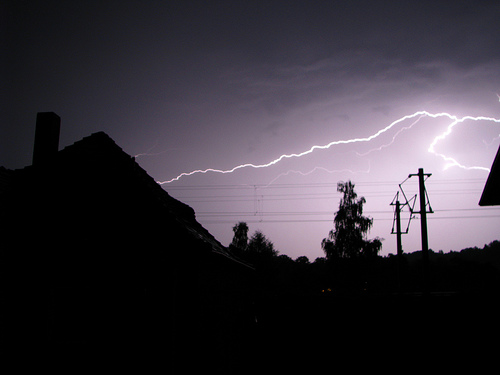
Ride the Lightning by Owen Zammit on flickr (licensed CC-BY-SA)
The length of the exposure really depends on the light levels. If you're shooting in the evening or at night time, light levels will be pretty low. This should allow you to use a shutter speed of 30s, or use your camera's bulb mode for even longer exposures.
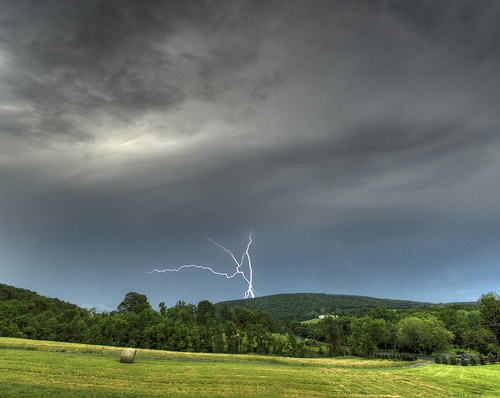
During the daytime
During the daytime it gets quite a bit darker when a thunderstorm hits. But it is not normally dark enough for a long exposure. To get around this you can use a neutral density filter in front of your lens to reduce the amount of light that reaches your camera.
For An Instant by muntoo on flickr (licensed CC-BY)
This will allow you to use a longer exposure time. Bear in mind though that the neutral density filter will also reduce the amount of light from the lightning that will reach your camera. So you may end up with strikes that don't record as brightly as they would with one of the alternative methods below.
Continuous Shooting
Your camera's continuous shooting drive mode allows you to take a continuous stream of photos, one right after the other. So by holding down the shutter button during a thunderstorm, you can take a lot of photos, and you should be able to capture any lightning strikes.
Lightning over Short Hill Mountain by kcdsTM on flickr (licensed CC-BY)
There are a few different problems with this method though. First, you will have to sort through a lot of photos just to find the one or two that contain a lightning strike.
Another problem is that most cameras have a limit on the number of photos that can be taken continuously. If you use RAW format for saving your images, then you may only be able to take a few shots before the camera's buffer fills up. Then it will need a bit of time to move the files to the memory card before you can take any more shots.
This issue can be worked around by using JPEG format for saving the images. Turning down the quality settings and image size settings will also result in smaller files, which means you can shoot more images in a continuous stream without problems.
There is also the possibility that lightning could strike in the short time between the camera finishing one photo and starting the next photo. While this is not very likely, it is a possible disadvantage compared to using a long exposure.
Use an intervalometer
The use of an intervalometer is very similar to (and has the same problems as) using continuous shooting. With an intervalometer you set your camera to take photos continuously with a user specified delay between each shot. This technique is normally used for timelapse photography, but it will work for lightning photography as well.
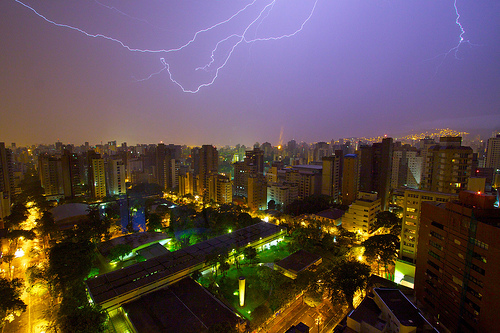
This is how Belo Horizonte says “hello.” by Marcin Wichary on flickr (licensed CC-BY)
Some camera models have a built-in intervalometer. For other models you need to purchase one as an additional accessory (they plug into the camera's shutter release cable socket).
Lightning Triggers
A lightning trigger consists of an optical sensor that can detect the flash of a lightning strike. As soon as it detects lightning, it triggers the camera to take a photo.
An example of a lightning trigger is the appropriately named Lightning Trigger. The benefit of using a trigger is that it will work with short shutter speeds, allowing you to capture lightning during daytime thunderstorms.
Because it only fires the camera on a lightning strike you will also end up with much less photos of empty skies to sort through. The disadvantage is, of course, the additional cost. If you are a storm chaser or live in an area where thunderstorms are common, the cost may well be worth it though.
Motion detection
Similar to a lightning trigger, some cameras can automatically take a photo when they detect lightning. This ability varies between camera models, so you will need to check whether it is possible for your camera.
Some Canon compact cameras can have the ability added through the use of the CHDK firmware enhancement, which adds the motion detection feature. You can read more about it here: CHDK Wiki: Lighting Photography done automatically with Motion Detection.
Electricity in the Sky by Andreas. on flickr (licensed CC-BY-SA)
Similarly, Canon DSLRs don't have a built-in motion detection feature, but can have it added via the Magic Lantern firmware enhancement. You can read more about this here: Lightning Photography with Magic Lantern.
You may need to experiment a bit with the motion sensitivity settings to get the right amount of sensitivity for capturing a lightning strike. But after that you can leave the camera to take photos automatically whenever there is a strike.
While this method is much cheaper than using a lightning trigger, note that it will use up your camera's battery a lot faster. And for some camera models, a motion detection feature may not be available at all.
In the next article I'll cover some tips on safety when photographing lightning, other camera settings, and what sort of focal lengths work well for lightning photography.


