5 Simple Tips to Improve your Photography
In this article I'll cover five simple tips that you can implement to help you improve your photography skills and capture better photos. They are mostly things that are easy to implement, just we don't really think about them. Hopefully these tips will spur you on to really think when taking a photo, and so end up with a much more compelling shot.
Learn to understand light
Light is obviously very important in photography, since without it there would be nothing to capture. But there is much more to it than this. The direction, quality, color, and contrast of light on a scene all have a big effect on how a photo looks and feels.
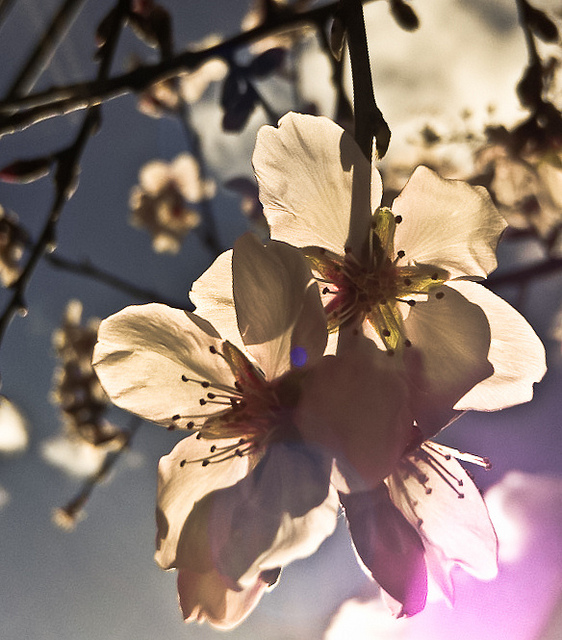
Light by Susana Fernandez on Flickr (licensed CC-BY-ND)
You can read more about lighting in terms of working with natural light here: Natural Light Photography Tips, but to give a brief overview:
- Direction
- Whether the light is hitting a scene at an oblique angle (bringing out texture), or hitting it straight on (creating a very 'flat' image). Whether the light is coming from above, below, the front, the sides, or behind.
- Quality
- Whether the light is soft (generally more pleasing for portraits), or harsh (e.g. direct sun at noon)
- Color
- The color of light can affect the mood of an image, blue can feel cool while yellows and reds give a warmer feeling. The intensity of color also has an effect - a portrait taken in the warm light of sunset will look very nice, but won't look so good under the more extreme orange of tungsten lighting.
- Contrast
- The difference between the brightest and darkest areas of the image has a big effect on how the image will turn out. This links in with the quality of the light, as harsh light is much higher contrast.
When you understand light, it will help you work out the best time of day or weather for what you want to photograph, the best angle to choose in relation to the light falling on a scene, and also how to position lights and use diffusers when working with artificial light.
Create a feeling of depth
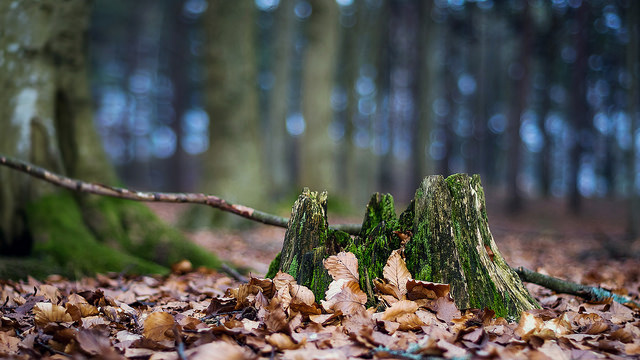
A photograph is a 2D representation of a 3D world, and unless you are going for a forced perspective trick photo, then showing depth will usually result in a much stronger image. For landscape photos, the simplest way to do this is to arrange your composition to include something in the foreground, middle ground, and background.
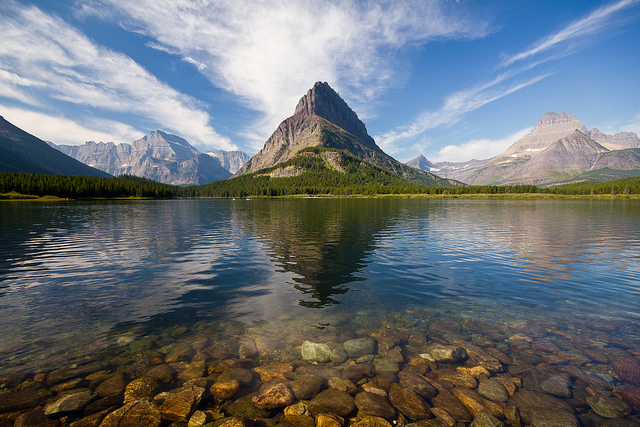
Lakeside View by Jeff P on Flickr (licensed CC-BY)
Another simple trick for landscape photography is to include a leading line or converging line of some sort. For example, a road, fence, or river. As it goes off into the distance, it appears to get smaller, giving the image a good sense of depth.
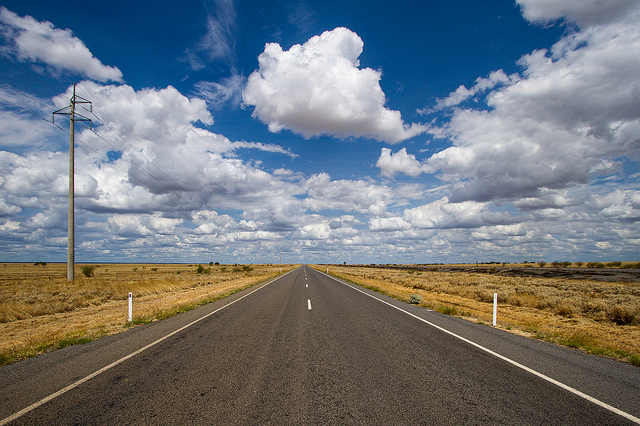
We're on the Road to Nowhere by Marc Dalmulder on Flickr (licensed CC-BY)
For portrait photography, you can use shadows to add depth to your subject's face. You probably don't want to add too much depth, but you do want to capture the shape of the face, rather than just a flat 2D portrait. (Usually, there are always exceptions to the rule, of course). This can be achieved quite easily just by making sure that you have your light source at an angle to your subject's face. (So don't use the camera's pop-up flash - look for another light source, or bounce the flash).
A shallow depth of Field can also be used to create a feeling of depth. The way the background gets more out of focus the further it is away from the plane of focus gives the viewer depth cues to understand a 3D scene from a 2D image.
IMGP0471 by János Csongor Kerekes on Flickr (licensed CC-BY-ND)
Don't hurry
One thing many of us are guilty of, is when we find an interesting subject we just take a quick snap, then move on. Sometimes this can't be helped (e.g. if you're on the way in to work), but many times we could spend a little longer and end up with a much better photograph.
Take your time to walk around the subject, figure out the best angle given the current lighting. Depending on the subject, can you improve the lighting at all (e.g. diffusing the light or adding in a reflector)?
Capture a number of photos that will work together to tell the full story of the subject. A wide-angle establishing shot to show where it is located, a medium 'tight' shot of the subject, add in some detail shots and photograph the subject from different angles too. This creates a much more interesting body of work than just a quick single snapshot.
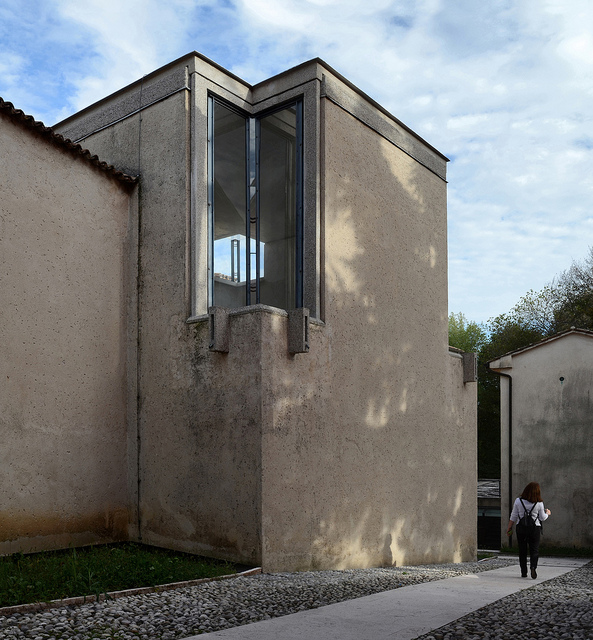
carlo scarpa, architect: gipsoteca del canova, extension of the canova museum in possagno, italy 1955-1957. exterior. by seier+seier on Flickr (licensed CC-BY)
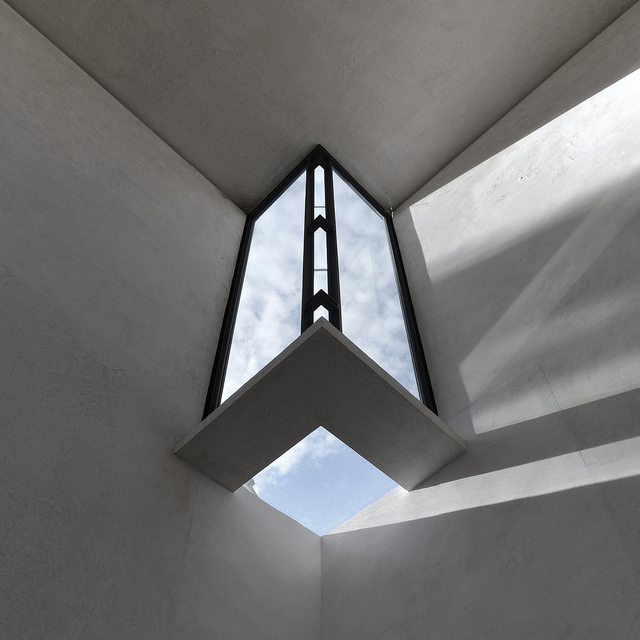
carlo scarpa, architect: gipsoteca del canova, extension of the canova museum in possagno, italy 1955-1957. detail, corner skylight by seier+seier on Flickr (licensed CC-BY)
Look around you
Tying in with the previous point, pay attention to what's around you. Sometimes we can be too focused in on a specific objective that we miss other photo opportunities, which may actually turn out to be better than the photo we had in mind.
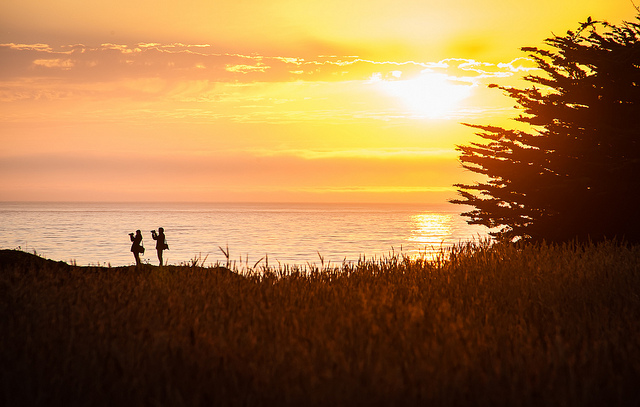
Sunset Photography Tip #37; Look Behind You by Anita Ritenour on Flickr (licensed CC-BY)
If you're walking along a trail, don't forget to look off to the sides, and to turn round every so often and look back at the scene behind you. If you're shooting a portrait on location, don't forget to look around and see if moving the subject (or just yourself) would result in a better background.
Envision the final image
This tip does depend partly on how much of a 'purist' you are, but for most photographers, the capture of an image is only part of the photographic process. After that comes the processing, followed by the print. Envisioning how the final image will look will help you make good decisions when capturing the image to help you achieve that goal.
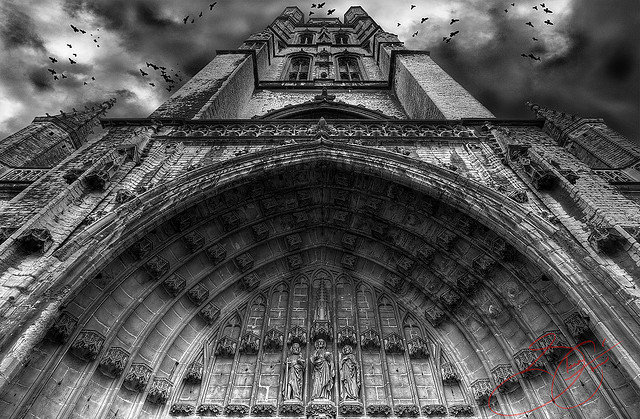
Encroaching Evil by Shane Gorski on Flickr (licensed CC-BY-ND)
For example, if you know you want an image to have a soft, dreamy feeling, then capturing an image of a brightly colored subject in harsh sunlight isn't going to work that well. If you know you want to produce a large print of an image, then capturing it as a multi-image panorama using a slightly longer lens will give you more resolution to work with.
If your camera supports it, then take your photos in RAW format. This captures more information than a standard JPEG image and allows you to change the colors, bring down highlights, or brighten shadow areas without degrading the image. A JPEG image clips highlights and shadows much sooner than a RAW image does, so you can bring back highlight and shadow detail from a RAW file that is not recoverable from a JPEG file. This versatility makes RAW files much more suited to post processing, and making the most of what the camera captured.
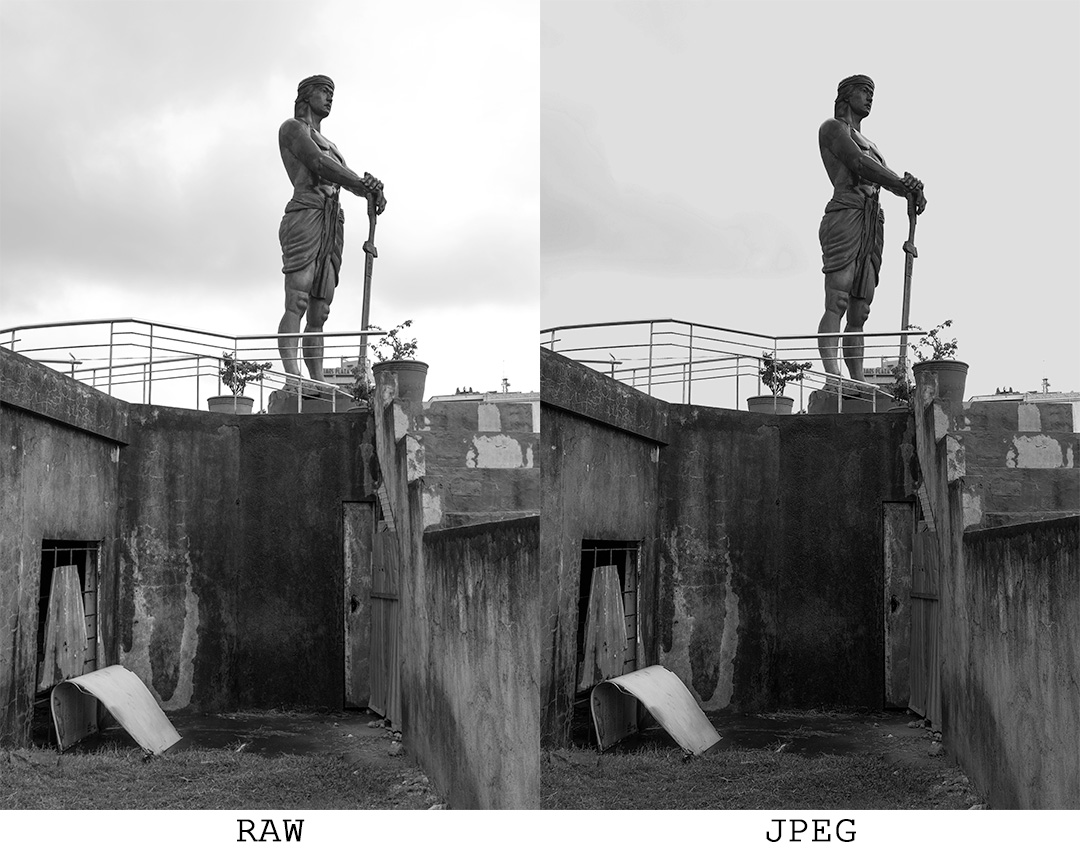
RAW and JPEG photos both processed with exact same settings to pull back detail in the sky - the JPEG image just gets muddy whereas the RAW image retains contrast and cloud detail is recovered
It may be helpful to have a notepad, so that you can write down the image filename(s) and the processing you have in mind at the time you take the photo. This can then help guide you later to achieve the image you envisioned.
This is not to say that you should always try to process images exactly as you had pre-visualized them. Experimenting with processing is part of the creative process and a great way to learn too. But having an image out of camera that is suited to the type of processing you had in mind is nearly always helpful.


