Fixing exposure problems – What to do if your photos are too bright or too dark
Although the auto exposure of modern cameras is pretty good, they doesn't always get it right. This is especially true if there is a large difference in brightness between your subject and the background.
For example, a person in a dimly lit room with the sun shining in through a window behind them. You'd probably end up with a photo where the person is a silhouette, but the window is exposed correctly. Great if this is what you wanted, but not so great if you were trying to capture the person's portrait.
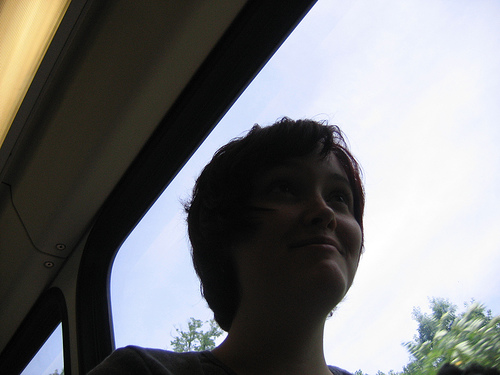
IMG_0870.JPG by busbeytheelder on flickr (licensed CC-BY-SA)
There are a few different things you can do to fix this. We'll first look at the camera settings etc. you can use to fix the problem on location. Then we'll look at options for fixing existing shots using image editing software.
Fixing exposure problems at the time of the shoot
Spot metering
Depending on your camera model, it may have a spot metering option available. Spot metering means that the camera uses just a small spot (usually the active autofocus point) to determine the metering, instead of using the whole scene.
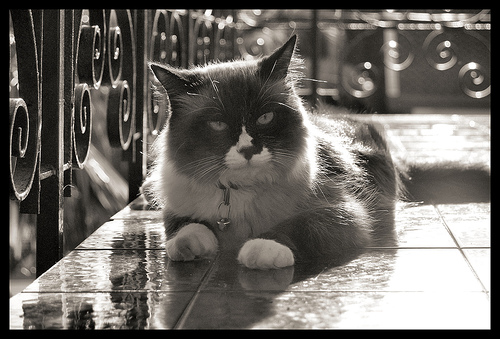
Chica by Jsome1 on flickr (licensed CC-BY)
So long as you put the 'spot' over your subject, then the camera should use the correct exposure for your subject rather than the scene as a whole.
Exposure lock
Point your camera at a subject / scene that is lit the same as your subject, but without the strong backlighting. For the example of someone in front of a window, you could turn 90° and point the camera at a wall. Then lock the auto exposure reading.
The method used to lock exposure varies between camera models, so check your camera manual if you are not sure. Some models feature an exposure lock button. But with most models, pressing the shutter button half-way down will lock exposure. Keeping the shutter button half-pressed, recompose your original photo. Then press the shutter button all the way down to take the photo.
In the majority of cameras, half pressing the shutter button activates autofocus lock as well as exposure lock. In this case you will need to make sure you stand about the same distance away from the wall (or whatever you are taking the exposure reading from) as you stand from your subject. Otherwise you'll end up with a photo where the subject is exposed properly, but not in focus.
Exposure compensation
You can use the exposure compensation setting on your camera to correct for under or over exposure. If the subject is too bright, dial in negative exposure compensation. If they are too dark dial in positive exposure compensation.
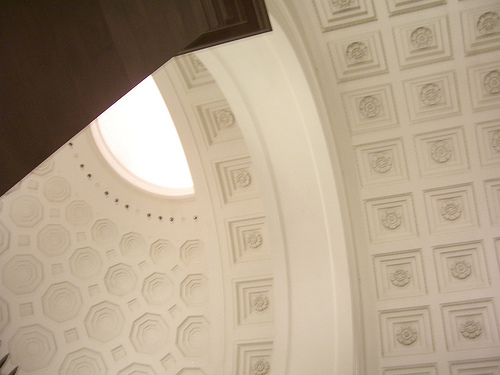
National Archives Rotunda by jmorgan on flickr (licensed CC-BY-SA)
What the correct amount of exposure compensation is that needs to be applied can be difficult to discern unless you are used to shooting in similar conditions. You'll just have to apply the compensation, take a shot, check the image on the LCD, and then adjust again if necessary, until the shot looks right.
If the subject moves away from the background that is causing the exposure problems, then remember to reset the compensation to zero.
Use fill flash or a reflector
For a dark subject in front of a bright background, you can use fill flash or a reflector to add some light to your subject.
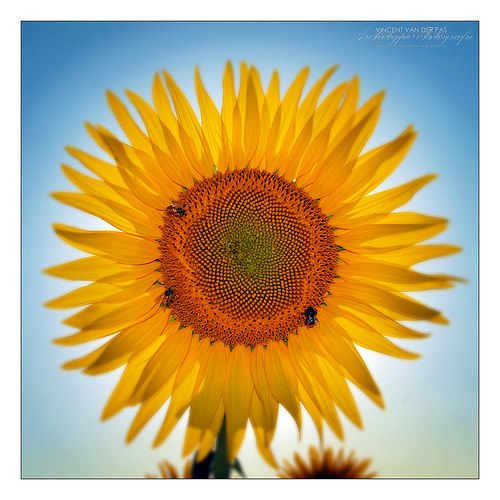
'Sun' By Flower by Vincent van der Pas on flickr (licensed CC-BY-SA)
A bright subject in front of a dark background can be a bit trickier, especially if the background is far away. Depending on circumstances, you may be able to use an off-camera flash unit to light the background.
HDR
For static subjects, you can use HDR processing or exposure blending to compensate for large differences in brightness in an image. You will need to set your camera to use exposure bracketing, or manually bracket the images yourself. Normally you will take 3 images:
- One over exposed, that captures details in the shadows, though looses details in the highlights
- One normal, that captures details in the midtones, though may loose some detail in the highlights or shadows
- One under exposed, that captures details in the highlights, though looses details in the shadows
These three images can then be blended together using image processing software. So you end up with an image that has good detail in the highlights, midtones, and shadows, with no area overexposed or underexposed.
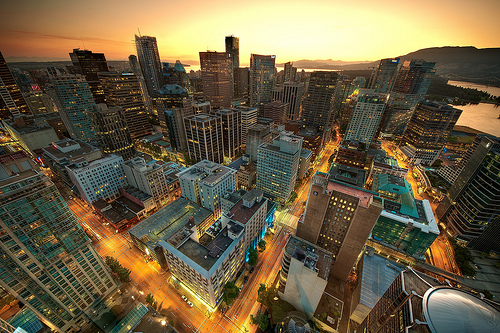
Downtown Vancouver Sunset by MagnusL3D on flickr (licensed CC-BY-SA)
This technique only works well for static subjects, and also takes more time as the photos need to be processed together. Ideally a tripod should be used to keep the camera still as well.
GND filter
For subjects with a straight edge that runs across the frame (mostly landscape photos), then you can use a graduated neutral density filter (GND). This is a filter that goes in front of the camera's lens. Half the filter is clear, and half is dark (though still transparent, not solid black).
You place the filter so that the dark half is over the area of the image that is too bright (almost always the sky). This then darkens the sky, so it is exposed correctly in the final image. Obviously the difference in brightness between the sky and landscape is not always the same, so GND filters can be purchased in a variety of strengths.
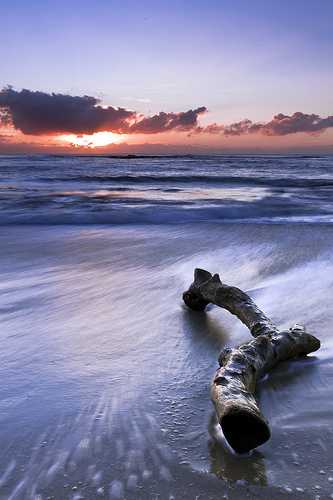
Cronulla Sunrise by Luke Peterson Photography on flickr (licensed CC-BY)
A similar technique to using a GND filter, is to use a piece of black card. You hold the card in front of the lens, covering up the area of the image that is too bright. When you take the photo, you jiggle the card around a bit (to prevent a harsh transition), then remove the card part way through the exposure.
Because the area where the card was placed was blocked off for part of the exposure, it will appear darker. This technique works best for long exposures, and will require some experimentation as regards to how long the card should be held in place before being removed.
Fixing exposure problems using software
Some times we only have one chance to get a photo, or we might not notice the exposure is wrong until we check the photos later. It is best to get the exposure right in camera if you can, but if not, then software can be used to rescue some images.
Generally, it is much easier to brighten shadows than it is to bring back detail from an area that is too bright. This is because most cameras record more midtone and shadow detail than they do highlight detail. However, brightening shadows will increase image noise in those areas.
Highlights and shadows adjustment
Most image software allows you to adjust the brightness of the shadows and highlights in an image, usually using slider controls. You can use these to brighten shadows, or darken bright areas.

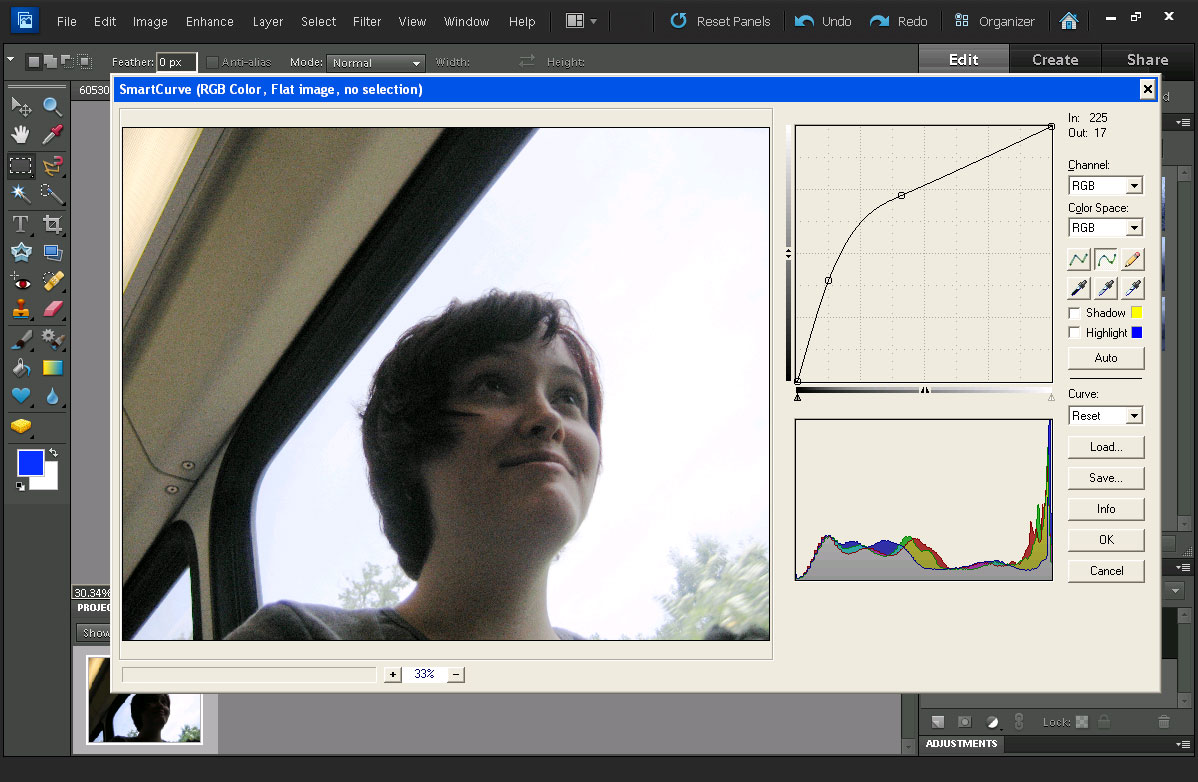
Curves
The curves tool can be used to brighten the shadows by pulling up the bottom of the curve. Or it can be used to darken the highlights by pulling down the top of the curve.
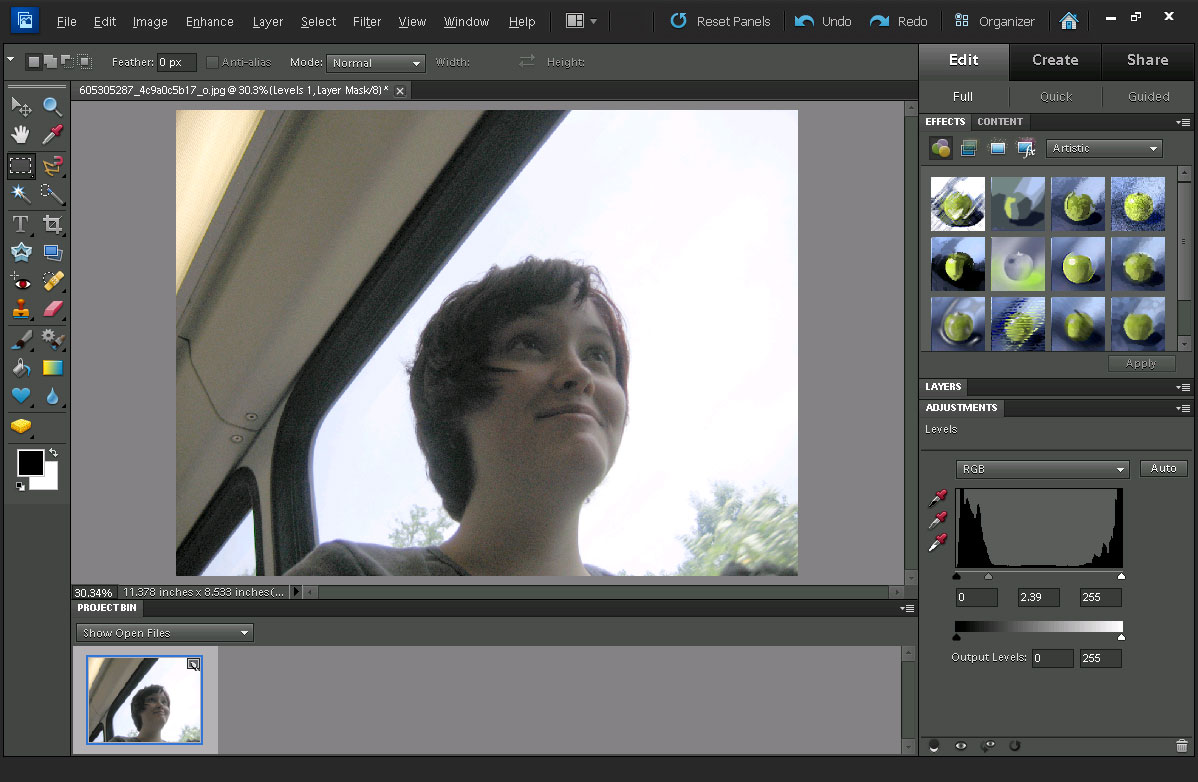
Levels
The levels tool can be used to brighten the shadows by shifting the midtone slider towards the left edge. Or it can be used to darken the highlights by pulling the midtone slider to the right edge.
Auto exposure in modern cameras is generally very good, but can trip up sometimes. With the above raft of options you should easily be able to correct for auto exposure problems when shooting in tricky lighting.


