What to look for when buying a Speedlight Flash: Light color, duration, & accessories
In the fourth part of this series on what to look for when choosing a speedlight flash, we'll cover color temperature, flash duration, and included accessories. We'll look at why these may be very important features you should carefully consider, or why they might not matter at all, depending on the type of photography you practice.
Color temperature
For most photographers, the color temperature of flash is not important. Simply set your camera's white balance to 'flash' and you'll get nice neutral results with no obvious color cast. However, the color temperature of speedlights do vary and they are unlikely to exactly match the flash preset of your camera. For color critical work, such as product photography or photographing paintings, then this can be more of an issue.
The main problem is usually when using multiple speedlights to light different areas of an image. If there is a mismatch between the color temperature of the flashes, then this makes it impossible to correctly white balance the image. To make matters worse, most speedlights change their color temperature with their power output. At full power they may have a warmer color temperature than at minimum power.
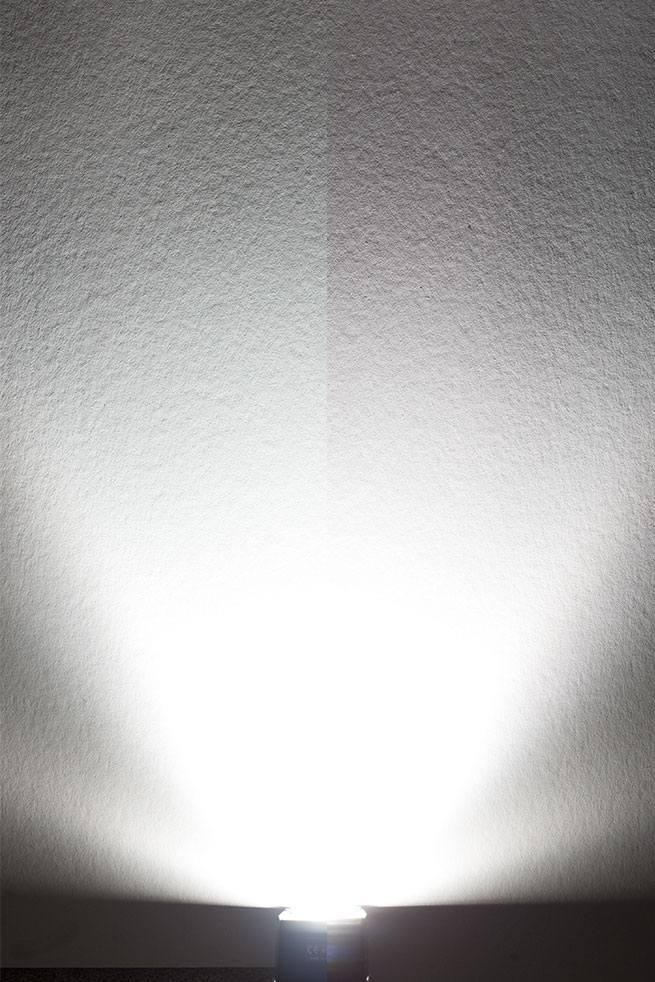
Speedlight flash set to 1/64 power on left vs same speedlight set to full power on the right. The light when the flash is fired at full power is clearly a lot warmer in color temperature than at lower power settings.
Information about the flash's color temperature, and how the color varies across the flash's power output is not usually included as part of the flash's specifications (unless the manufacturer wants to boast about how good it is). So for this kind of information, you'll need to look towards reviews.
But to reiterate, the variation of color temperature is very unlikely to be an issue you should be concerned with unless you are doing color critical work.
Flash duration
A fast flash duration makes it easier to freeze fast action when the flash is the main light source for an image. The flash duration is how long the pulse of light from the flash lasts for. The shorter the flash duration, the easier it is to capture sharp flash lit images of quickly moving subjects.
All speedlights (as far as I know) have a pretty fast flash duration, even when fired at full power, fast enough to freeze most action. Typically the flash duration at full power will be around 1/500s - 1/1000s. At lower powers the duration is much shorter - down to 1/10000s or even faster.
One application where a fast flash duration is important is for high speed photography. Generally this will be photos of water / milk splashes, items being dropped into water, or items being shot or smashed.
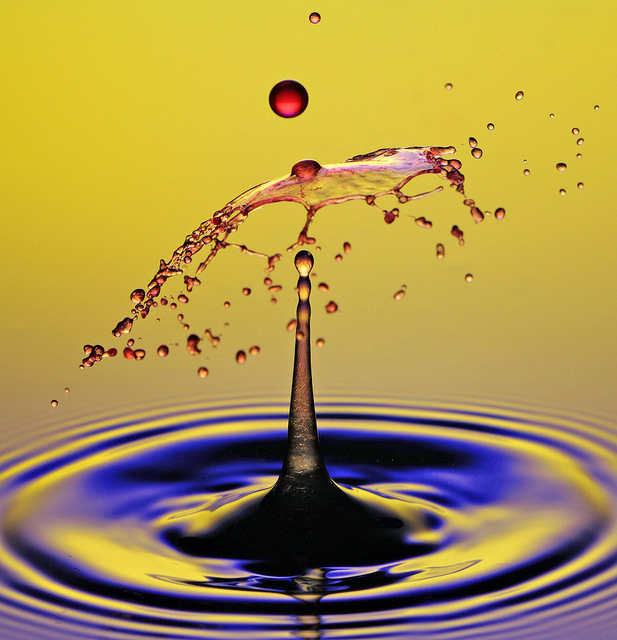
SplashArt Square Crop by Joe Dyer on Flickr (licensed CC-BY)
If you're interested in photographing these sorts of subjects, then make sure you check the flash duration of any flash you are considering purchasing. Nearly all models will be fine at lower power flash settings, but of course the faster duration the flash offers, the better it will able to capture sharp frozen images of very fast moving subjects.
Included accessories
Another thing to look at when choosing a flash is what accessories are included in the box. Often you will find a small stand, diffusion dome, and soft bag included.

Speedlight flash on stand, with diffusion dome attached
The small stand allows you to stand the flash up on a flat surface, for use off-camera. Typically the stand will also have a 1/4″ thread on the bottom, which allows you to attach the stand (and hence the flash) to a tripod, light stand, mini ballhead, etc.
A diffusion dome serves two purposes. Firstly, it spreads the light from the flash out a lot, allowing the flash to cover the field of view of very wide angle lenses. Secondly, it softens the light.
The diffusion dome is particularly good for achieving very soft and even lighting when shooting indoors. It allows some light to pass through straight towards the subject, while lots of light also escapes through the sides, bouncing from the ceiling and walls until it hits your subject. This also creates a lot of wasted light though, so you'll need to use a higher flash power when using the diffusion dome.
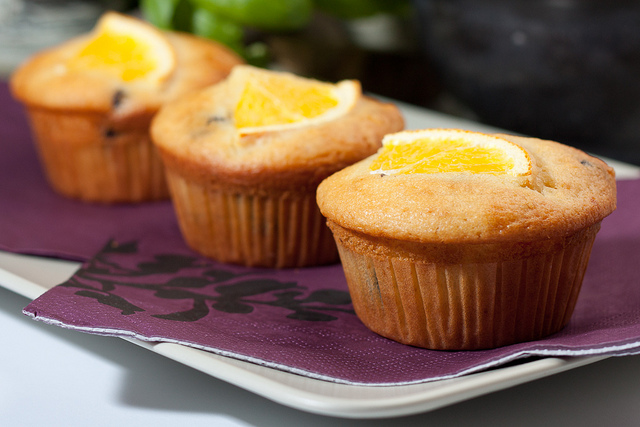
Chocolate orange muffins by Leszek Leszczynski on Flickr (licensed CC-BY) - lit by firing a speedlight flash with diffusion dome attached into a white card reflector behind and over the subject.
Unless you already have a number of flash accessories, then both these accessories can come in handy. If you're planning to use the flash entirely on-camera then the stand may not be useful. Or if you shoot only outdoors and don't use a wide angle lens, then the diffusion dome may not be useful. But for most photographers, both these accessories are nice to have available.
If a flash doesn't include these accessories, then you should factor this in to your decision when looking at the cost. You can purchase the accessories separately, but in the case of the diffusion dome, you need to make sure that it's designed to fit your flash. Different flashes have differently shaped heads, and so an accessory designed for use with one flash will not necessarily fit a different model of flash.
The soft bag often included with flashes, on the other hand, is a pretty useless accessory in my opinion. It can be used to help keep your flash as scratch-free as possible when storing and transporting it. But I don't think many photographers care whether their speedlight gets a few scratches. A flash is for improving lighting, whether it looks beaten up or brand new only matters if you are trying to sell it.
An accessory that is sometimes included is color correction gels. These help you change the color temperature of your light. The intended purpose of this is so you can match your flash to the ambient lighting, so the flash blends in with the existing lighting of the scene.
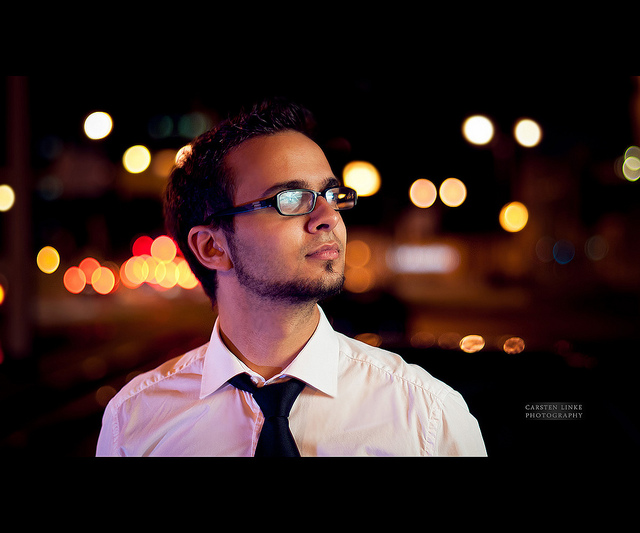
Tarek by Hallenser on Flickr (licensed CC-BY)
For example, say you're photographing a subject with flash and the background is lit with tungsten lighting. If you set your camera's white balance to flash, then your subject won't have a color cast, but the background will appear orange. If you set your white balance to tungsten, then your subject would appear blue while the background would be neutral. By using an orange color correction gel on the flash, you can use a tungsten white balance and both subject and background will have no color cast.
Color gels can also be used for more creative lighting though. You can use a gel on your flash in ambient lighting that doesn't match the gel color, to get colored flash that can help your subject stand out. You can also do this, but then set the camera's white balance to the gel color. This gives you a neutrally colored subject, but the rest of the scene takes on the complementary (opposite) color of the gel.
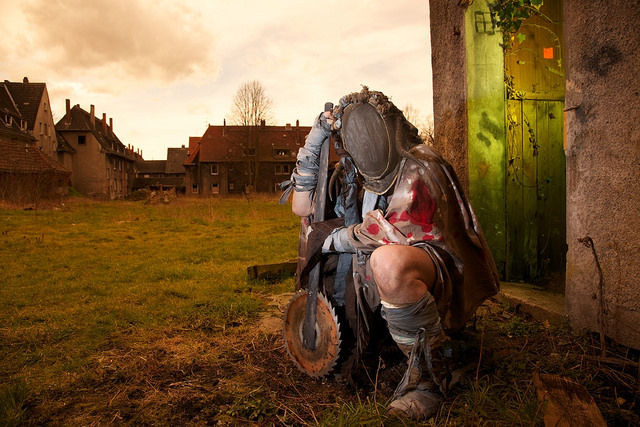
Unterschlupf by Ralf H on Flickr (licensed CC-BY-SA) - This image uses both of the above creative techniques - a green gel was used for a flash lighting the inside of the shed, while a blue gel was used for lighting the subject. White balance was then set to neutralize the blue color cast on the subject, which results in the rest of the image being given an orange color cast.
While color gels are nice to have included with a flash, you typically only get two basic gels - orange (for mixing flash with tungsten lighting) and green (for mixing flash with fluorescent lighting). If you like the idea of using colored gels, you can purchase packs that include more colors and strengths.
I hope this article has been useful, if you have any comments or suggestions, feel free to leave a comment below. In the next article of this series we'll look at the issues of size, weight, and usability, covering what trade-offs you may have to make if you're looking for a small lightweight flash.


These articles are extraordinary. I really appreciate your assistance with so many valuable information. You are great!!!