Cheap alternatives to expensive photography gear
Photography can be an expensive business. Never mind the cost of the cameras and lenses, even photography accessories are often expensive. Thankfully, for many photography accessories there are cheaper alternatives available.
They might not look so good, and might not even work as well. But if they can do 90% of the job for 10% of the price, they can be very handy if you can't afford to shell out for the 'proper' product. It can also be a good idea to try out a cheap version of an accessory, to see how useful it actually is for your photography, before you decide to splash out on the full price model.
So, in this post, we'll look at a few different cheap alternatives to popular photography equipment.
Graduated neutral density filter
Graduated neutral density filters can be pretty expensive for good quality models. This is especially true if you have an ultra-wide angle lens, where extra large filters and often special filter holder adapters are needed. But thankfully there are a couple of very cheap alternatives.
Black card technique
For an in-camera technique, you can use what is known as the black card method. Take a piece of black card and hold it against the front of the lens, so that it covers over the area of the image that you want to darken. Start the exposure, while shaking the card ever so slightly. Then half way through the exposure, remove the card from in front of the lens.

So the exposure has half the time with the black card blocking part of the frame, and the rest with the frame being fully exposed. Shaking the card slightly ensures a smooth transition between the darkened area and the rest of the image.
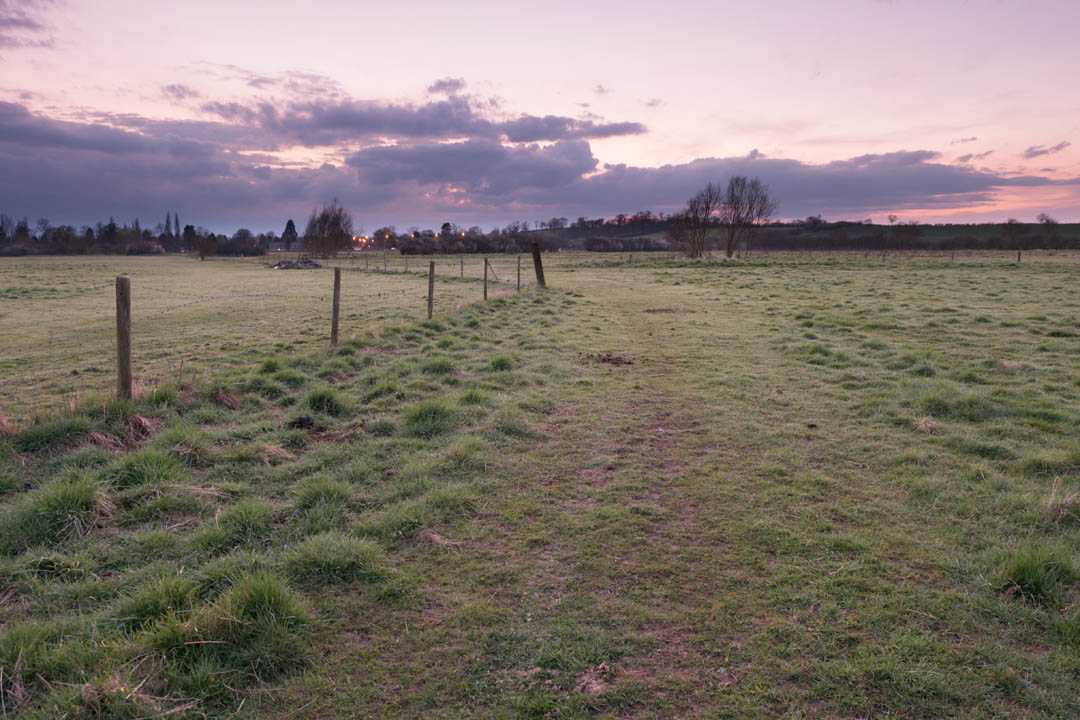
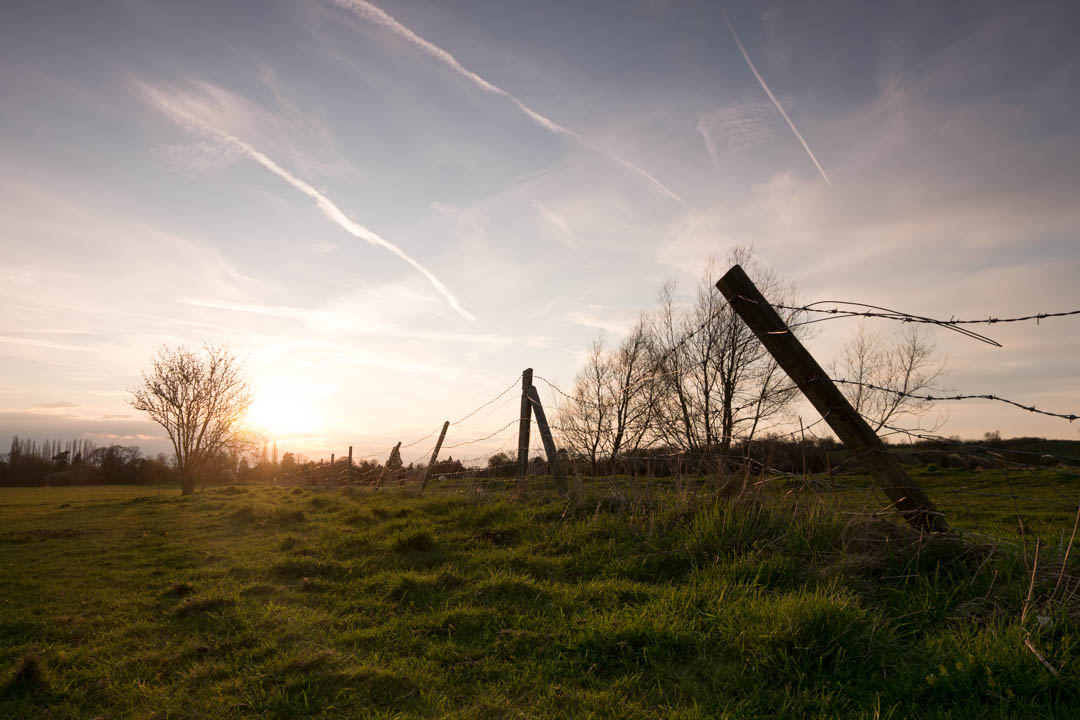
Photo taken using black card technique to bring down the exposure of the sky
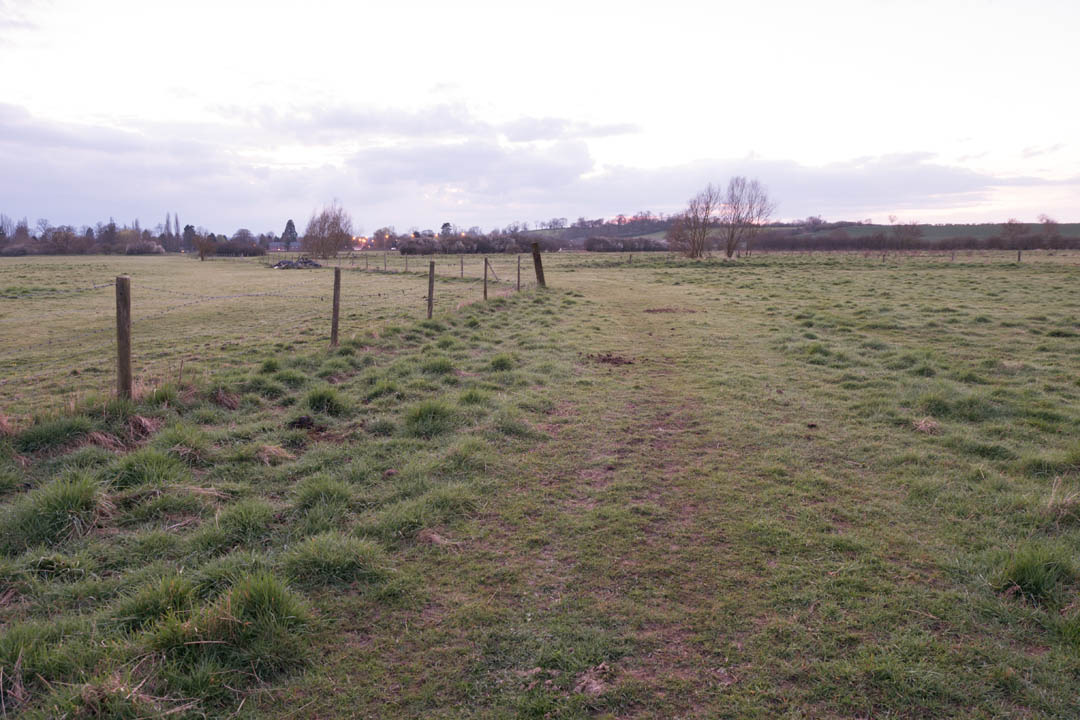
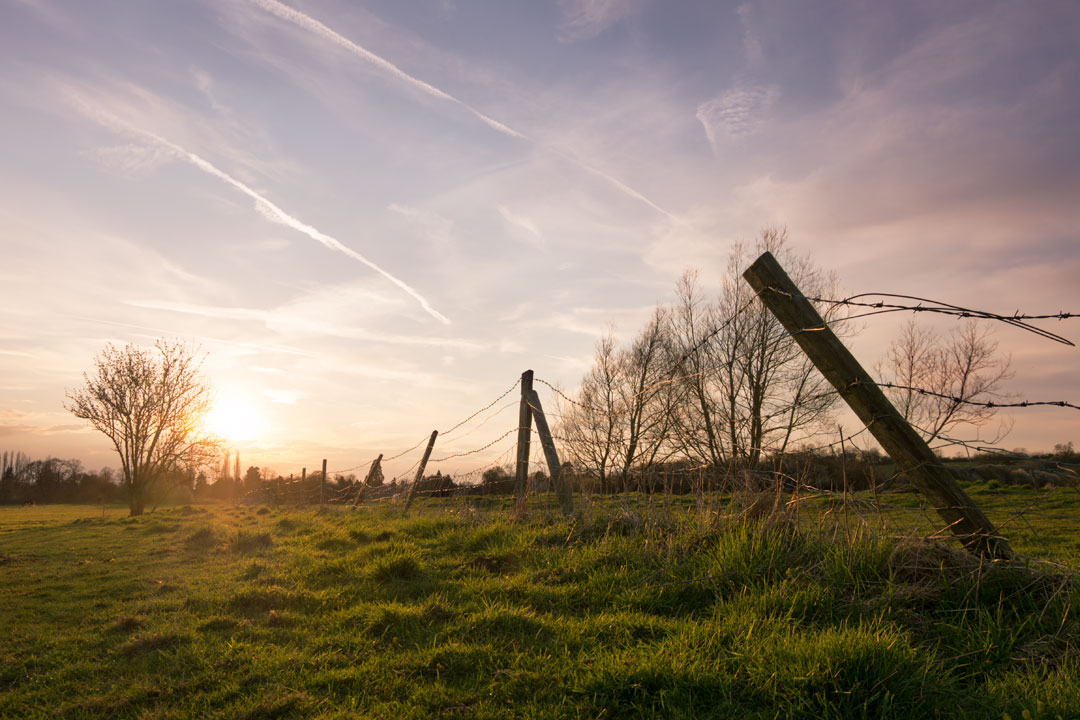
Photo taken without using black card technique - the sky is noticeably over-exposed
As you might have guessed, this technique works best with longer exposures. You're not going to have quick enough reflexes or timing to use this trick with short exposures.
The longer you cover up part of the frame, the greater the reduction in exposure will be for that part of the frame. So you can vary how long you hold the card in place to alter the exposure.
Gradually moving the card up from the lens during the exposure will create a very gradual effect. Whereas keeping the card in place then quickly removing it will give a much harsher transition.
Exposure blending
This technique relies on applying the graduated filter when processing the image. In most cases you need to take (at least) two photos with the camera in a fixed position (e.g. on a tripod). One exposed so that the area you want to be darkened (typically the sky) is at the correct exposure you want in the final image. The other exposed normally.
In your image editing software, you can then blend these images together. And since we're talking about cheap photographic equipment here, you can easily use the GIMP (which is free) to perform an adjustment like this.
Blending images this way is actually superior to a real graduated neutral density filter in some cases. A real filter has a straight line that works well for flat horizons, but causes problems if you have something sticking up above the horizon in part of the image. The part sticking up above the horizon will also be darkened by the filter.
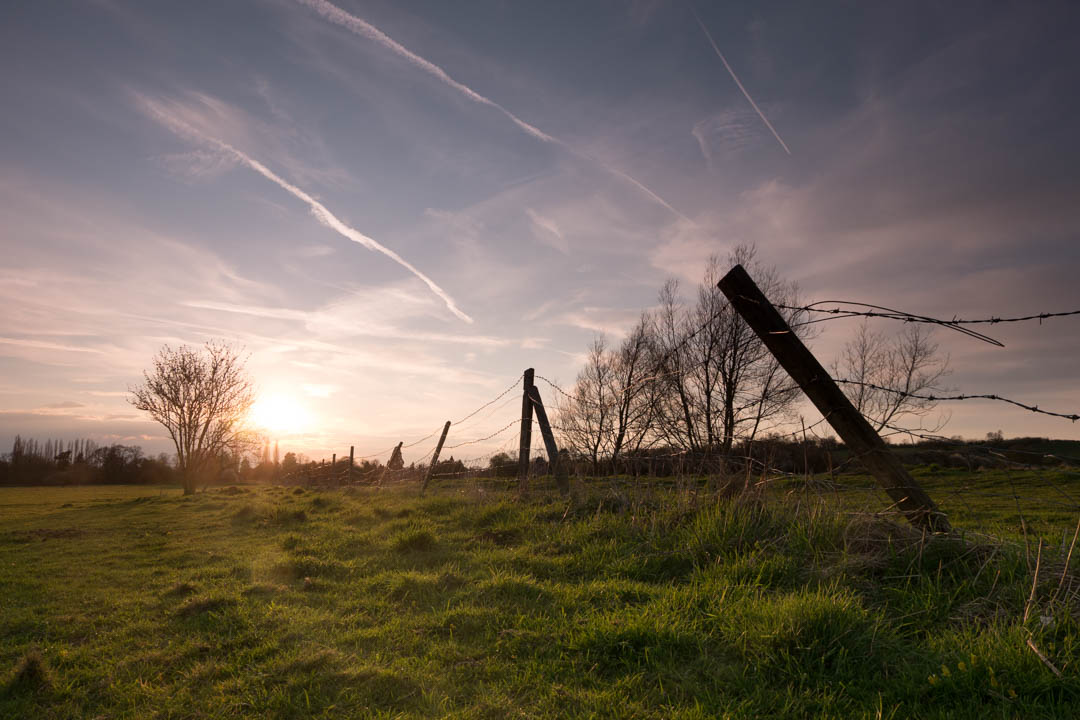
Split graduated hard edge ND filter - the filter darkens the sky, but also the top part of the nearest fence post that pokes up above the horizon
Split graduated soft edge ND filter - the top part of the nearest fence post is still noticeably darker than the bottom
But when creating the same effect by blending images, you can select the part of the image that sticks up above the horizon, and exclude it from being darkened. Resulting in a much more natural looking image.
Bracketed set of exposures blended together
Flash triggers
Branded wireless flash systems such as Pocket Wizards and the camera manufacturer branded systems can be pretty expensive, especially if you have several speedlights that you want to use off-camera at the same time. But there are a plethora of cheaper third party alternatives available that can be used with almost any flash (including many powerful but cheap older models).
You'll find that cheap radio triggers lack many of the niceties of more expensive units (such as TTL control). But they get the basic job done of firing the flash off-camera without any wires at a much cheaper price.
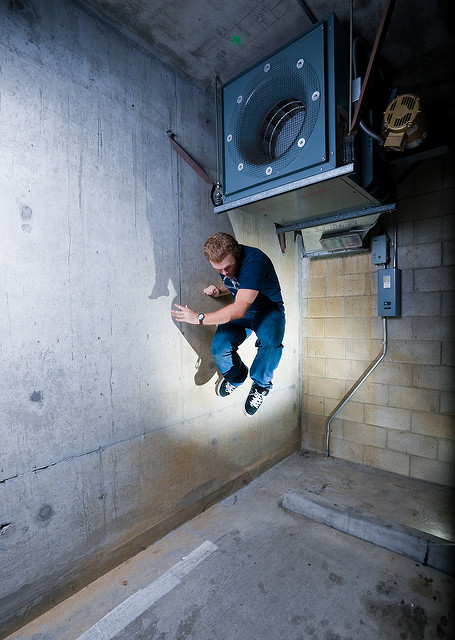
Untitled by John Lemieux on Flickr (licensed CC-BY)
If you want to go even cheaper still (though not a lot cheaper) you can go for optical triggers rather than radio triggers. These require another flash to fire to trigger them, and require that the trigger sensor is pointed towards the triggering flash.
So optical triggers only work when you have line of sight between the triggering flash and the off-camera flash. And they can be a bit unreliable in bright sunlight. They also don't tend to work well if your triggering flash fires a pre-flash (such as a camera's pop-up flash set to TTL mode).
But if you're working indoors, on a very tight budget, and want off-camera flash, then optical triggers might be the best solution for you.

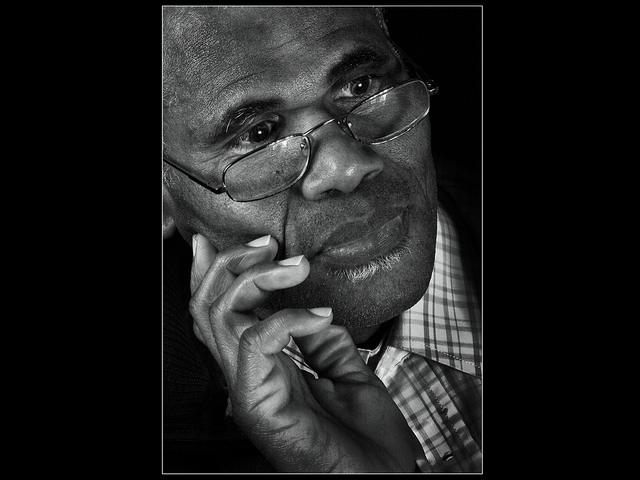
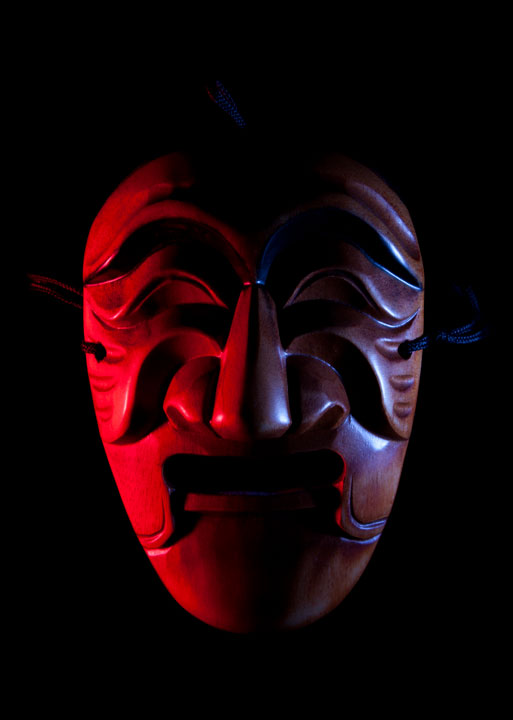
Gabriel with colour chart by Roger Blackwell on Flickr (licensed CC-BY)
Reflector
A reflector can be a cheap way of adding an extra light source to your image without actually adding an extra light. But the branded models, while cheaper than a speedlight flash, can still get quite expensive, especially in the larger sizes suitable for portrait work.
A cheap but effective alternative is a reflective windshield cover, designed to reflect light away from your car's windshield and stop the car getting too hot. The shiny reflective surface means it also works well as a photographic reflector. And it folds up neatly, making it easy to transport to outdoor shoots too.
Ollie8_139 by uncle keith on Flickr (licensed CC-BY-ND) - lit using a shoot-thru brolly & another flash bounced from a DIY reflector
Reflective windshield covers are available in a range of different designs, with varying reflectivity. Some are very reflective, while others are more matte. The more matte the material, the less light gets bounced back at your subject, but the bounced light is also softer.
Another alternative is to use a piece of card covered with kitchen foil. Due to the high reflectivity of foil, this will usually give a harsher light source than the windshield cover.
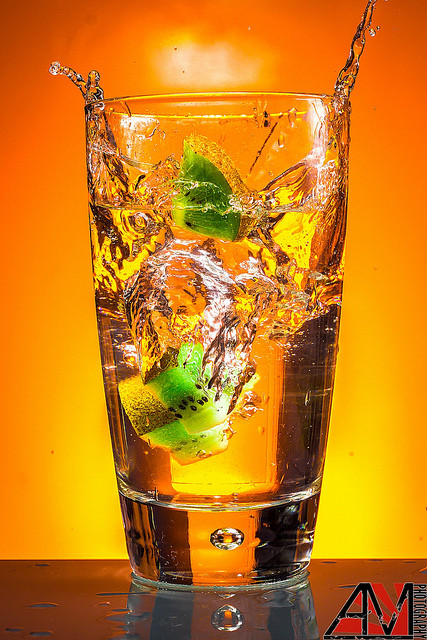
Kiwi! by Alex Matravers on Flickr (licensed CC-BY-ND) - it using two flashguns and a DIY reflector
For softer light, just use a piece of plain white card. But bear in mind this will bounce less light back at your subject than a more shiny reflector.
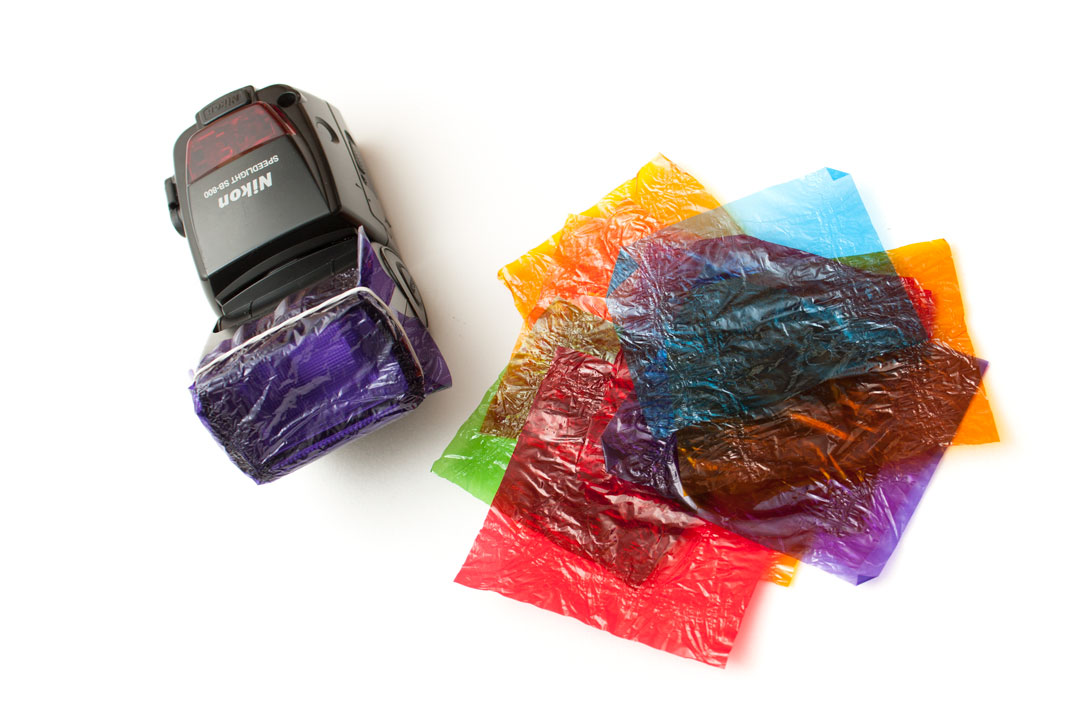
Flash gels
If you want to add some color to your flash, you can add a colored flash gel in front of it. Flash gels aren't exactly expensive in the first place, but if you want to get even cheaper you can just use colored cellophane wrappers from chocolates.
Simply use an elastic band to hold the wrapper over the flash head, and you have a colored flash.
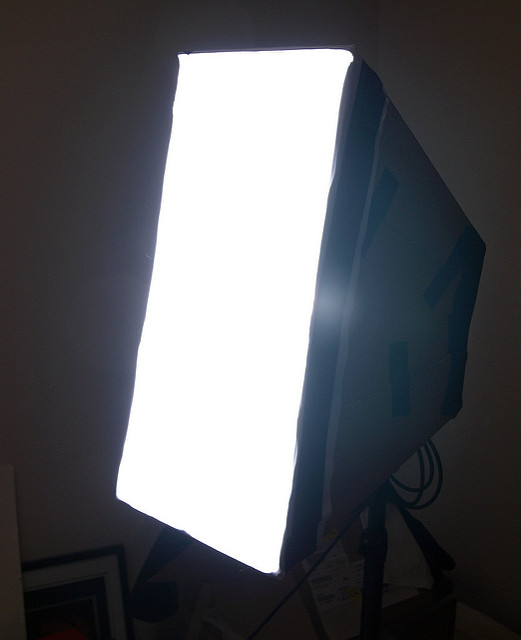
Softbox
Softboxes from the big name lighting equipment manufacturers can be pretty expensive. But all a softbox does is bounce around the light inside it, then output it through the large front panel. This gives a much softer light than a small point light source (like a speedlight flash) by itself.
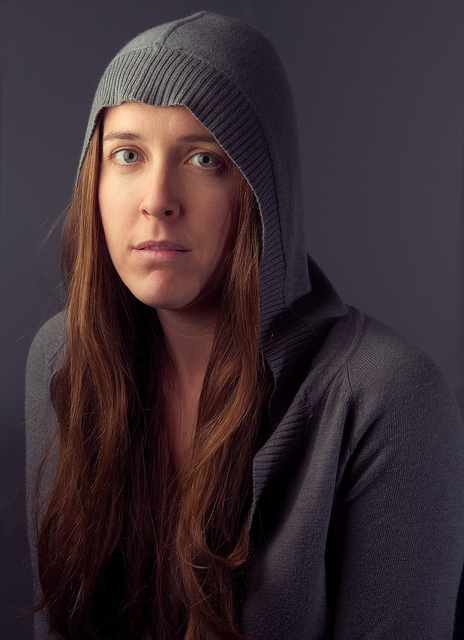
Mairi 8 by Pat David on Flickr (licensed CC-BY-SA)
You can make your own softbox by cutting up a cardboard box, sticking foil on the insides, then attaching it together. Cut a hole in the back that your flash gun's head can poke inside. And fit your flash with a wide-angle diffuser so that light will bounce around inside the box rather than just going out the front straight from the flash. Then attach any translucent white material over the open front of the box.
DIY SOFTBOX by t f on Flickr (licensed CC-BY)
I realize that's a bit of a brief DIY explanation, but going into details would make a whole article in its own right. There are plenty of tutorials around on the web that go into more detail on how to make your own softbox.
For the amount of effort it takes to make your own softbox, you might want to consider one of the cheaper models from Chinese manufacturers though. Umbrella softboxes are like an umbrella, but with a sheet of diffusion material you attach over the open front.
They have a slit in the bottom through which you insert your lightstand, so the flash is mounted inside the middle of the umbrella. You position the flash so that it is pointing towards the back of the umbrella, then the light hits the umbrella and bounces out the front.

299/365: Nuevo Softbox by Andrés Nieto Porras on Flickr (licensed CC-BY-SA)
These umbrella softboxes collapse down neatly like a standard umbrella, and give nice soft light. And so long as you don't go for a model from one of the major manufacturers, they can be had pretty cheaply.
Expensive photography gear is usually costly for a reason - it is more reliable, better built, and easier to use than the cheaper alternatives. But if you can't justify the cost of a brand-name accessory, then take a look at the cheaper alternatives, including DIYing your own. For an accessory that you're not going to be using every day, it usually makes sense to go with the cheaper option.


