The Importance of Texture in Photography
Texture is an important aspect of photography. It can give your photos more of a 3D look, and change the way the subject is perceived.
I don't mean the texture of the paper you print your photos on, but texture captured in the image. An old person can be photographed to highlight the texture of their wrinkled skin, or they can be photographed with flat lighting to hide this texture and make them look a bit younger.
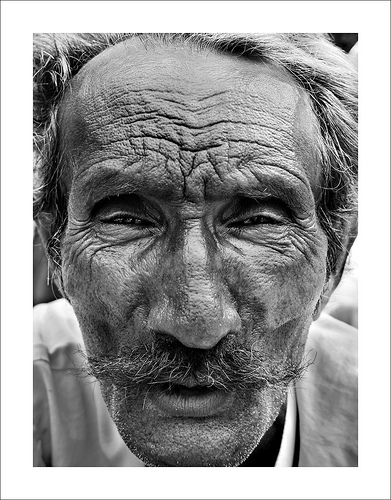
baavla, the charmer by nandadevieast on flickr (licensed CC-BY)
An unpolished wooden table top can be photographed to show the rough surface texture of the wood grain, or it can be photographed to look like it has a very smooth surface. Photographing a building to bring out the texture of flaking paint can make the building seem old and unloved.
Whether the texture is brought out in the photo, or 'hidden', can change the message of the photo.
How to show or hide texture in a photo
Texture depends entirely on the way that the light is hitting the textured surface. Photos are 2D, the texture is implied by the highlights and shadows on the surface.

Direct lighting from the camera position makes this image look very flat.
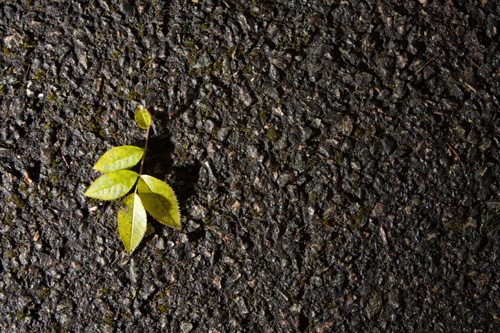
Lighting the leaf (and pavement) from an angle instead brings in some shadow and gives the image a much more 3D look.
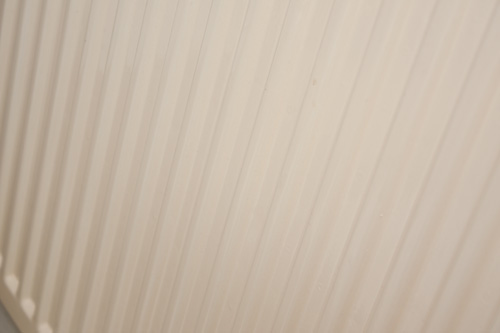
Very even (flat) lighting will produce hardly any shadow, and so any texture will not be very visible. This is normally the case if you light your subject straight on from the camera position (e.g. using your camera's pop-up flash).
Directional lighting will work much better to create shadows and bring out the texture in a subject. The exact direction that will bring out the subject best is dependent on your subject and your camera position. The lighting needs to come from a direction that will cast shadows that will show up from the camera's position.
Using some soft lighting (flash bounced off the ceiling), there is still enough direction in the light to create some shadows and bring out the ridges of this radiator.
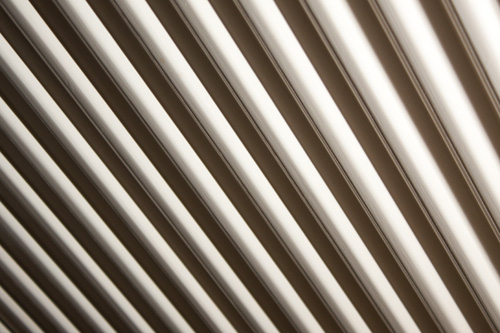
Using bare side lighting creates strong highlights and harsh shadows, creating an abstract line photo more than a photo of a radiator.
For most subjects side lighting works well to bring out texture. If using natural light, this would mean shooting shortly after sunrise or before sunset. If you are using artificial lighting, it just means placing your lighting off to one side from the subject.
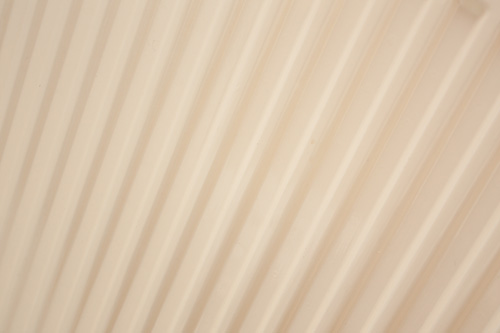
To hide texture you want to use flat diffused lighting to fill in any shadows. Again, the exact direction of the light depends on your subject and where your camera is positioned in relation to the subject. But generally lighting the subject straight on with a soft diffused light will work well.
Using lighting aimed parallel to the radiator doesn't create much shadow, giving the image quite a flat look.
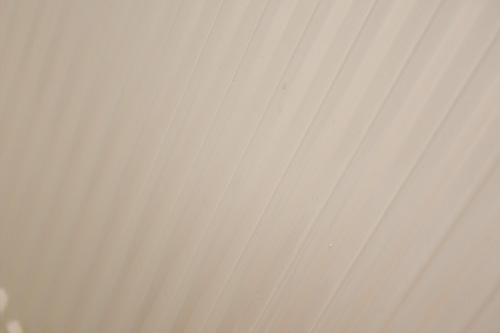
Adding a reflector below the bottom left of the image fills in some the remaining shadow, giving an even flatter image. The texture of the radiator is de-emphasized.
If you find you are still getting shadows highlighting texture on the subject, then use additional lights or reflectors. Point the extra lights towards those shadows to fill them in.
Texture by itself
Interesting textures can create a good photograph in their own right. Large areas of texture do not occur very often naturally (unless you can get up in the air to shoot down at fields and forests). But the walls of buildings can sometimes provide nice large areas full of texture.
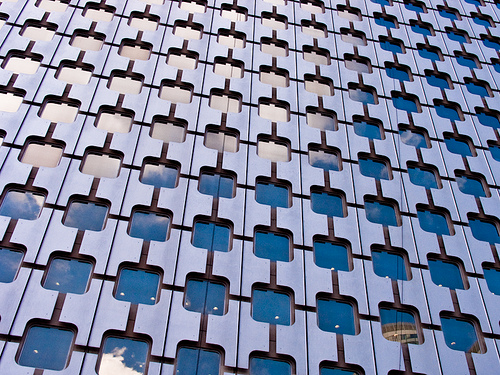
Building texture by iurte on flickr (licensed CC-BY-SA)
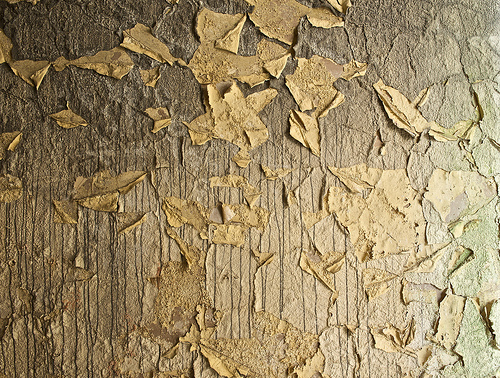
More often when you are looking for a pure texture shot, you will need to look for a detail shot. For example, the bark of a tree, or peeling paint on an abandoned vehicle. Using off-camera flash can be particularly helpful for these detail shots as you can easily move the flash around and experiment with the direction of the lighting.
Enhancing existing photos with texture overlays
Textures can also be useful for applying as effects to existing images. They can give an image more of a painted feel, and evoke a different feeling to what the plain photo would by itself.
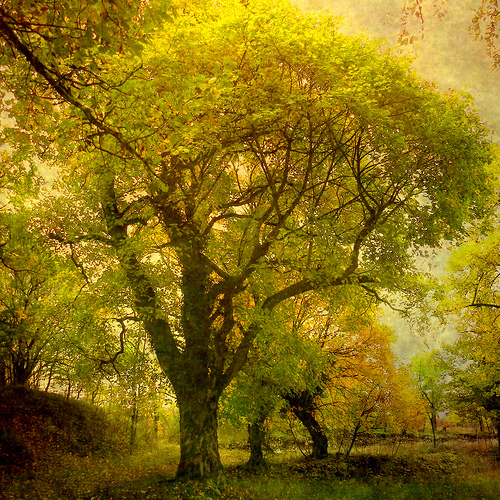
✿ Forest roads ✿ I by ✿ nicolas_gent ✿ on flickr (licensed CC-BY-ND)
Adding a texture to an existing image is relatively simple. Open your photo in your image editing software (e.g. Photoshop). Add the texture as a new layer. Change the blend mode of the texture (try different ones - overlay often works well). Change the opacity of the texture layer as needed to reduce the effect.
You can build up a nice library of texture images by taking photos of interesting textures whenever you see them.


