Shooting techniques for sharp and contrasty photos
As megapixel counts of cameras get ever higher, it's more and more important that you use good shooting technique if you want to make the most of those extra megapixels. The higher the resolution of your camera, the more likely it is you'll see blurring at the pixel level caused by camera shake.
If you have a high megapixel camera but use sloppy technique, you can end up with a photo that only contains a few megapixels worth of detail, but takes up a lot more space on your memory card and computer than an actual low megapixel image would. In this article we'll look at techniques when hand-holding a camera that can help ensure you capture as much detail as possible.
Hold the camera correctly
For sharp shots you need to keep your camera as steady as possible when holding it. Holding the camera correctly reduces camera shake, resulting in sharper images. How to hold your camera differs slightly depending on whether you have a viewfinder camera like a DSLR or a camera with just a screen, such as a phone.
When using the viewfinder
Hold the grip of your camera in your right hand, and place your left hand under the lens, supporting it. Tuck both your elbows in against your body, so your arms are tight against your body rather than floating in the air.
Hold the camera reasonably firmly against your face, with your head pulled back. This gives your camera 3 points of support - your face, and each of your arms against your body.
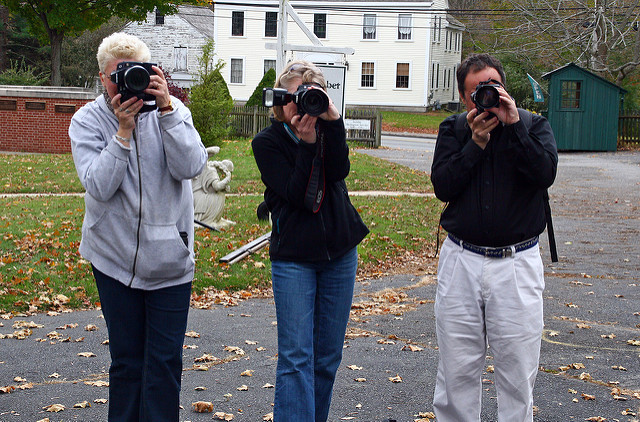
the right way by liz west on Flickr (licensed CC-BY)
Note that holding your camera like this is easier with the camera landscape oriented than portrait oriented. While far from essential, adding a vertical grip to your camera makes holding the camera in portrait orientation just the same as in landscape.
For a comprehensive look at techniques for hand-holding a camera, including while sitting or kneeling, check out this guide: Making the Most of Long Exposure Handhelds.
When using the rear screen
Typically when you see inexperienced people taking photos, they use their camera's rear screen (or more often, are using a camera phone, which only has a screen) and hold the camera right out in front of them. This is not a good way to get sharp shots.
If using the camera for eye level or near eye level shots, then hold the camera quite close to your face, tucking your arms in against your body. Having your arms against your body creates a much steadier platform to support your camera.
As when using a viewfinder, you should also use both hands to hold your camera. One underneath the camera / lens, supporting it. The other hand gripping it from the side and operating the controls.
If your camera has a flip-out screen, then a good way to use it is like a TLR camera from the '50s.
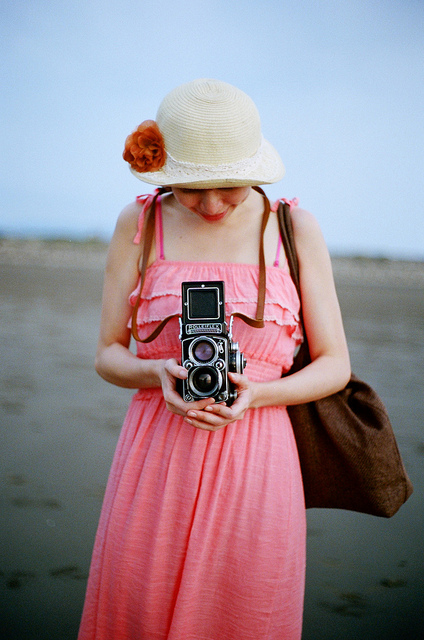
發現沒用過TLR的人拿起來都歪歪的 by chia ying Yang on Flickr (licensed CC-BY)
Flip the screen out so you can look down at it, and hold the camera against your body. Push your arms in against your sides, so the camera is supported at 3 points, just like when using an eye-level viewfinder.
A bonus of using the camera's screen as a waist-level viewfinder is that your photos are likely to be more interesting, being taken from a different perspective to eye-level, where most photos are taken.
Plant your feet
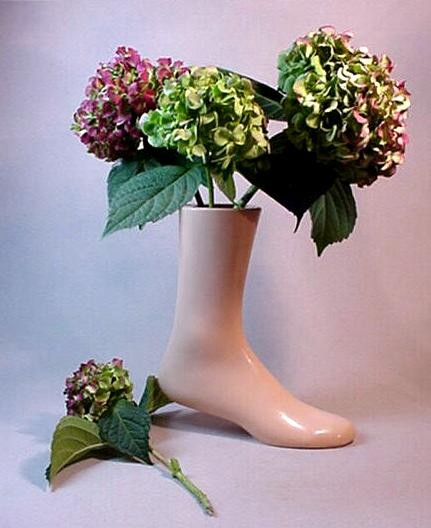
Vintage Sock Foot Form by Cheryl on Flickr (licensed CC-BY-SA)
As well as holding your camera steady, you need to ensure that you have a steady stance. There's no point bracing your arms against your body if your body is swaying to and fro.
This is not really a technique, you just need to stand with your feet apart and firmly on the ground. But it is an important point to capturing sharp photos that can be easily forgotten about and overlooked.
Check your Shutter speed
Probably 90% of blurry shots are down to using a shutter speed that is too slow. The whole point of using good posture is that it allows you to hold the camera steady for a longer period of time, and so get sharp shots with a slower shutter speed than you would otherwise be able to. If your shutter speed is fast enough, you can get sharp photos even with sloppy shooting technique.
Good technique doesn't let you keep the camera steady indefinitely though. If you need a shutter speed of around 1/4s or longer (particularly with longer focal length lenses), then you're likely to get some blur from camera shake no matter how good your shooting posture is.

Comparison of crops from two photos taken with a 50mm focal length. The left image, taken at 1/40s is reasonably sharp. Whereas the right image at 1/10s was just too a slow a shutter speed for me to keep the camera steady and is blurry. It should be noted though that the blurry image looks fine when viewed at a normal size on screen.
So make sure you check what kind of shutter speeds the camera is choosing for you if you're shooting in an automatic exposure mode. A good rule of thumb is that you need a shutter speed at least 1 / 35mm equivalent focal length you are using. E.g. shoot with a 50mm lens, and you need a shutter speed at least 1/50s. Use a 300mm lens and you need at least 1/300s for a sharp image.

Here's a crop from another image, taken at 1/13s with a 24mm focal length. While it's not 100% sharp, you can see it is quite a lot sharper than what I was able to achieve at a similar shutter speed with a 50mm focal length. The longer the focal length, the more visible any camera shake will be.
With high megapixel cameras you may want to double or even quadruple the shutter speed rule. (The rule comes from the days of film, which is much more forgiving than viewing digital images at 100%).
The easiest way to ensure that your shutter speed will be fast enough for a sharp shot is to enable auto-ISO on your camera. This will automatically vary the camera's sensitivity to light, ensuring that the shutter speed doesn't drop too low (within set limits).
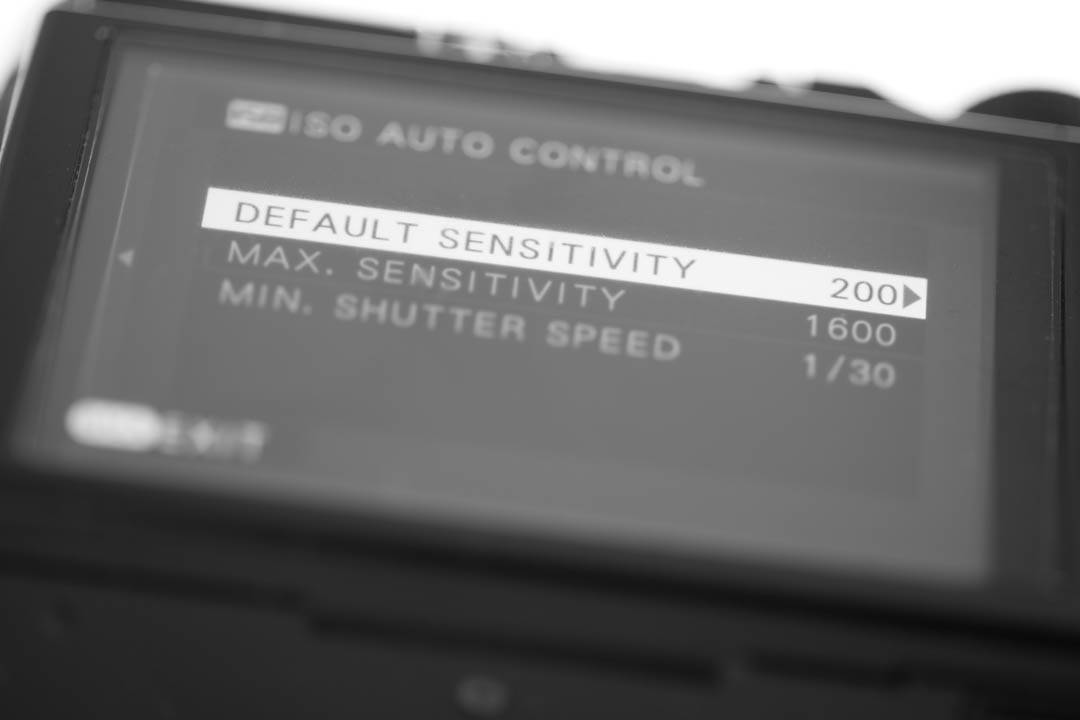
Auto ISO implementations do vary between camera manufacturers and even different models from the same manufacturer. Some seem to work better than others. I'd advise enabling auto ISO for a trial period and see how you like it.
If the camera keeps using a high ISO when it doesn't need to, or it doesn't boost the ISO enough for sharp shots, then you may be better off just using manual ISO control. In that case, you check the shutter speed in the viewfinder, and if it's too low, increase the ISO setting. But if your camera has a good auto ISO implementation it does make things much easier.
Turn Image Stabilization on
Some camera manufacturers have image stabilization built into their cameras. Others have it built into many (but not all) of their lenses. It's less common in compact cameras, and relatively rare in phone cameras, though is becoming more prevalent in the very latest phones.
It's quite likely that your camera / lens features image stabilization, so remember to turn it on. This lets you get sharper photos at lower shutter speeds.
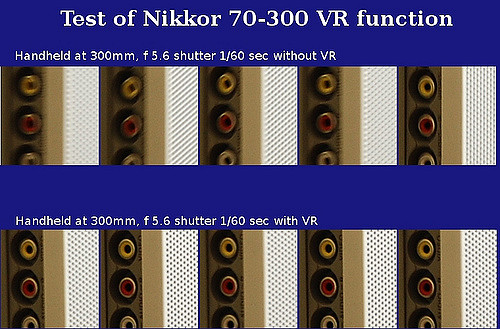
Test of Nikon VR function by dr_relling on Flickr (licensed CC-BY)
While it might seem obvious to have stabilization turned on, it can be quite easy to forget if you've previously switched it off for some reason (e.g. shooting on a tripod).
Don't lock focus then move
Other than too slow a shutter speed, the other reason for blurry shots is usually where the focus wasn't quite right. In this case the photo is actually sharp, but it's just not sharp where you wanted. E.g. For a portrait the tip of the nose might be in focus rather than eyes.
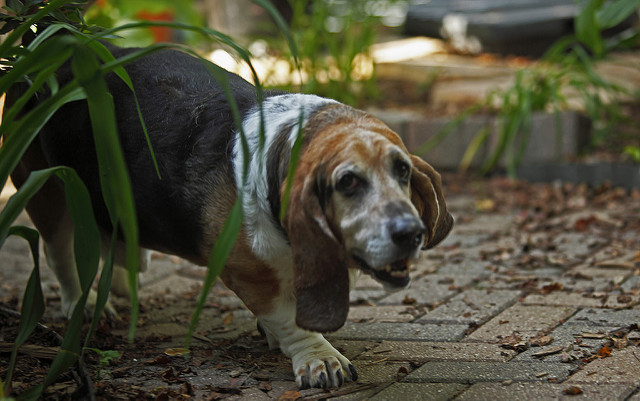
Charlie on the move for dinner! by Todd Ryburn on Flickr (licensed CC-BY)
So, you need to first ensure that you choose where you focus carefully. Secondly, you need to ensure no movement, either of yourself or the subject happens between the time you lock focus and fully depress the shutter to take the photo.
When using single shot autofocus and a large aperture (for shallow depth of field) just a small amount of movement can be enough to put the plane of sharp focus in front of or behind where you originally focused. (Though if you are using continuous autofocus, e.g. when shooting Sports, or using a small aperture e.g. for landscape photography, then you won't have this problem).
Use the lens hood
While a lens hood doesn't do anything to help image sharpness, it does help with overall contrast. A hood blocks light hitting the lens at oblique angles, which can otherwise bounce around inside the lens and cause flare.
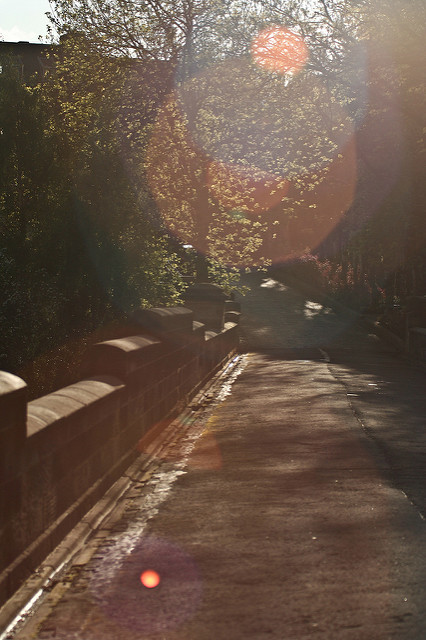
Glare by Graham Campbell on Flickr (licensed CC-BY-SA)
Veiling flare reduces the contrast of an image, so you end up with muddy blacks rather than deep rich blacks. It's not always a bad thing - it can lend an image a soft dreamy feel. But if that's not the look you're going for, then use a lens hood. It helps protect your lens from bumps and knocks too.
Keep your lens clean
Another point that might seem obvious, but is easy to overlook, is to ensure that your lens is clean. Generally a dirty lens won't affect sharpness (unless it's really dirty), but it will affect the overall contrast of an image.

Dirty lens by Andrés Moreno on Flickr (licensed CC-BY-SA)
So whenever you finish using your camera, make sure you give it a quick clean to remove any accidental finger prints or other dirt from the front of the lens. (It's generally better to clean things when putting them away as then next time you want to use your camera you can just use it straight away without worrying whether it's clean or not).
Choose your filters carefully
A common phrase I see when filters are discussed is There's no point spending a lot of money on a good camera / lens then putting a cheap piece of glass in front of it
. But it could also be argued It's better to skimp on filters so you can afford a good camera / lens than it is to buy good filters but skimp on the camera / lens
.
In reality, the truth is somewhere between these two extremes. Many cheap filters actually work fine, at least for normal and wide focal lengths. They do tend to be poor when used with longer focal lengths though.
With a cheap filter you are more likely to have problems with reduced contrast from veiling flare. And you're also more likely to get a color cast from the filter. Some cheap filters (particularly older ones made for film cameras) can cause loss of sharpness, but reduced sharpness from a filter is not that common.

Crop of image taken with a good quality filter. Even with a good quality filter, you may still get some veiling flare when shooting towards the sun

With a cheap filter contrast is less and sharpness is lost too. (Bear in mind this is a heavy crop of an image taken at a 35mm equivalent focal length of around 90mm - the loss in sharpness is not visible at normal viewing size).
If you think your pictures aren't as sharp as they should be, and you use a filter on your lens, then try taking some test shots. Take some with the filter and some without, then compare them to see if there's any difference. Most of the time the lack of sharpness will be due to something else, but sometimes a filter can be the culprit.
By following the tips above you should be able to capture much sharper photos with a good level of contrast. But just remember that sharpness and contrast aren't everything. It's better to get a quick, slightly blurred shot of a special moment than miss it altogether because it took you too long to adjust your camera settings.
Similarly, sometimes you may purposefully want a soft or low contrast look to your images. It all depends on the look and mood you're going for. But when you do want sharp and contrasty photos, then following these guidelines should give you just that.


Hello the lessons are wonderful, quite encouraging.Sincerely l have learned, what I did’nt know.