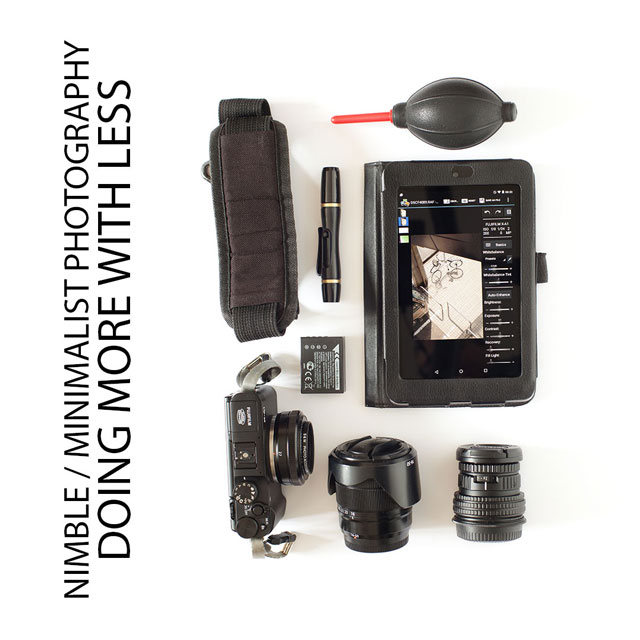
Nimble / Minimalist Photography – Doing more with less
In recent years there has been a move towards smaller, lighter cameras. Some photographers have moved to using these cameras from much larger and heavier DSLR cameras, and so termed this use of smaller / less equipment as Nimble Photography or Minimalist (as in terms of gear) Photography.
It's not just about a reduction in the amount of photography gear they use though, it's also about a change in workflow. Spending less time behind the computer, more time shooting, and getting pictures out much faster is part of the movement.
Part of Nimble photography is about realizing that while larger cameras and lenses can produce superior images, a smaller and lighter camera can still produce excellent images without weighing you down. Indeed, today's smaller cameras can produce images rivaling or even besting some of the larger cameras from just a few years ago.
For photographers that were happy with the image quality of their cameras a few years ago, then they don't loose anything (in terms of image quality) by trading down to a smaller camera system today.
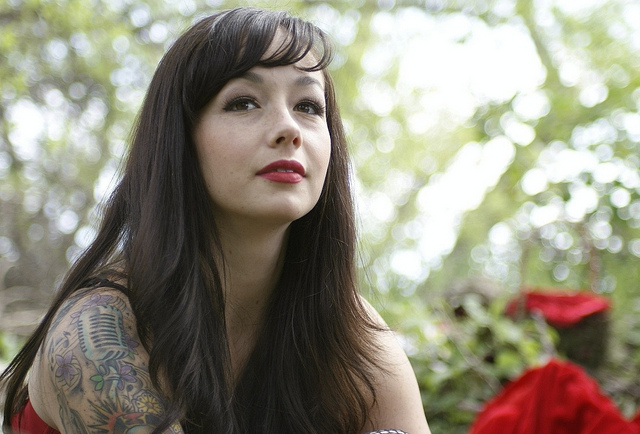
Why Micro Four Thirds? This is why. by brett jordan on Flickr (licensed CC-BY)
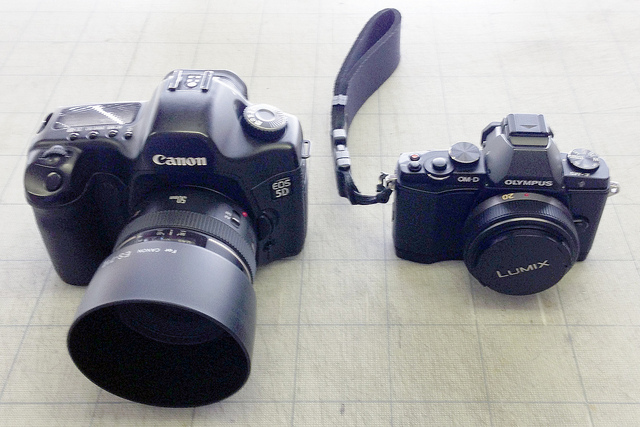
The smaller size and weight of a Compact System Camera allows the photographer to carry a camera body and several lenses with them easily. While this does mean that you could carry more different lenses with you, and still be carrying less weight than a DSLR system with just a couple of lenses, that is not really the point of Nimble Photography.
Nimble Photography is about cutting down on the amount of gear, so that's size, weight, and number of items you carry with you. If you use a DSLR with just one or two small lenses, that could certainly be considered as Nimble Photography. You might not be reducing the size of the camera, but you're still reducing the amount of gear you use to the minimum.
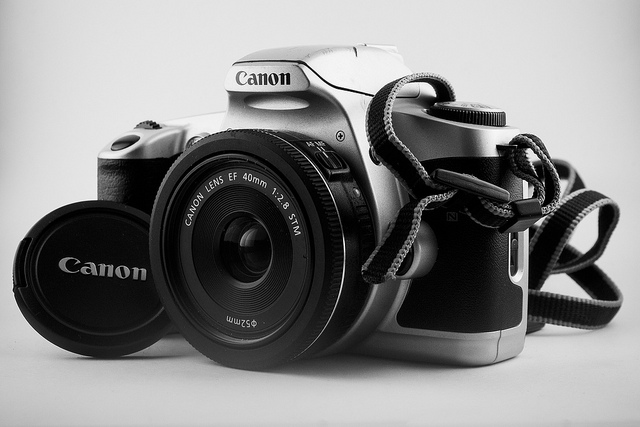
Canon EOS 500N + Lente 40mm Pancake by Nicolas Fuentes on Flickr (licensed CC-BY-SA)
This is why Nimble Photography is also referred to as Minimalist Photography. Minimalism is about cutting out the unnecessary to get to the essential. Just as this can be applied to composition of a photograph, so it can be applied to the photography gear you use.
Reducing the amount and weight of photography equipment you use can certainly make photography more enjoyable. But having a limit imposed by the equipment you have with you can actually make you more creative too.
If you come across a scene that you think would look good photographed with a wide angle, but you don't have a wide angle lens with you, that might sound like a problem. Instead, you are forced to think about how to capture the scene with what you do have. You have to think differently. This act of having to think carefully about how to best photograph the scene with what you have is likely to result in a much more thoughtfully composed and more compelling photograph.
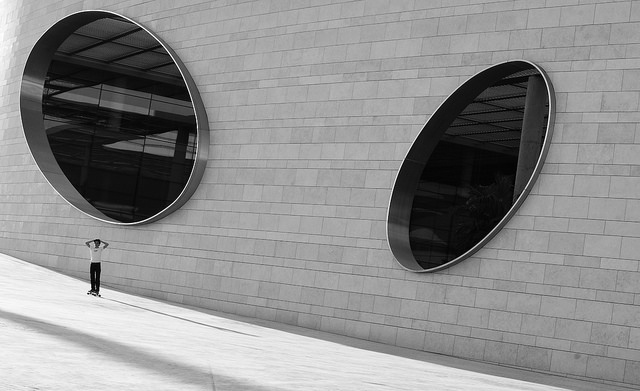
Huge eye contact by João Lavinha on Flickr (licensed CC-BY)
Having said that, there will certainly be times when other equipment is better suited to the job. At those times you just need to concede that carrying a minimal amount of gear will result in some missed photo opportunities.
If you are missing lots of photo opportunities, then it means that you probably haven't chosen your camera kit very well. It's best to re-evaluate what gear you're using every now and then, to make sure that it is meeting your needs. Both in terms of how well it works for your photography style, but also in terms of usability and convenience.
One of the benefits of using smaller and lighter weight equipment is that you don't need a heavy duty tripod to support the camera's weight. Now don't get me wrong, a heavy duty tripod will be more stable than a lightweight tripod. But a lightweight tripod is better than none at all.
There are quite a few different lightweight travel tripods available that can pack up pretty small, and make a good companion for a small camera. They can hold the camera steady and you won't find the head gradually droops during a long exposure, like it can with a heavy camera.
Unfortunately the smaller aesthetic doesn't extend to all accessories. Having a small camera has no bearing on the size or efficiency of accessory speedlight flashes. A small flash will be much less powerful than a larger flash. But depending on your style of photography, a small flash may work fine. Unless you need to overpower ambient light, you can usually get away with using a less powerful flash and increasing your camera's ISO setting.
If you're into taking photos with multiple off-camera flashes on stands, then using a small camera is not going to reduce the size of your kit by an appreciable amount. That sort of photography is not really suited to Nimble Photography. (Having friends hold the flashes instead of using light stands is probably the nearest you could get).
A relatively minor benefit (but worth mentioning) of Compact System Cameras (CSCs) compared to DSLRs is that they do not suffer from mirror slap. This is primarily of concern for photography using a slow shutter speed. With a DSLR the mirror flips up when you take a photo, and this may introduce small vibrations, reducing the image quality. Since a CSC has no mirror, it doesn't suffer from this issue. DSLRs do feature a Mirror-up option where the mirror can be flipped up prior to taking the photo, but this is not as quick or convenient as a camera with no mirror at all.

Allauch sous un dôme étoilé 1/3 by Paolo Gilberto on Flickr (licensed CC-BY-ND) - photographing the stars at night is an example of where the lack of any mirror slap potential can be quite useful.
Moving from heavier gear to a lighter weight camera system does pose one problem - you have to get used to the lower weight! If you've been using a heavy camera for quite a while, then it might take you a few days, or even a week or longer, until you really feel comfortable with the smaller size and weight.
And make sure you try out the smaller camera before you buy it - you want to make sure it feels comfortable in the hand. There's no point in a smaller camera if it makes it difficult for you to hold it.
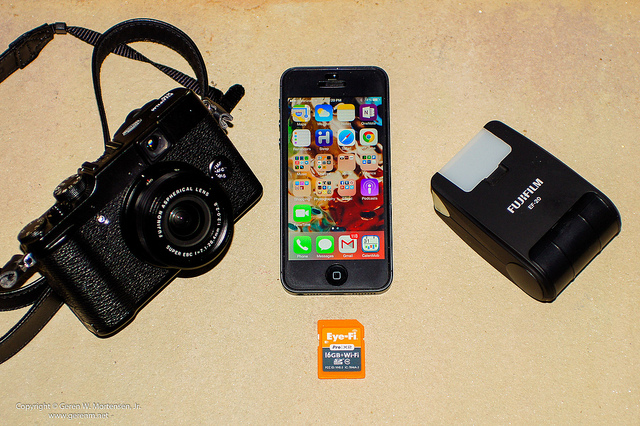
_DSC6754 by Geren W. Mortensen, Jr. on Flickr (licensed CC-BY)
A smaller camera system is not suitable for everyone either. If you shoot mainly in a studio, then the size and weight of your equipment doesn't really matter. If you need really high resolution images, really shallow depth of field, or really fast autofocus with moving subjects, then a Compact System Camera is probably not the best choice. These sorts of photography are not really suited to being Nimble.
Of course, at the other end of the scale, we can say that if you don't need very high resolution images, or want a very large depth of field, then a CSC will be more than good enough. Most CSCs have smaller image sensors than full frame DSLRs. This is often seen as a disadvantage. But in some cases it can actually be advantageous.
A smaller image sensor will give a deeper depth of field at a given aperture. So, for example, a photo taken with an m4/3 camera at f/5.6 is equivalent in depth of field to a photo taken with a full frame DSLR at f/11. Where you want a deep depth of field, e.g. landscape, product photography, architectural photography, this can be very handy indeed. It lets you use a wider aperture, letting more light into the camera, while still getting a deep depth of field.
P7070148 by Zengame on Flickr (licensed CC-BY)
Even for other types of photography this 'extra' depth of field can actually be a boon. For example, taking a group photo in low light, you can use an aperture of f/2.8, whereas a full frame DSLR shooter would need to stop down to f/5.6 for the same depth of field.
On the other hand, a smaller image sensor will have worse noise performance than a larger image sensor when images from both compared at the same size. However, this difference is typically not noticeable at lower ISOs when images are viewed at a normal size. And at higher ISOs the difference is often less than you might think.
Bigger ≠ Better
If you earn your living as a photographer by photographing other people, then the smaller size of a camera can occasionally become an issue. People tend to think that bigger is better. If you turn up for a photo shoot with a small camera rather than a DSLR with a large lens on the front, they may wonder how much of a 'professional' you really are.
If this does happen to you (or you're just worried about it), the answer is to simply let your work speak for itself. When people see the photos you take, and particularly if you show them shots you're taking throughout the shoot, then they won't worry about what camera you're using.
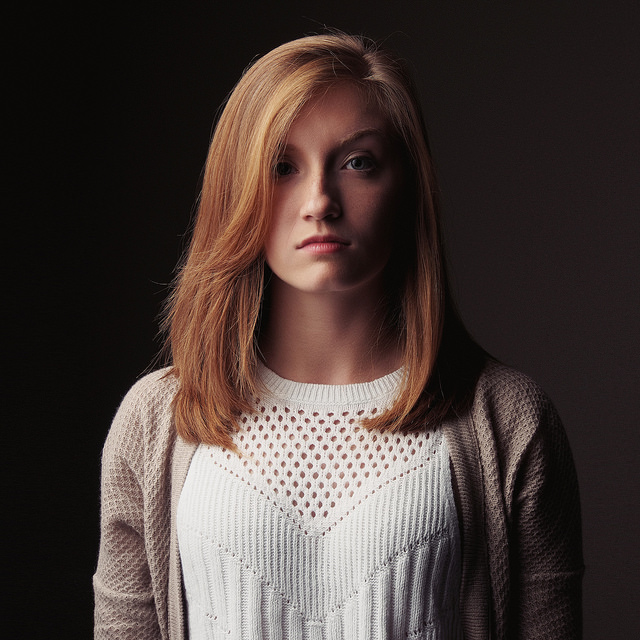
Meet Sarah by Pat David on Flickr (licensed CC-BY-SA) - For most photography the lighting is much more important than the camera.
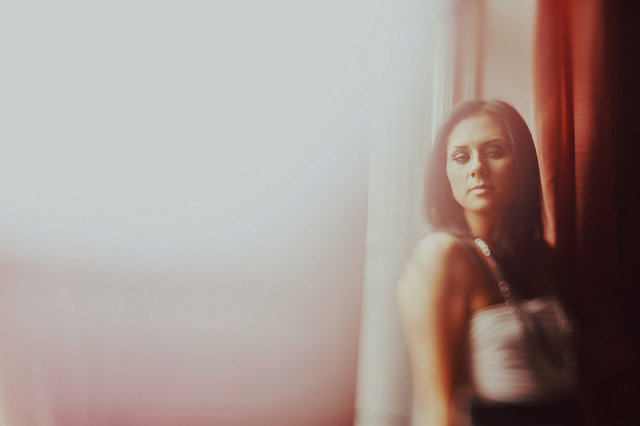
Another benefit of a smaller camera for portrait photography is that it does not hide your face as much. It makes it easier for you to create a stronger connection with the subject. This is particularly true for those cameras that have the viewfinder off to one side, rather than in the middle. You can even hold the camera out in front of you, or flip the screen out and hold the camera against your waist.
Smaller cameras are less obtrusive, making it easier to get candid photos. People's behavior changes when they notice someone with a big DSLR taking a photo, but it is less likely to change if they notice someone with a compact camera. This makes smaller cameras well suited to street photography.
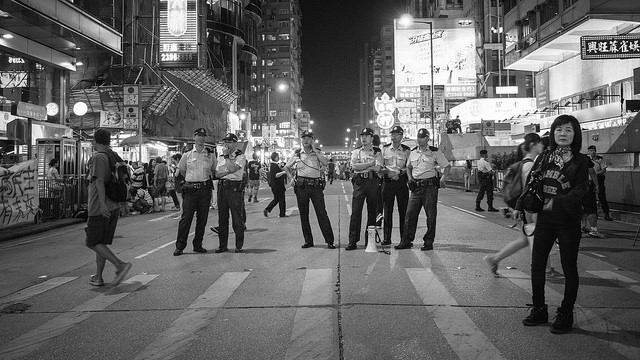
Hong Kong Umbrella Revolution by Pasu Au Yeung on Flickr (licensed CC-BY)
Another benefit of a smaller camera is that you can take it to places where you wouldn't normally. If you're heading out to a cafe or a bar, you can just slip the camera into a bag or large pocket because it doesn't really take any more space or weight. This can allow you to get photos you otherwise would have missed if you'd left your camera at home.
Hybrid Photography
Hybrid photography refers to the blending of both stills and video photography. With good quality video available in the majority of modern cameras, this is becoming more popular as a way for photographers to differentiate themselves from others who offer only stills or only video.
The 'Nimble' part of the equation here is that you can use a single camera for both stills and video. Whereas previously you would have needed both a stills camera and a video camera to offer both. This can also be extended to the lighting.
Rather than using constant lighting for video, and flash for stills, you can just use constant lighting for everything. Flash is generally used for stills photography because it outputs a lot of light in a very short period, meaning you can use a fast shutter speed to avoid any blur from movement. Whereas a video light outputs a much smaller amount of light, but over a long period.
In the past this has meant that video lighting was not really suitable for stills photography as you'd need a high ISO setting to get a fast enough shutter speed to avoid blur. And the high ISO setting would mean a grainy, noisy image.
But with the improvements in technology, a high ISO setting on modern cameras produces perfectly acceptable results. This means you can use video lights for both stills and video, and be sure that the lighting will match between them both.
More Freelensing by Sean McGrath on Flickr (licensed CC-BY) - LED video light used for lighting
Pre-processing not Post-processing
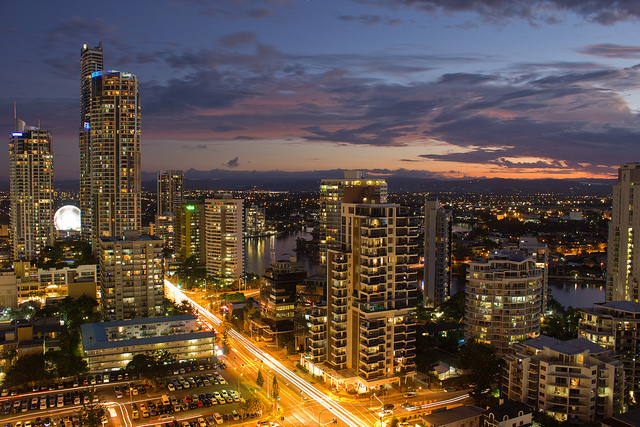
Pre-processing is all about setting your camera up so that the images come out of the camera as the final image, with no (or very little) post processing required. So this relates to setting the various saturation, contrast, shadow boosting / dynamic lighting, sharpening etc settings in the camera rather than adjusting them later when post processing.
It also relates to the exposure too, you expose the image as you want the final image to be, whether that be dark, bright, or somewhere in between. And often, Nimble photographers will shoot in JPEG (or sometimes RAW + JPEG) rather than RAW format.
Gold Coast Skyline SOOC by Marty on Flickr (licensed CC-BY-SA)
Now, one tip I often mention is to take your photos in RAW format, because of the post processing leeway it gives you. But if you are doing pre-processing, then the usefulness of RAW is much less. You do, of course, need to be well versed at making sure you are choosing all the correct settings though. Get the white balance or exposure wrong with a JPEG and it can be tricky to correct.
In the last section I mentioned Hybrid photography, and pre-processing fits in very well with this. Getting all your camera settings correct is very important for video. And using the same settings for both video and stills ensures that they'll match up to each other nicely.
Even if you're planning to post process your photos, pre-processing can still be helpful. At the time of capture it makes you think more about the image, and exactly how you want it to look when processed. Then you try to get as much of that done in-camera as possible. This then makes processing the final image much easier, you can see already the style of end image you wanted go for, and there will also be less work to do to get there.
Coffee anyone? 338/365 by Dennis Skley on Flickr (licensed CC-BY-ND)
One other tip in regards to the Minimalist / Nimble Photography workflow is to delete bad images on the camera rather than deleting them on the computer later. You might do this when taking the actual photos (realize you've just taken a bad image so delete it). Or you might do it when reviewing images on the camera shortly after. But doing this means you don't have to later spend as much time sifting through the photos to try and find the really good ones, as you have less to go through.
Deleting bad images on the camera (and shooting JPEG for that matter) also means that photos can be transferred across to your computer (whether that be a phone, tablet, laptop, or desktop) much faster. And with fewer files, your computer will be able to generate thumbnails for them all much faster.
Fast sharing
Another part of the Nimble Photography workflow is editing and sharing images while still on the go. For example, as a Wedding Photographer this might mean having photos from the wedding ceremony ready to show off during the reception - both at the event, and on the web.
You can be sure that the other wedding guests will all be sharing their phone shots of the wedding online during the event. Having yours up there with them can be a great way to create a good buzz about your work.
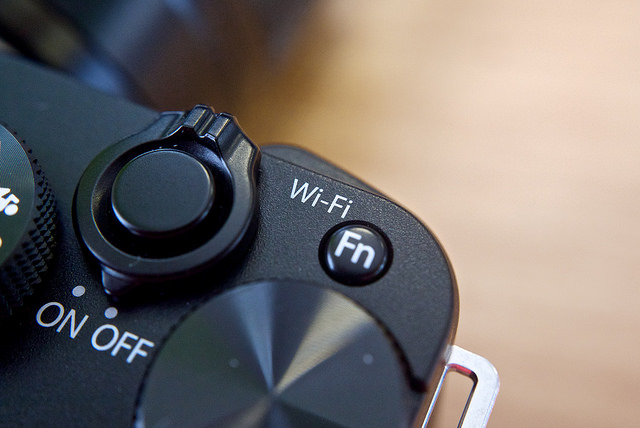
Fujifilm X-M1 by Kārlis Dambrāns on Flickr (licensed CC-BY)
Most modern cameras feature a WiFi connection, so you can easily transfer photos to a phone or tablet. From there you can do any editing you want, then upload the image to the web. This ties in with the use of pre-processing and shooting JPEG - the images can be transferred quickly, little editing is required, and they can be quickly uploaded to the web.
If you're going through your images as you take them and uploading the best ones, this also saves time later. It can save time in terms of going through your images to find the best ones, since you've already done this. And it can save time in terms of post processing the images. Even if you want to do some more refined editing of the best images, the versions you've already posted can give you a good guide as to what editing to do.
Jenna Red 02 (iPad Version) by Robert Bejil on Flickr (licensed CC-BY)
It's not just event photography that fast sharing of photos is useful for either. If you meet someone you'd like to take a photo of, you can ask them for their email, then email them the photo you just took of them right there and then.
If you're up a mountain or on holiday somewhere, you can share a photo just after you took it. It makes the whole process much more immediate. People will feel more connected to you as you share your experience with them in almost real-time.
Was ihr seid / das waren wir - Was wir sind / das werdet ihr. by Gabriel Hess on Flickr (licensed CC-BY-SA)
Being a 'Nimble' or 'Minimalist' photographer in terms of the gear you use and processing workflow isn't for everyone. But if you've ever decided to leave your camera at home because it was too big and heavy, or had aches and pains from lugging around a bag of heavy photography gear all day, then you owe it to yourself to give it a try.
You don't even need to buy a smaller camera. Just start out by cutting down on the photography equipment you take with you. Think about what you really need, not what you might need just in case. Aim to reduce your kit to the absolute essentials. You'll likely find your photography much more enjoyable and your back will thank you too!


Hi there,an article which does open your eyes and makes you think differently, thank you.
I discovered gear minimalism some years ago, its a discipline. I was tired of lugging heavy Nikons and their lenses abroad and looked around for something lighter. I discovered the Leica MDa, a viewfinderless, rangefinderless M4, the best built/featured of the M series. I bought a 35mm f3.5 Summaron and the SBLOO 35mm viewfinder that goes in the cameras accessery shoe. Focus is by utilising the hyperfocal distance method – far quicker than autofocus as it is set according to the aperture at the outset. Metering is by a small Digisix meter that takes one AA battery and fits in my shirt pocket. I likes the MDa body so much I bought a second body and carry this outfit in a small Billingham for Leica Combination bag M. Front pocket carries a small organiser-type notebook and pens etc. Film is XP2. For street pohotography, this outfit is ideal.
Toby, you are a true minimalist!! You and I have taken the same path in our own ways, in faraway places (me in Australia and Asia and you, well, I don’t know) and probably for vastly different reasons.
After I retired from architecture in 2012 I went the way of almost everyone in those long ago days, and bought into Nikon FX. Cameras, lenses, other gear. The works.
After a few years of wandering in Southeast Asia, I grew weary of carting all that heavy equipment, and went lighter.
For digital, I bought into Fujifilm – an XT2 with, initially, a Fujinon 14/2.8 and the stellar 18/2.0. Later added the “standard” 18-55 zoom, got lucky and landed a good one which still serves me just fine. Last year I fell in love with a used Fujinon 23/1.4 and picked it up at a good price. That’s my digikit!!
For film, I already had my ideal kit. A Contax G1 (bought new) with a 28/2.8, 45/2.0 (the most wonderful lens I’ve ever owned) and the less useful 90/2.8, which has well-known focus “difficulties” and requires a very careful hand to work with.
Like most everybody else I nowadays use digital more than film, but when I’m out with “analog”, Ilford XP2 is also my favourite film.
Lens hoods, filters and a small table top tripod complete my travel kit.
I shoot mostly architecture anyway, and have a particular (or peculiar?) fascination with old colonial buildings in Asia, of which I always find an endless supply when I travel.
I know I could go even more minimalist and pare down my two kits to even more basic essentials. But neither are heavy and I can even fit both into my (somewhat bulky) backpack, along with a MacBook Air and other small bits and pieces. So it’s my preferred way to travel.
I hope you and your Leica MDA with the Summaron are still getting out and about in this post-Covid period – while it lasts. Life is about new experiences and travel is the best way to acquire these.
Five years have passed since you posted. I hope you read this and you will return with an update about what you have been doing since 2017.
Best always,
Dann in Melbourne, Australia