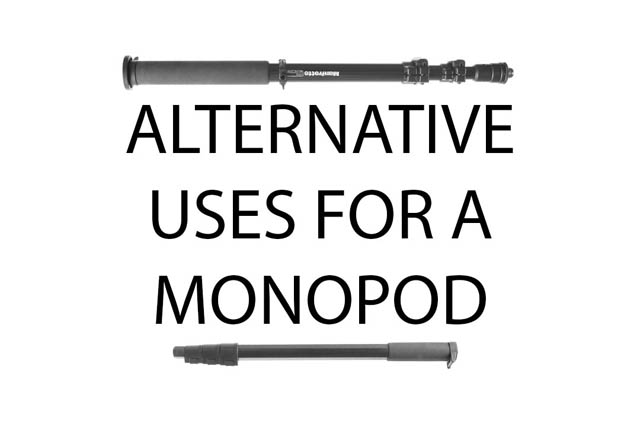
Alternative uses for a monopod
A monopod is designed to be used as a way to help keep your camera steady. It takes most of the weight of your camera off your arms, while being easier to carry and move about with than a tripod. It's very good at what it's designed to do, but the humble monopod can also be pressed into a variety of other photographic uses.
Boom arm
With the addition of a super clamp, a monopod can be attached horizontally to the top of a tripod or light stand, and become a boom arm. Attach the super clamp to the top of the light stand via the clamp's hexagonal stud socket. If using on a tripod you may need to add an adapter spigot or stud to get the height needed to insert into the clamp's socket properly.
Then place the monopod in the jaws of the clamp, and tighten it down. You now have your own extendable boom arm. You can attach your camera or a flash to the end of the monopod. Or use another clamp on the monopod to use it as a reflector or diffuser holder.

Depending on the weight you're hanging on the end of the monopod, and how far you have it extended, you may want to add a counterbalance. When attaching the super clamp to the monopod, attach it before the final section of the monopod's leg. This can then be extended, and you can hang a bag with something weighty in it to act as the counterbalance.
I wouldn't advise using this trick for anything particularly heavy though. It will be fine with a speedlight flash, but it's probably not a good idea to use it as a boom arm for a studio flash with softbox.
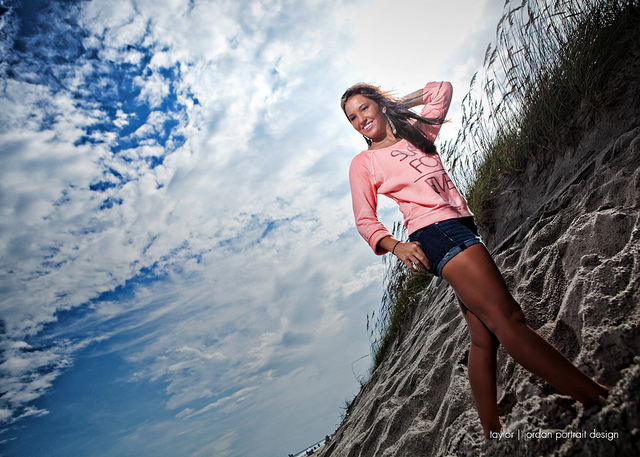
Senior: Taylor by Jordan Chan on Flickr (licensed CC-BY-ND)
Shots over the edge
If you want to get a shot over the edge of a bridge, a castle wall, or a cliff, then a monopod can be a great solution. Mount your camera to the end of the monopod, then carefully stick it out over the edge.
For taking photos when the camera is out of reach, a remote shutter release can be used. You'll probably want to tape the control so that it's stuck to the monopod where you're holding it. That way you can hold the monopod with both hands, and operate the shutter at the same time.

PTM 2010: Belvedere at the Hoe by Aldo Hoeben on Flickr (licensed CC-BY-NC)
The other option is using your camera's self timer. If you set it to a 10 second delay, you will hopefully have just enough time to press the shutter, then extend the camera out into position. Don't rush though! It's better to miss a shot than drop your camera and monopod over the edge.
If your camera has an intervalometer built into it, you could also try using that. Set it to take a photo every second, then extend the camera into position, and you can get a number of different shots with the camera angled in different directions.
High angle shots
A monopod can be very helpful for getting high angle photos, for example, looking over the heads of a large crowd. Mount your camera on the monopod, extend it, then hold your monopod up to get the camera up as high as possible.
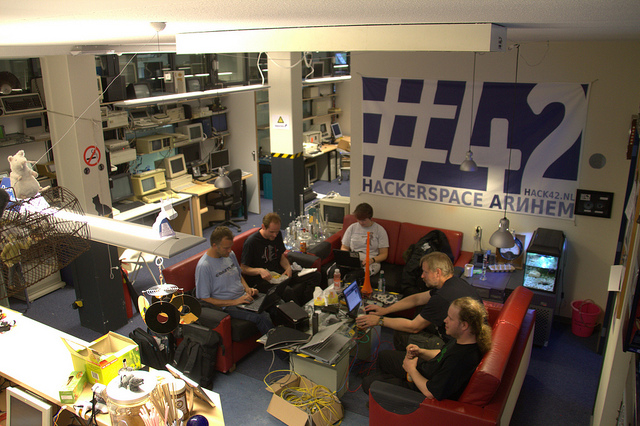
Hackers/Slackers in the Hack42 Lounge Area by Dennis van Zuijlekom on Flickr (licensed CC-BY-SA)
Similar to taking a shot over an edge, a remote release to trigger the camera's shutter is very useful. And a camera that features a screen that can be flipped downwards, so you can see what the camera sees, can be very useful in composing your shots.
For maximum stability, place the foot of the monopod into one of your pockets, or even better, a small pouch worn on your belt. Hold the monopod close to your body, to give it another area of contact, which will help stop it from swaying about as much.
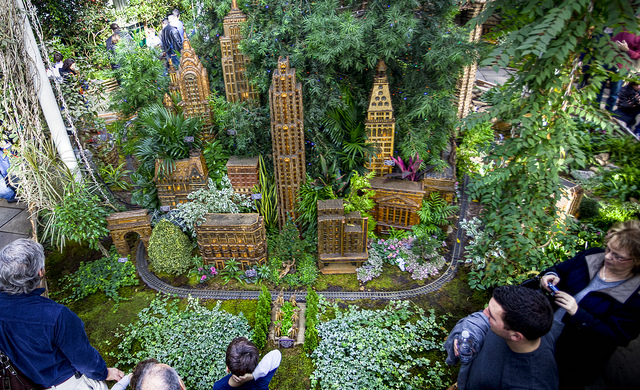
Skyscraper Corner by Terry Robinson on Flickr (licensed CC-BY-SA)
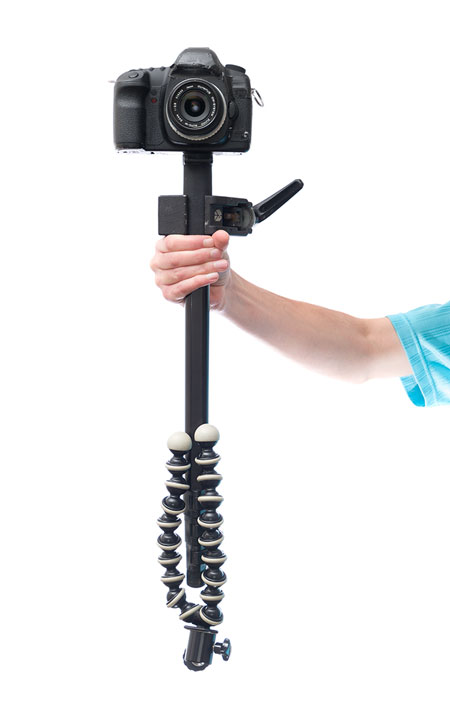
Steadicam
While not on the same level as a proper steadicam or similar camera stabilizer, a monopod can help you get smoother hand-held video. Attach your camera to the monopod, and a counterweight to the bottom of the monopod. (Depending on the beefiness of your monopod, a counterweight may not be necessary).
Now attach a clamp to the monopod. Position the clamp so that when the monopod is held from the clamp horizontally, it does not tip in the direction of the camera, or in the direction of the counterweight. You want to attach the clamp at the central balance point.
With this done, you can hold the monopod extremely loosely under the clamp. You should not really be holding onto the monopod, but just resting the clamp on your hand. This acts like a gimbal, making it easier to get smooth motion without any jerkiness.
The same trick can be used, but with the monopod upside down to get smooth low angle shots:
Off-camera lighting
This point is a bit similar to the first one - a monopod can be used like an extra long arm for holding an off-camera flash. You can use it to hold a flash up above your subject, or just high off to one side.
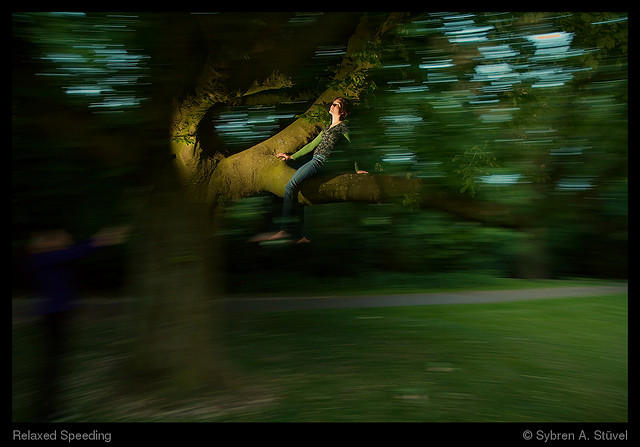
Relaxed Speeding by Sybren Stüvel on Flickr (licensed CC-BY-NC-ND)
An assistant to hold the monopod with light on is preferred, as this allows you to position the flash almost anywhere. However, it can also be useful if you're looking to use off-camera flash when you're just shooting by yourself.
Without any form of flash / camera support, you can only hold a flash an arms length away from your shooting position. With a monopod, you can hold a flash quite a bit further away. Having said that, it is quite difficult to support the weight of a flash on a semi-extended monopod with just one hand, while having to operate the camera with only your other hand. But it might be helpful in a fix.
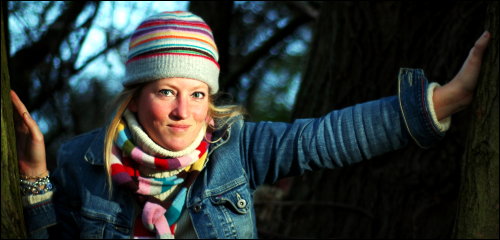
strike a pose by Menno van der Horst on Flickr (licensed CC-BY)
One final non-photographic use for a monopod, is as a walking stick. Or maybe it should be that a use for a walking stick is as a monopod? You can purchase combined walking sticks / monopods that are designed to work as both. If you enjoy hiking a lot, they may be worth taking a look at.


I was thinking of using a monopod/super clamp combination for overhead food photography. But am a little doubtful about the strength of the monopod stud screw that goes into the camera’s tripod socket… Am scared that it may shear off and cause the camera to fall… Are my fears unfounded or should I get a ball head and mount the camera to that? The camera is a Canon 1100D…
Hi Anamit
Unless it’s a very cheap and badly made monopod then you shouldn’t have any issue. The Canon 1100D is quite light as far as DSLR cameras go.
Dave