Improve your photography – 7 Easy Tips
Being a photographer is a constant learning experience. But we all have to start somewhere. In this article I want to share seven tips aimed particularly at relatively new photographers, but they should also act as good reminders even if you've been photographing a long time.
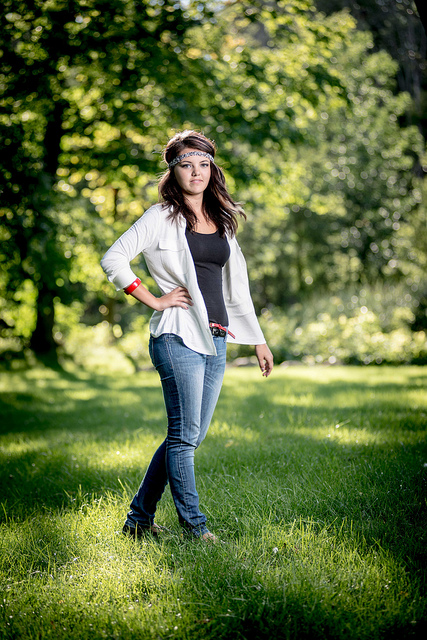
Get closer
A common mistake many snapshot photographers make is not getting close enough to their subject. They leave a lot of space around the subject.
Now, this is not always bad, negative space can be used as an effective compositional element. However when the space is filled with other things, they compete with and attract attention away from the subject.
By getting closer to your subject, so they fill the frame, you remove these distractions. The viewer can clearly see what is that you were trying to show them, and you end up with a much stronger image.
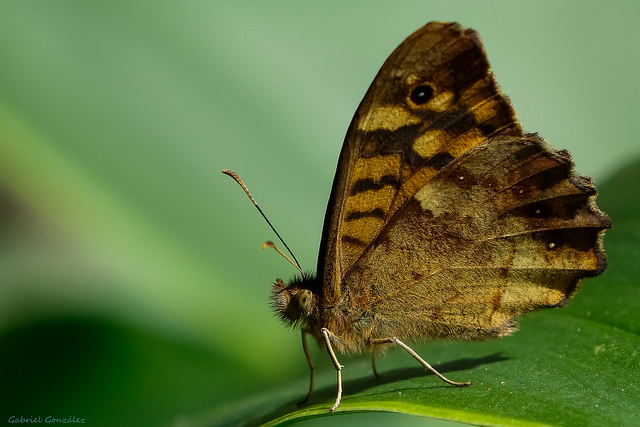
Explore by Gabriel González on Flickr (licensed CC-BY-SA)
Zoom for perspective, not to get closer
Many photographers use a camera with a zoom lens, and when a subject is not as large in the frame as they would like, they just zoom in. While this may work, it is not always the best choice. Sometimes you are better off to 'zoom with your feet'.
There are a few technical reasons why zooming in can reduce the image quality of your images:
- You'll be standing further away from the subject than you would be if you zoomed with your feet. The greater the distance between you and the subject, the greater the chance of atmospheric distortion affecting the image. This isn't normally an issue, but can be problematic in very hot weather or when there are a lot of water or dust particles in the air.
- The longer the focal length of the lens (the more you zoom in), the faster the shutter speed that is required to avoid blurry images. You are more likely to get a blurred photo shooting handheld if you zoom in on a subject than if you move closer to the subject and don't zoom in.
- Most lenses have their weakest performance when fully zoomed in. So if you zoom in to the maximum zoom your lens allows, then the image quality is not likely to be as good as if you had used less zoom and moved closer to the subject.
I thought I'd mention those points, but really they are all quite minor. The main reason you should really think before you decide to zoom in on a subject is that zooming affects the composition of the image.
When you zoom in (use a longer focal length), it gives you a narrower field of view. This means that the background behind the subject (assuming the background is not immediately behind the subject) appears larger in the image. This effect is often referred to as telephoto compression.
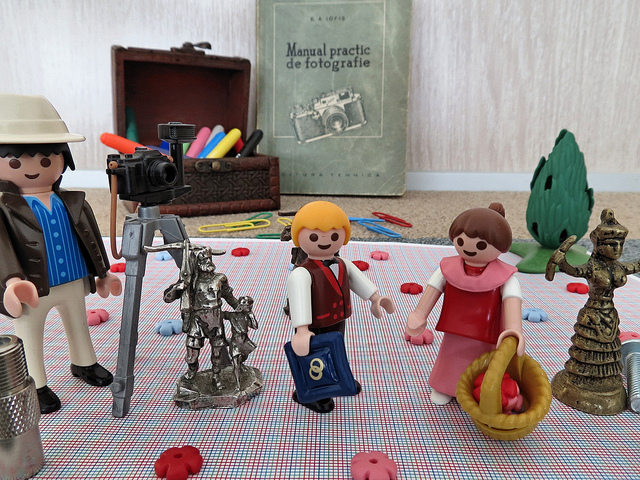
Focal length and perspective (4.5/25mm) (AP4M0672) by Alexandru Panoiu on Flickr (licensed CC-BY-SA)
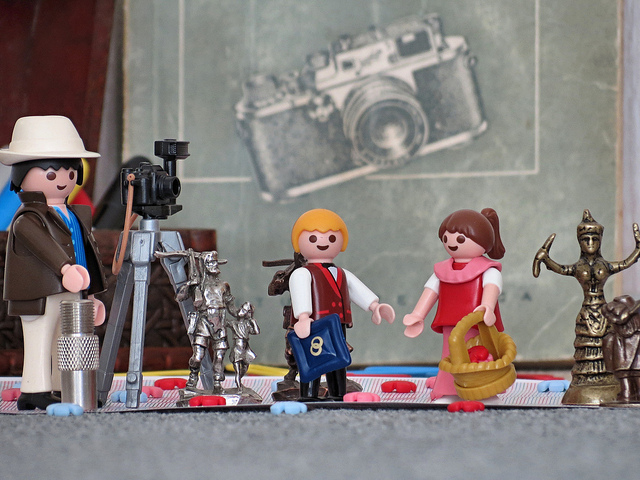
Focal length and perspective (178.9/999mm) (AP4M0727) by Alexandru Panoiu on Flickr (licensed CC-BY-SA)
Telephoto compression is not a bad thing, in fact it is very often a useful technique. However, if you want to get better at photography, you really need to think about the photo and decide for yourself whether this effect will improve or be detrimental to the photo.
Sometimes using a wide angle (zoomed out) and getting close to your subject can provide a much stronger image than just zooming in from afar. Sometimes it won't. But by understanding how focal length affects perspective, you can make the best choice for the image in question.

pod racer from the Phantom Menace? by Angelo DeSantis on Flickr (licensed CC-BY)
Learn to use flash
A lot of inexperienced photographers use their cameras in full auto mode, which will pop up the flash whenever the light levels are low. This can result in flat, lifeless images that just don't look good due to the harsh frontal lighting. (Though thankfully the issue of red-eye caused by flash is relatively uncommon with modern cameras).
One tip I have seen other photographers mention many times is not to use flash. However, it is a great over generalization to say that you should never use flash. Rather, you should learn to use flash properly, so you can use it when appropriate instead of just letting the camera decide.
CSP_0531-2 by Chris Sit on Flickr (licensed CC-BY) - using off-camera flash
Off-camera flash can actually be used extremely effectively to give a much better image than could be achieved with natural light in many cases. And even the pop-up flash on your camera can help produce great photos when used as a fill flash in certain situations.
There are loads of resources out there for helping you learn how to use flash adeptly. When you know when to use your flash, and just as importantly, how to use it for the best results, you'll end up with much better images.
Take less kit
If you've invested in a DSLR or CSC with several lenses or accessories, it can be tempting to bring it all when you go out to take photos. After all, you never can be quite sure what you'll come across. Even if you're going to be taking photos in a controlled situation, you may feel that having more equipment with you can give you more creative possibilities.
However, this isn't always the best choice. If you're going out hiking and you've got a bag of heavy gear with you, then the weight can detract from the experience. Photography is meant to be enjoyable, not painful! If you're not enjoying yourself you'll find it harder to concentrate on photography, and this will reflect in your images.
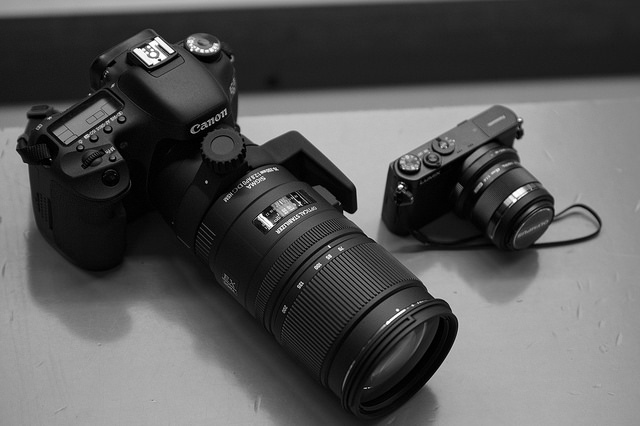
Canon EOS 7D + Sigma 70-200 2.8 vs. Lumix GM1 Olympus 45mm 1.8 by R?lf ??e??e? on Flickr (licensed CC-BY)
Furthermore, limiting yourself in the amount of gear you take can actually result in more creative and engaging images. This can happen in two ways. First, if you don't have the equipment you would usually use to photograph a subject, it forces you to think more creatively about how you can capture it with the equipment you do have.

Canon EF 50mm F1.4 Testshot by 55Laney69 on Flickr (licensed CC-BY)
Secondly, you'll also start to think more about suitable subjects for the equipment you have with you. You should start to see potential photos where before you may have overlooked them. This probably won't happen straight away, but the more you use a specific piece of equipment (whether that be a lens, flash, filter, or other accessory), the more you'll understand what type of image it works well for. And the more likely you are to identify situations when it would be a good choice.
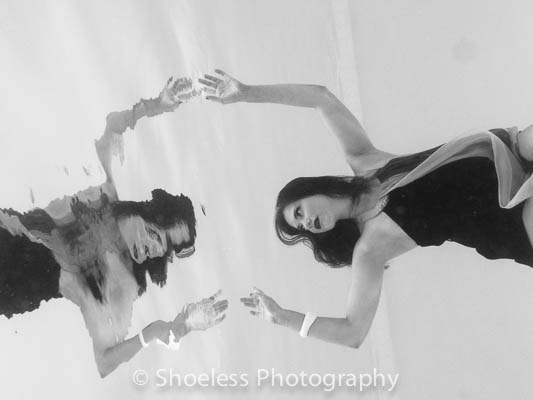
Shoot for yourself
It is important that you photograph subjects that you like, and in your own style, rather than just trying to take photos that you think will be popular. If you aren't enjoying your photography, it will show in your images.
Even if you work as a photographer for a living, it is still important to photograph for yourself. Of course, you have to give your clients what they are looking for. But if you market your services carefully, using examples of the work and style of photography that you enjoy, then you should get clients that are after that same style of photography.
Setting aside time for personal work is also important for working photographers. This gives you time to experiment a bit more, and try things you might not want to risk on a paid shoot.
IMG_8155-2.jpg by Chris Meredith on Flickr (licensed CC-BY)
Let's face it, some types of imagery are just more popular than others. But photography is not a popularity contest. Be true to yourself and focus on what you enjoy. If others like it too, that's just a bonus.
Personal Project_0008web by whatjenshoots on Flickr (licensed CC-BY-SA)
Use a lens hood, not UV filter
Lenses can be expensive, and so many photographers seek to protect their lens from getting scratched or dirty by using a UV filter screwed onto the front. The logic is that it is much cheaper to replaced a scratched or damaged UV filter than the front element of a lens.
However, UV filters are rarely the best method to protect a lens. The problem with UV filters is that they add another layer of glass between the camera and your subject. With a good quality filter, this won't make any difference to the image quality, however, even the very best filters can cause lens flare when you are shooting towards the light.
A lens hood, on the other hand, can actually improve image quality by preventing lens flare caused by light sources outside the frame. It protects the lens as well, and in theory should work better as a shock absorber should the lens be dropped than a UV filter would.
Of course, there will be situations where a UV filter is a more suitable lens protector than a lens hood. And a lens hood can be inconvenient if you're constantly taking your camera in and out of your bag, or changing filters on the lens. But in most situations where photographers have a permanently attached UV filter as a protective filter, they'd actually be better off using a lens hood.
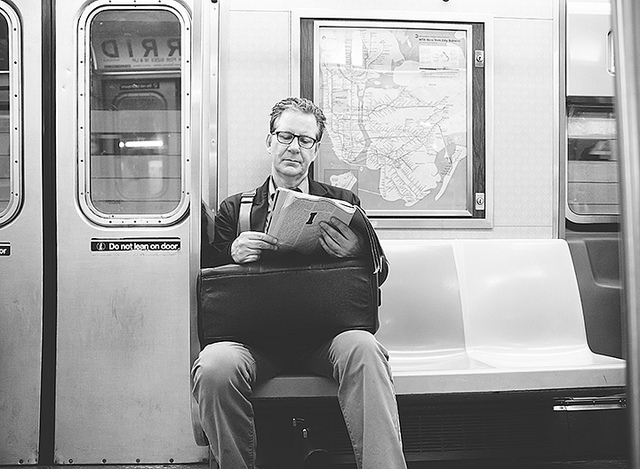
Post process
While a lot photographers do post process their photos, there are still a great many that skip this step, preferring to just share images straight from the camera. Reasons given for this are usually that it takes too long, or the photographer is against 'manipulating' the image and wants to show an accurate record of what they saw.
Addressing the first excuse, the fact is that even a small amount of post processing can improve an image. You don't need to perform a massive amount of edits, just a few tweaks can bring a big improvement. And with practice you can learn to perform these adjustments very quickly over a large set of images.
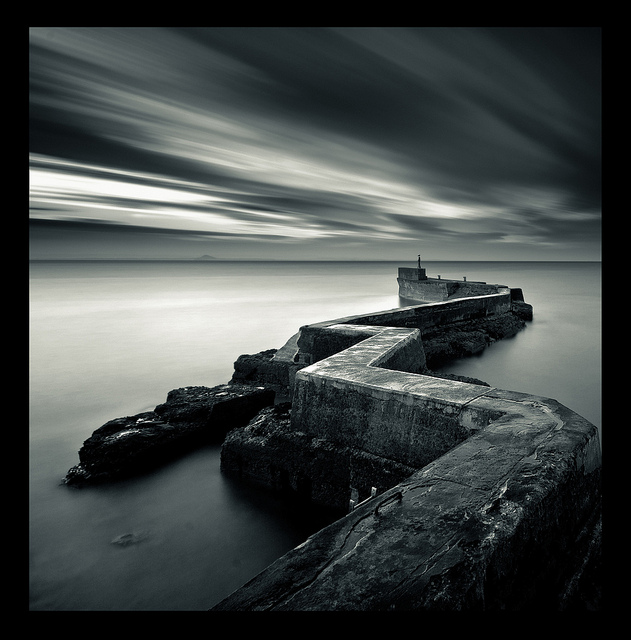
St Monan's by Euan Morrison on Flickr (licensed CC-BY)
And to counter the second excuse, whenever you take a photo, you are manipulating the scene, and not capturing an accurate record. You decide what part of the scene to include and what not to include. You decide the perspective to use. And if you photograph in black and white? Well, that's definitely not true to what you see. You may want to limit yourself on the post processing you do, e.g. no cloning other than to remove sensor dust spots, but avoiding post processing altogether just results in weaker images than you could otherwise achieve.
I would suggest to perform quick minimal edits on most photos, but to reserve the best for more extensive editing. You can then work on these select few for a longer period of time, really bringing out their best and creating much more compelling imagery.
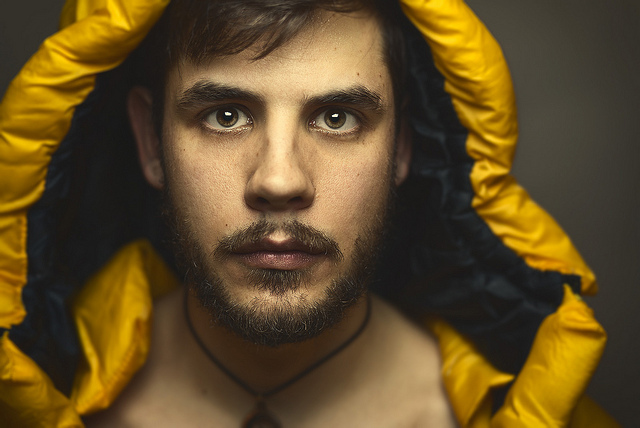
Musuc by Daniel Zedda on Flickr (licensed CC-BY)


