Tips for photographing fish in an aquarium
Getting good photographs of fish in an aquarium can be very tricky. The lighting is often quite dim, and it can be difficult to shoot through the tanks without capturing reflections on the glass. In this article I'll share a few tips on how to try and deal with these problems and get better aquarium photos.
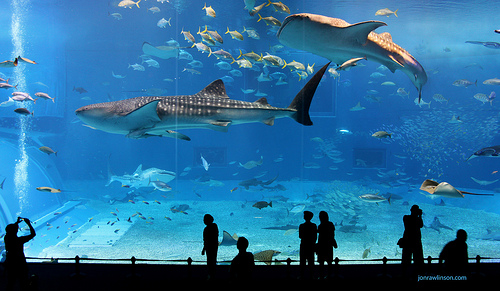
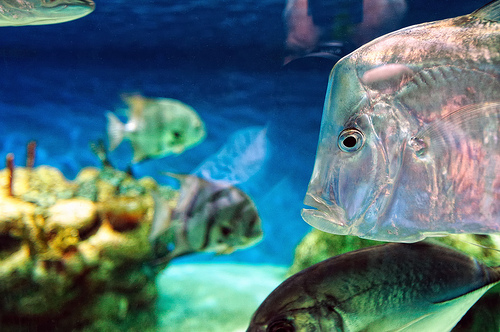
Kuroshio Sea - 2nd largest aquarium tank in the world by Jon Rawlinson on flickr (licensed CC-BY)
Using Flash
The light levels in aquariums tend to be very low, meaning it is difficult to get a fast enough shutter speed to avoid blurring. One solution to this is to add additional lighting, in the form of flash.
It has been argued that you should not use flash when photographing fish as it causes them undue stress. Whether this is actually true or not seems to be up for debate. However, one thing is sure – if the aquarium does not allow flash photography, then using flash is out of the question.
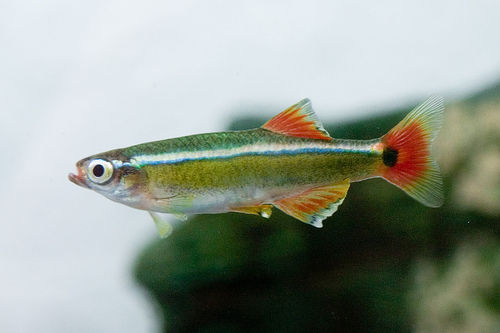
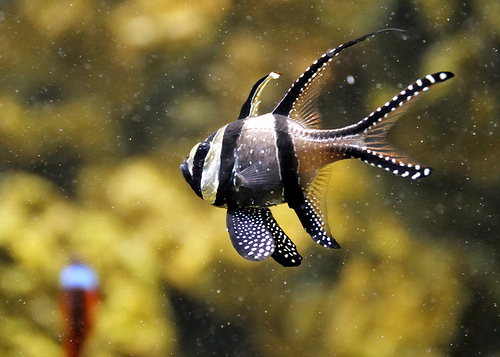
Fish by delta407 on flickr (licensed CC-BY-SA)
Off-camera Flash
If you do decide to use flash, then ideally you should use off camera flash rather than your camera's pop up flash. The external flash could be connected to your camera by wire or a radio system. You can read more about that here: Off-camera Flash Trigger Options.
There are two main reasons for preferring an off camera flash. The first is that you can move the flash and position it so that it does not create any reflections on the glass that will be visible from where you are photographing. The second is that you can control the angle of the lighting, rather than lighting the subject straight on from the camera position, which often results in quite flat lighting.
There are a couple of other benefits as well. Having the flash further away from your subject means the light intensity will be more even across the subject and the background. You are less likely to get images where the subject is over-exposed by the flash, or where the background is completely black.
NEW FISH!!! #2 by Benson Kua on flickr (licensed CC-BY-SA)
External flashes also allow for a greater power output than pop-up flashes. This could be useful in some situations, though I wouldn't advise blasting the fish with a flash at full power.
Using your camera's Pop-up Flash
If you are using your camera's pop-up flash to help light the fish, then the main issue is positioning the camera so as to avoid capturing the bright reflection from the flash on the glass. Holding the camera right up against the glass is a method that can sometimes work well. (I'll cover this a bit more later in the article).
The other method is to try and angle the camera so that the reflection of the flash is out of the frame. Since you can't preview where the reflection of the flash will appear, this will take a bit of experimenting. Shooting straight-on to the glass is where you're mostly likely to capture the reflection of the flash.
Avoiding reflections caused by ambient light
Using flash allows you to use a faster shutter speed, which in turn cuts down on the amount that ambient light contributes to the exposure. So you are less likely to have problems with reflections caused by ambient light when photographing with flash. When not using flash the reflections caused by ambient light can be quite problematic. Even with flash they can still sometimes cause problems.
To minimize these reflections, try and choose the area of the tank that you will shoot through carefully. Look for the area with the least reflections. If possible, try to find an area of glass that is relatively clean as well. This will provide a cleaner, clearer photo of the fish. Carrying a pack of tissues with you to wipe smudges from the glass is a good idea.
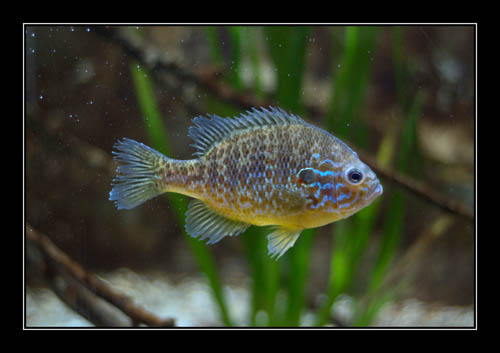
Lepomis gibbosus by Lorenzo Andrioli on flickr (licensed CC-BY-SA)
Using a rubber lens hood and pressing it up against the glass often works very well in avoiding reflections. It creates a light-tight seal between the glass and your camera, virtually eliminating any reflections.
A polarizing filter is a commonly used filter for reducing reflections. Unfortunately it is not so useful when shooting in an aquarium. While they can reduce reflections, Polarizers reduce the amount of light that reaches your camera. Most aquariums are dimly lit, and you want every bit of light you can get to avoid blurring.
Camera settings
White balance
It is very rare to find daylight balanced lighting in an aquarium, most likely you will find a mix of fluorescent and tungsten lighting. Fluorescent lighting can give your photos a green tint, while tungsten will make them look orange. So it is important to set the right white balance for your photos to avoid any color cast.
New Port Aquarium - Cincinnati by Serge Melki on flickr (licensed CC-BY)
Because the lighting can vary from one exhibit to another, I would advise on shooting in RAW format if your camera has this option. This will allow you to shoot using a single white balance setting e.g. auto, and then adjust the white balance to the correct setting for each image later.
Taking a photo of a blank piece of paper in each lighting condition that you photograph in can be helpful in this instance. When converting the RAW files, you can sample the white paper to achieve the correct white balance settings, and then apply this setting to all images shot in the same lighting.
If your camera does not support RAW format, then it is a good idea to correctly set your white balance manually. The auto white balance setting on virtually all cameras, while better than nothing, does not usually do a very good job in setting the white balance correctly under artificial lighting.

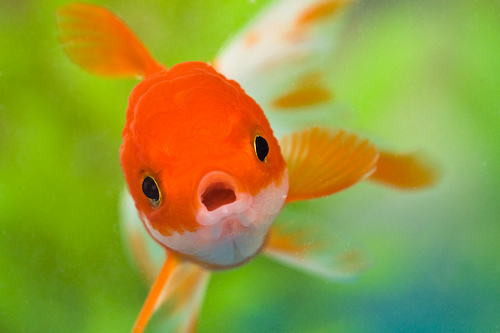
fish with flag by GianCayetano on flickr (licensed CC-BY)
If your camera supports setting a custom white balance, then you can (possibly) do that. This usually involves photographing a white piece of paper under the lighting you want to set the white balance for. But some cameras will not do this in low light levels, and just give an error about there not being enough light or the shutter speed being too slow.
Exposure
Exposure wise, you will probably want to use a large aperture (e.g. f/3.5) This will allow more light into the camera, for a faster shutter speed. A high ISO (or Auto ISO) is also helpful to allow a faster shutter speed (at the expense of slightly noisier images).
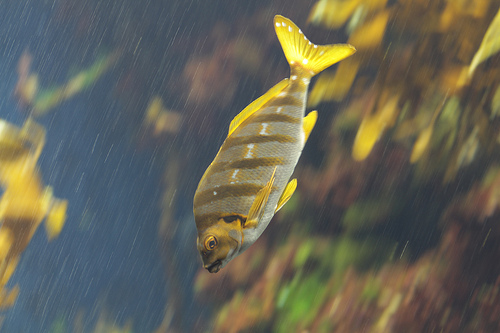
Lookdown Fish by Ralph Daily on flickr (licensed CC-BY)
The reason you want a 'fast' shutter speed, is to avoid image blur. At slow shutter speeds you may see the image blur from small movements of the camera as you hold it, or from the movement of the fish themselves. The shutter speed doesn't need to be what would considered 'fast' in daylight, just fast enough so that you can capture images in the low light levels without blurring.
On the other hand, it is a good idea to try some photos where you intentionally use a slow shutter speed, but pan the camera with the subject's movement. This creates an image where the fish is sharp, but the rest of the image is blurred.
To do this find a fish that is swimming, preferably in a mostly horizontal plane rather than towards or away from you. Follow the fish's movement with your camera, then press the shutter, continuing to move the camera at the same speed and in the same direction. You will probably require quite a few tries at this before you have a success, but it makes for a more dynamic shot than a static photo.
Panning shot of Spottedtail morwong by Takashi Hososhima on flickr (licensed CC-BY-SA)
When checking your images on the camera's rear LCD, bear in mind that the images may look quite bright due to the dim light you are viewing them in. Check the histogram for the image to see how bright the image really is. If the histogram shows all the tones bunched up towards the left side of the histogram, it means the exposure is actually quite dark. You can read more about understanding the histogram here: Stop Exposure Problems Ruining Your Shot.
There's no doubt that capturing photos of fish in aquariums can be difficult. With these tips though, hopefully you can come away with some great fish photos.


