Macro & Close-up Photography Tips – Focusing
Focusing for macro and close-up photography is usually best done manually. At close-focus distances lenses can sometimes find it hard to lock focus. If a lens racks the focus out to infinity and then back again before it finally focuses on the subject, this can take some time. It may not even be able to find focus on the subject, and leave you with an unfocused image in the viewfinder.
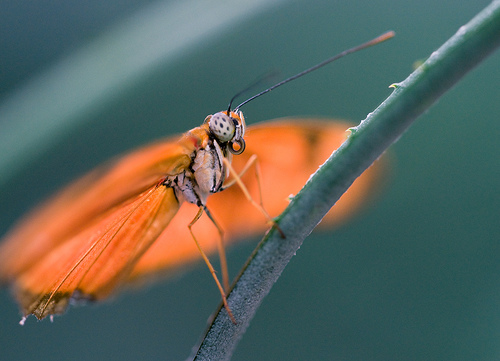
DSC_1355 by Ben Fredericson (xjrlokix) on flickr (licensed CC-BY) - photo taken using manual focus
If the lens does autofocus okay, there will still be a delay between you half pressing the shutter button to AF, and fully pressing it to take the photo. Although this delay will be very short, a very small movement of the camera or subject during this delay can be enough to put the focus slightly off from where you wanted it.
The difficulties with autofocus increase the higher the magnification of the image you are trying to capture. So for a close-up of a flowering plant, autofocus may work fine. But for a macro of an ant, it will be probably be useless.
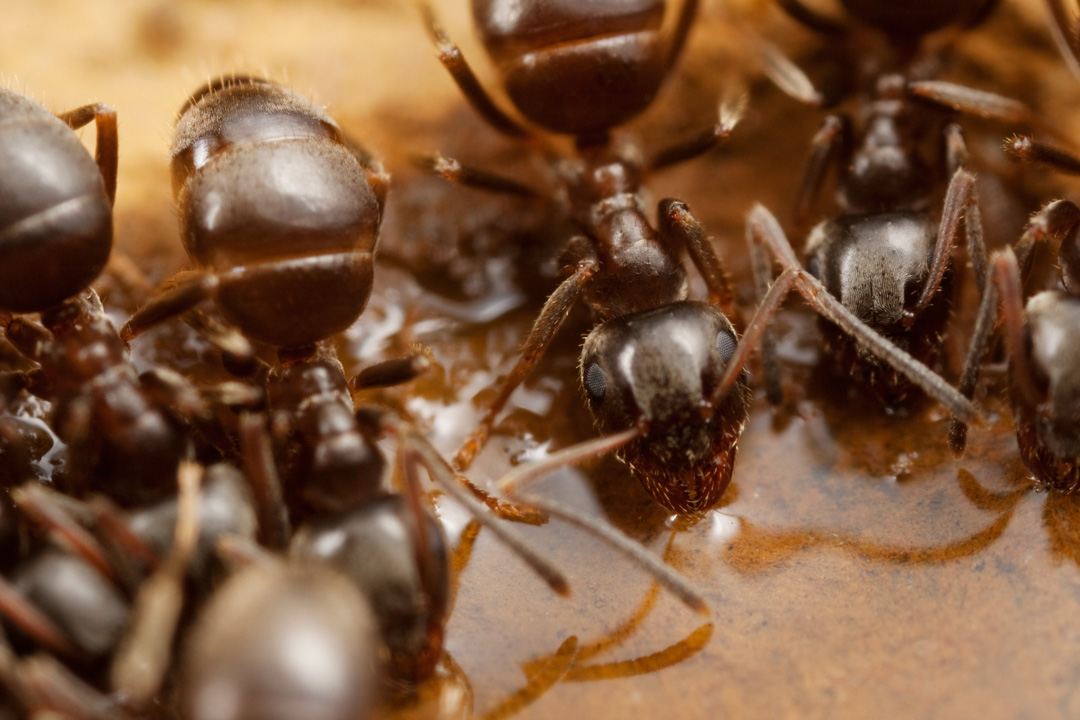
Ants drinking honey
Although I have pretty much dismissed autofocus above, it is a good idea to at least try it out with your camera. You'll likely find that manual focus works better, but for some people they may actually find they prefer using their camera's autofocus for macro / close-up work.
Handheld Focusing
Using the camera handheld is usually the best choice for insects during the daytime as they move about too much for a tripod to be of much use. Handheld photography can be used anytime, though bear in mind that shooting handheld may sometimes require using a higher ISO or additional lighting (flash) to prevent blurry images from camera shake.
Manual focusing with a lens can be done simply by turning the lens' focusing ring. However, this won't work very well for reversed lenses. Instead, you can focus by moving the camera towards the subject until it comes into focus.
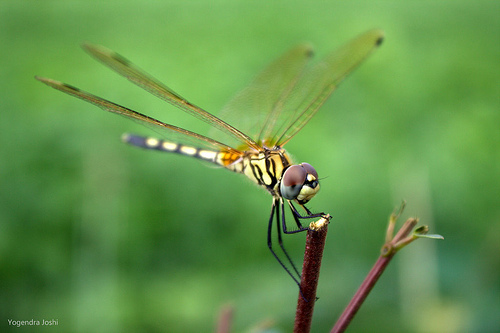
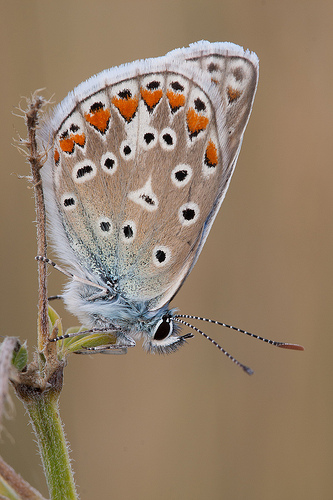
Hello Friend by Yogendra174 on flickr (licensed CC-BY)
Now, if you can press the shutter button as soon as the subject comes into focus, all well and good. However for most of us, our reactions are probably not that quick. Once you've found the subject in approximate focus, rock back and forth ever so slightly so the plane of focus moves back and forth through the subject. This should help you in preempting the exact moment to press the shutter and snap the photo.
This technique can be used not just with reversed lenses, but with all methods of macro photography.
Another trick that can be used when you have a very close focus distance, is to grab onto whatever your subject is attached to. For example, holding onto the stem of a flower, or a leaf that an insect in perched on. For insects though, you need to be careful not to scare them off when you take hold of their perch.
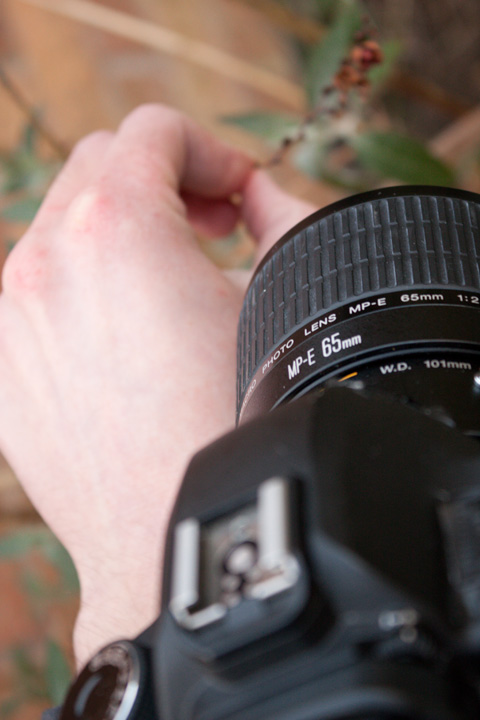
Holding onto the plant stem and resting the camera against that hand to aid stability and focusing
Rest the end of your camera on your hand or arm that is holding the subject. Then just move your fingers / hand to bring the subject into focus. You can read more about this technique on John Kimbler's No Cropping Zone blog - How Working Distance Works Against You.
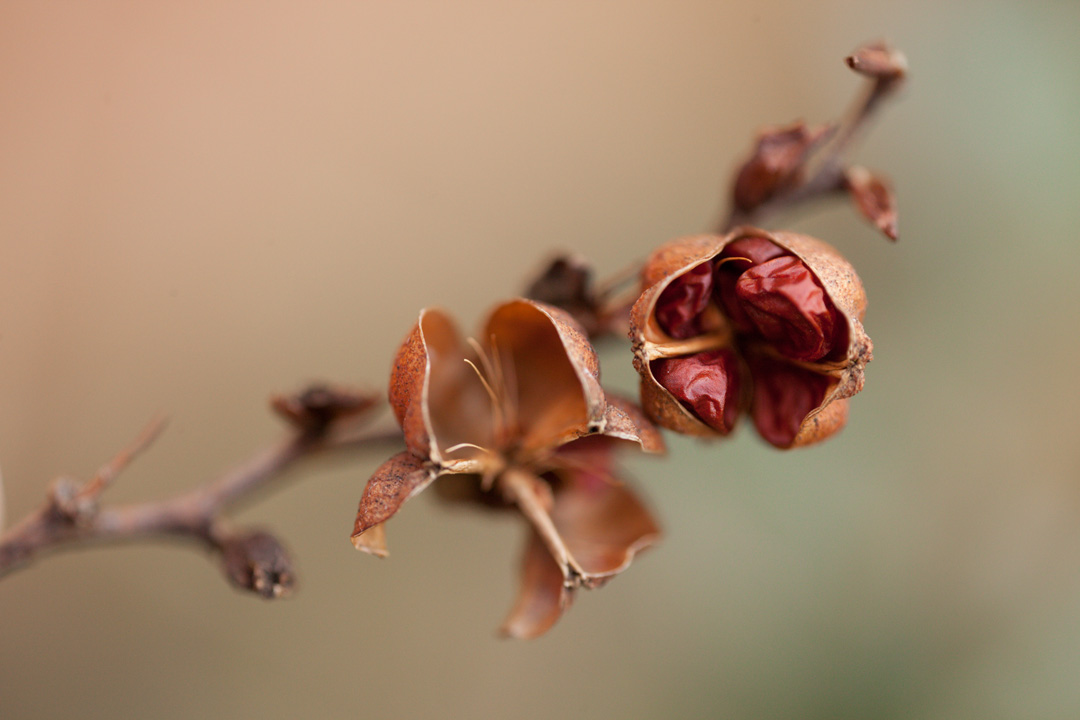
Photo taken by holding onto the plant stem and resting camera against that hand
Focusing with the camera on a tripod
A tripod is often the best choice for studio work where you don't have to deal with wind or moving subjects. You can set your camera and subject, then get repeatable results while you experiment with lighting and exposure settings.
It can also be a good choice for early morning photography. It allows you to capture still scenes in natural light by using a slow shutter speed without any camera shake.
Sinitiib profiilis by Kain Kalju on flickr (licensed CC-BY)
As with handheld macro photography, when focusing with a macro lens you can use the lens' focusing ring. But for other methods, especially when using a reversed lens, it can be quite helpful to have a focusing rail.
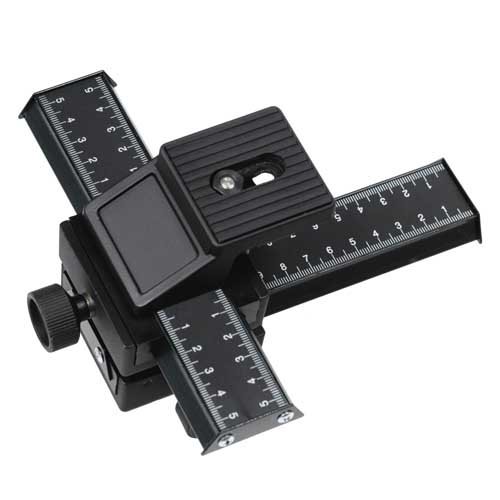
A focusing rail mounts on your tripod head, or it can be mounted between the tripod and the head. Generally whichever is biggest, the head or the rail you would mount to the tripod.
The rail has a toothed groove along the bottom, and a cog system controlled by a knob can be used to move the camera along the rail. This allows very small and precise movements of the camera. You would position the tripod so the subject is approximately in focus, and then use the focusing rail to get the focus exactly where you want it.
When focusing in situations where a tripod is used, it can be a good idea to your camera's rear LCD for focusing. Use the magnify feature to zoom in on the preview image, which will let you focus extremely accurately. In DSLR cameras, this feature is called liveview. In other cameras the view will normally be on the rear LCD, or you should be able to switch the view between the EVF and the rear LCD.
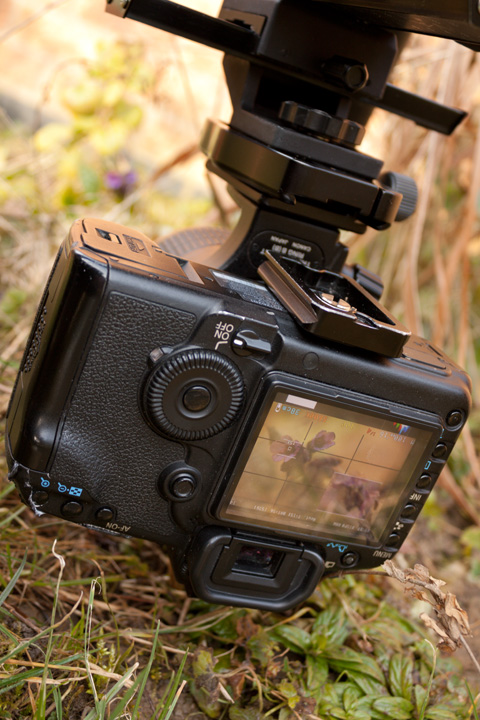
Using liveview for focusing on the camera's rear LCD
A remote release is just about a must for close-up and macro photography on a tripod. No matter how stable your setup, when you depress the shutter button on the camera, it's likely to move the camera a small bit. And only a tiny amount of movement can result in a visible difference when shooting macro.
By using a remote shutter release you don't need to worry about this, as you are not touching the camera at all when triggering the shutter.
If you don't have a remote release, then you can use the camera's self timer instead. This gives a couple of seconds delay after you press the shutter button, which allows any vibrations from pushing the button to dissipate.


Nice & simple tips for macro photography
Good article