How to use a green screen to put a different background behind your subject
Have you ever wanted to extract a subject from one photo and then place them in another photo? For example, taking a photo of your child in their sports kit, and then making it look like they're playing in a full size stadium.
This process of mixing images together is known as compositing, and is becoming increasingly popular. While it might sound difficult, it can actually be very easy. The trick is taking the photo of your subject against a background that makes it easy to extract the subject from the background.
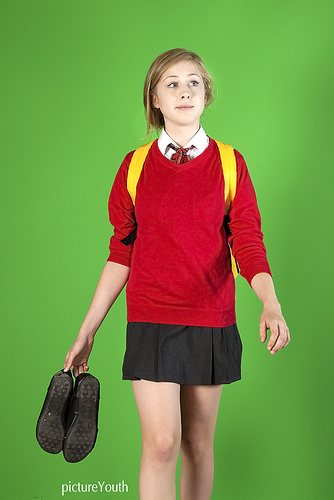
Private School Girl by "PictureYouth" on flickr (licensed CC-BY)
For this purpose a green screen (also known as chroma key) background is often used. In this article we'll look at how to take a photo using a green screen, and then how to use photo editing software to remove the green screen and composite the image.
Why use a green screen?
There are many reasons why you might want to photograph a subject against a green screen. The fact that you can remove the background means that you can then replace it with any background you want at all.
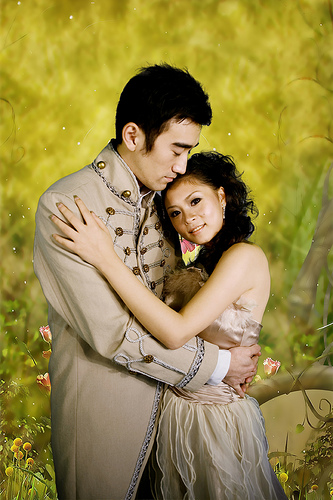
Happy Couple. by @yakobusan Jakob Montrasio 孟亚柯 on flickr (licensed CC-BY)
A large number of digital backgrounds are available for sale online, these can easily be dropped into a photo with the background removed. This gives you a wide range of backgrounds to choose from, and you don't have the high costs of purchasing or the issues of storage that you'd have with real backgrounds.
It allows you to put your subject in situations and places that are impossible, dangerous, or expensive to set up in real life. Want to take a photo of a tiny person trapped under a glass on a table? Well you can with a composite photo.
Does the screen have to be green?
A green screen is typically used because it is not a close color to human skin and most clothes are not green either. The larger the difference between the background color and the subject, the easier it is to extract the subject from the background.
If your subject is wearing green, then a green screen won't work very well. Any color can background can be used really, it just needs to contrast against the color of your subject.
Avoiding green bounce-back / light spill
One of the disadvantages of a green screen (or any other colored background) is that you often get a bit of green light bouncing back off the background and onto your subject. This can leave your subject with a green tint, especially around the edges, after you have extracted them from the background.
This is not a problem with a neutral colored background (e.g. gray, black, white). But extracting a subject from a neutral background is typically not as easy as from a green screen.
There are a few things you can do to try and minimize bounce-back of green light from the background. The first is simply to move your subject as far in front of the background as possible.
When lighting your subject (and the background) try to position the lighting so it won't cause bounce-back. Light your subject at an angle from the side(s). If you use lighting from the front, it will hit your background, then bounce back towards your subject.
In some cases you might want to use a screen (often black) either side of the subject. This can help eliminate some of the green light spill coming back off the background.
Setting up the green screen
When setting up your green screen background, you want to ensure that the background is as smooth as possible. Any wrinkles in the background are likely to cause small shadows, which will make the background harder to remove from the image.
The background should also be as evenly lit as possible. You want to avoid any shadows on the background, another reason why the subject should be as far away from the background as possible.
Extracting the subject / removing the background
After taking the photo of the subject with the green background, the next stage is to extract the subject from the background. This can be done with most photo editing software, or there are also quite a few software programs / plugins specially created for extracting a subject from a background.
Examples of software specially designed for extracting a subject from a background include:
Photo editing software that can be used for the same purposes includes:
Software specially designed for removing backgrounds is often faster and easier to use than general image editing software. But it only does that one thing, and is an extra expense. For the purpose of this tutorial I'll be using Photoshop Elements as that seems to be the most popular image editing software.
Load your green screen photo and the background photo you want to use into Photoshop. For this tutorial I'll be using these two images:
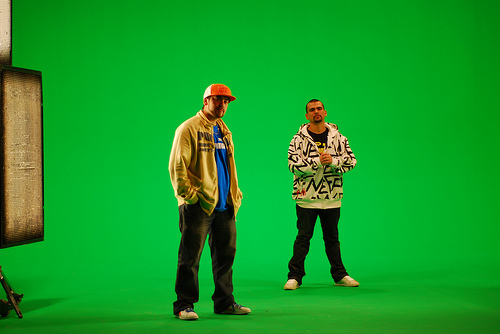
Making of Hola Mundo by Seo2 | Por Puro Amor Al Rap on flickr (licensed CC-BY)
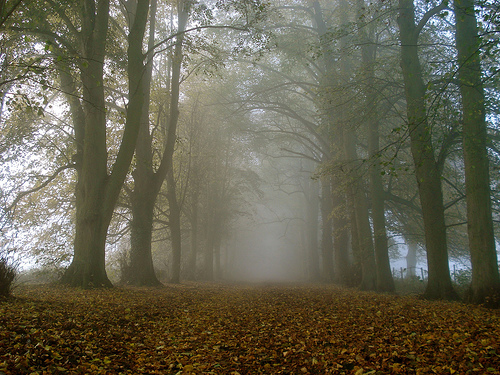
The Avenue, Shotover Estate, Oxford by net_efekt on flickr (licensed CC-BY)
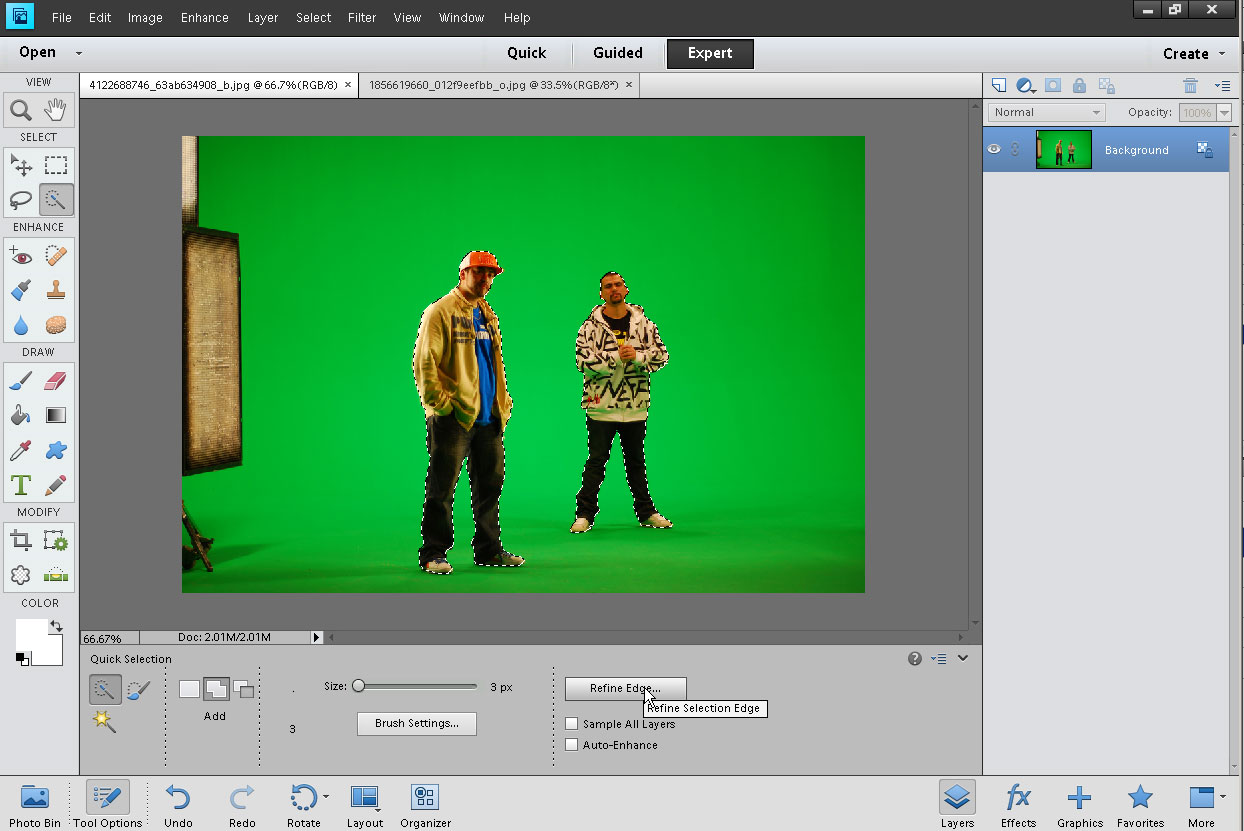
With the green screen photo active, we now need to select the background for removal. There are a number of different ways to do this, but for this example I'll use the quick selection tool.
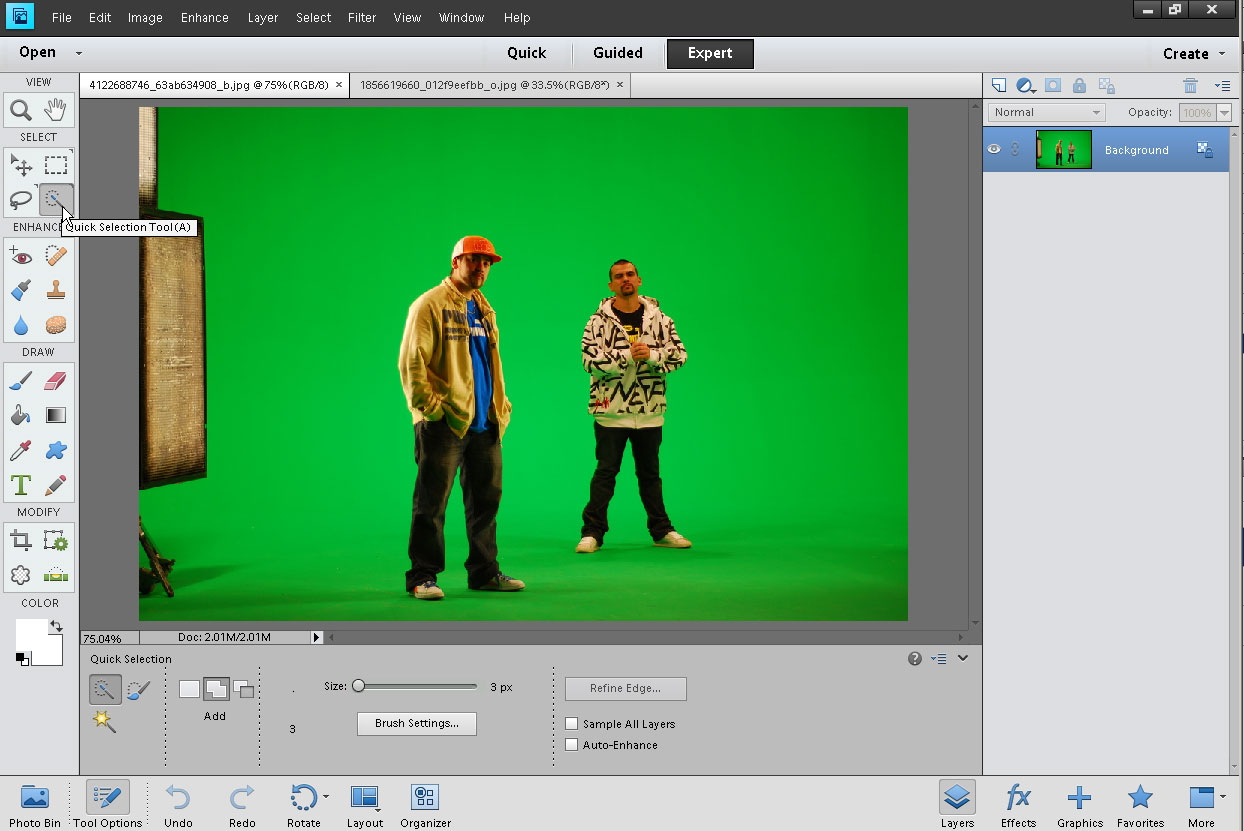
Brush the quick selection tool over the background, and you will see it picks up the background, surrounding it with 'marching ants'.
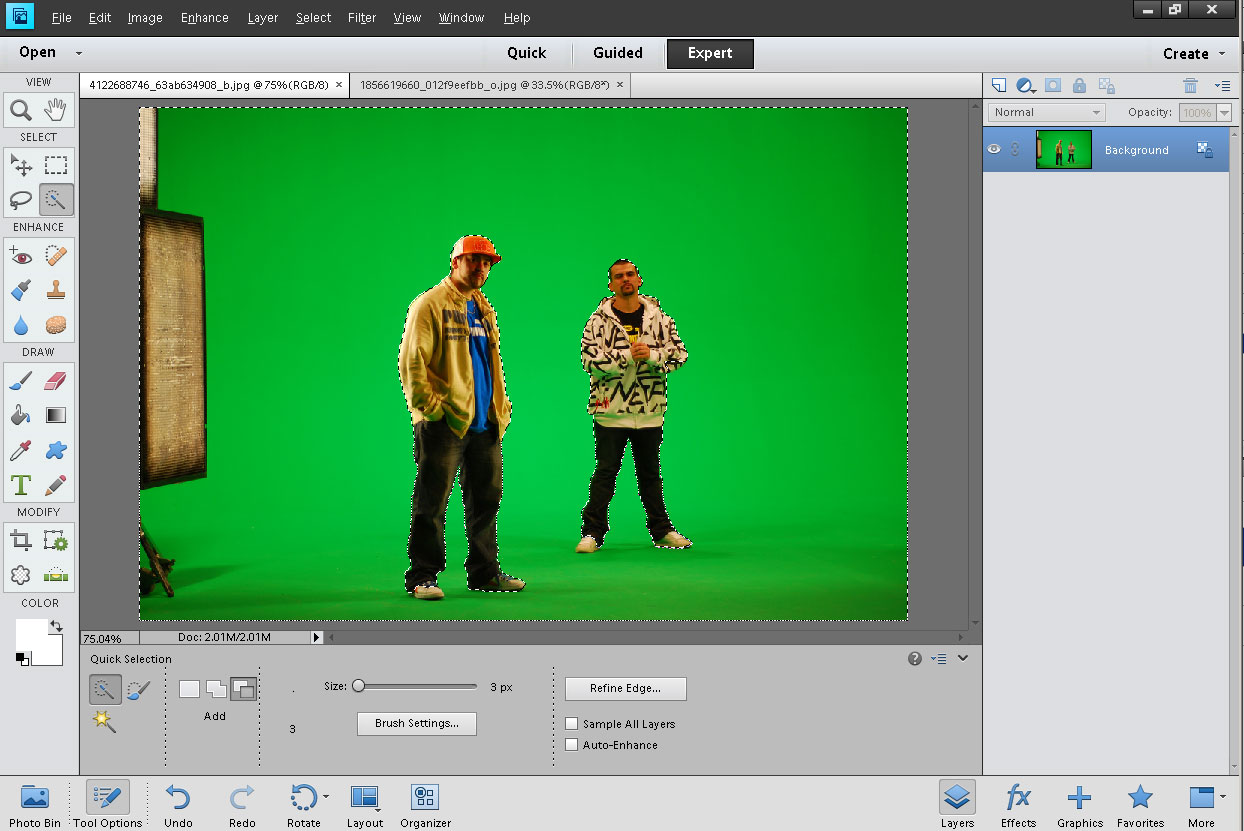
The selection isn't perfect though - as well as the background it's also picked up parts of their shoes, so it will need refining a bit. Zoom in and hold down the Alt / Option key while painting with the quick selection tool on their shoes. This reverses the tool to deselect the shoes.
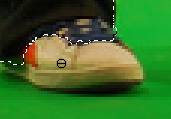
The quick selection tool changes to show a minus sign when you hold down the Alt / Option key to show it is now working as a quick deselection tool.
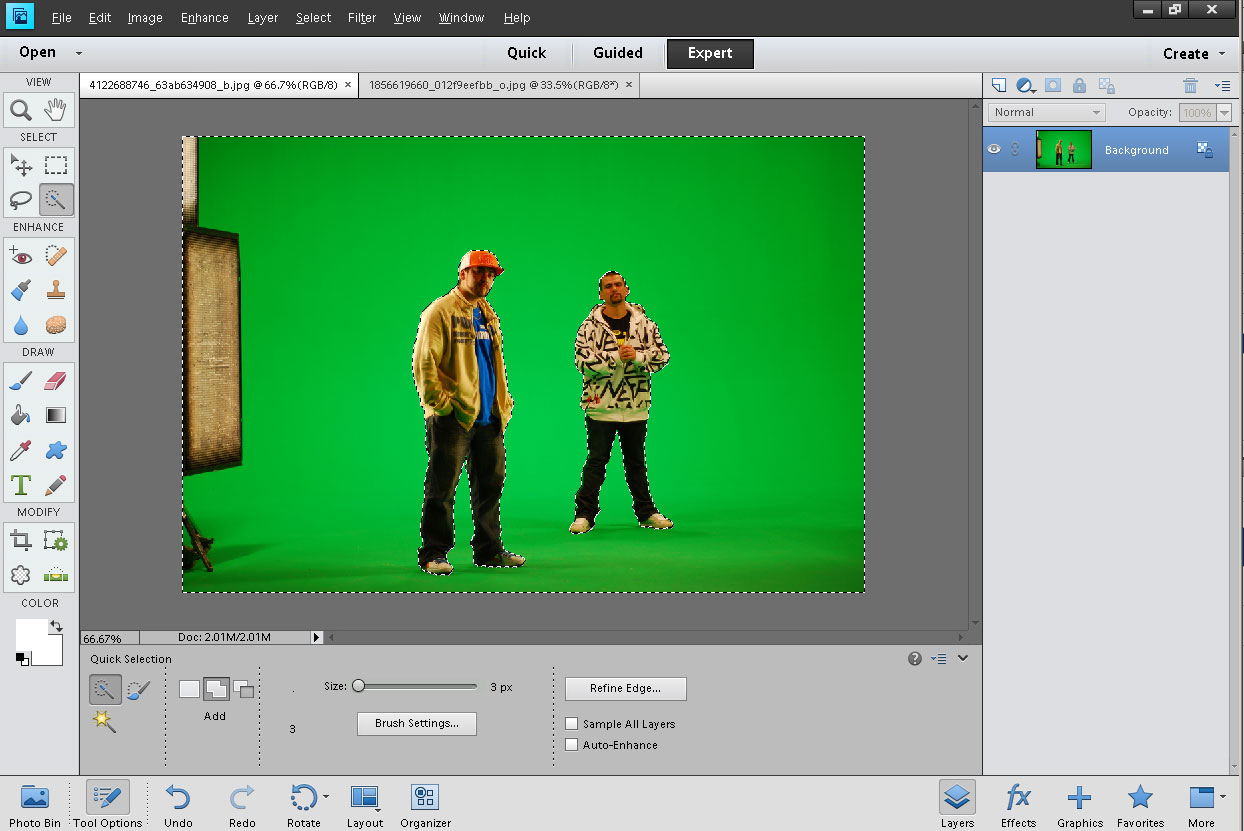
Once we have all the background selected but not our subjects, we need to refine the edge of the selection. At the moment we have the background selected, but the edge refinements will be easier with the subjects selected. Press Ctrl + Shift + I / Cmd + Shift + I to invert the selection. Then click on the 'Refine Edge...' button in the tool options palette.
The refine edge tool will open. It can be quite useful to zoom in on the photo so you can see clearly how any adjustments affect the image.
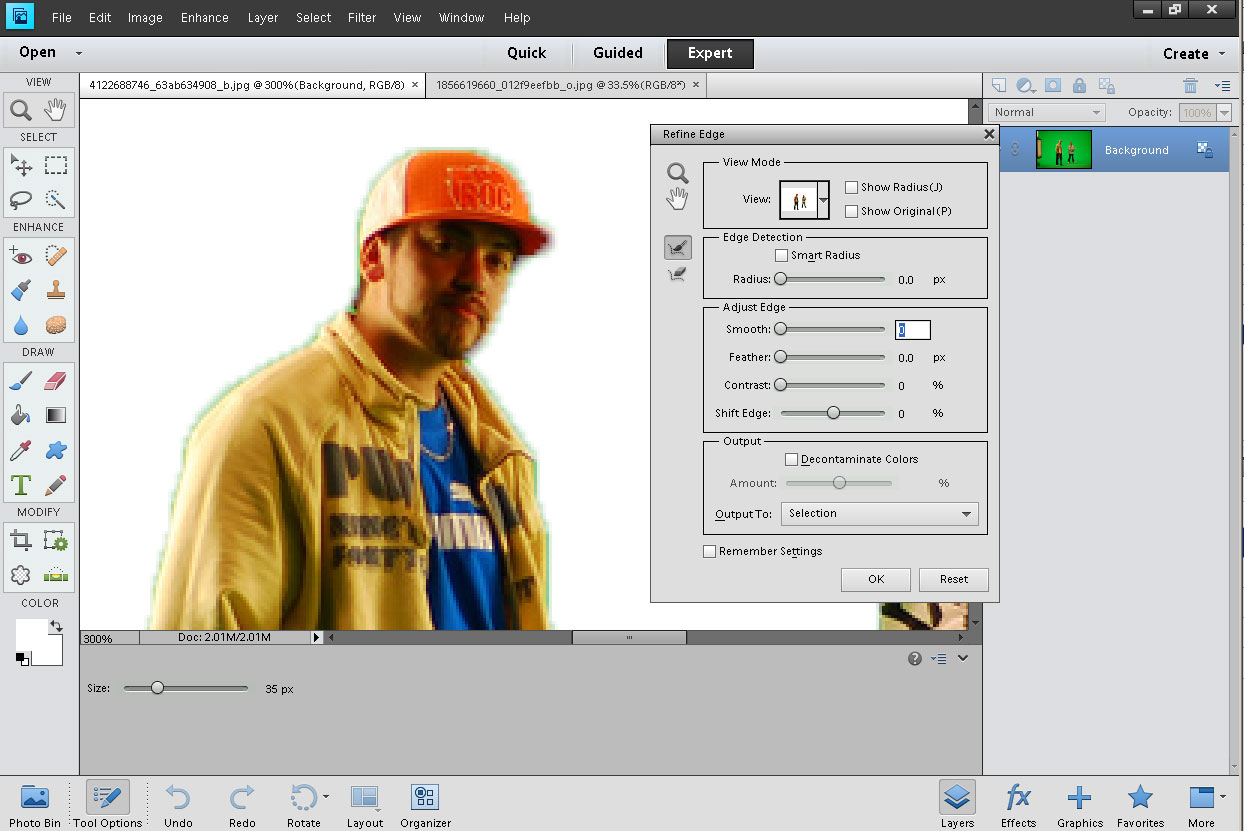
There are quite a few different options, the most useful one is the radius. Check smart radius, and then slowly increase the radius value. You should see the edge becomes smoother and better defined.
The decontaminate colors option at the bottom is very useful for green screen work as well. After adjusting the radius and checking decontaminate colors my selection looks a lot better.
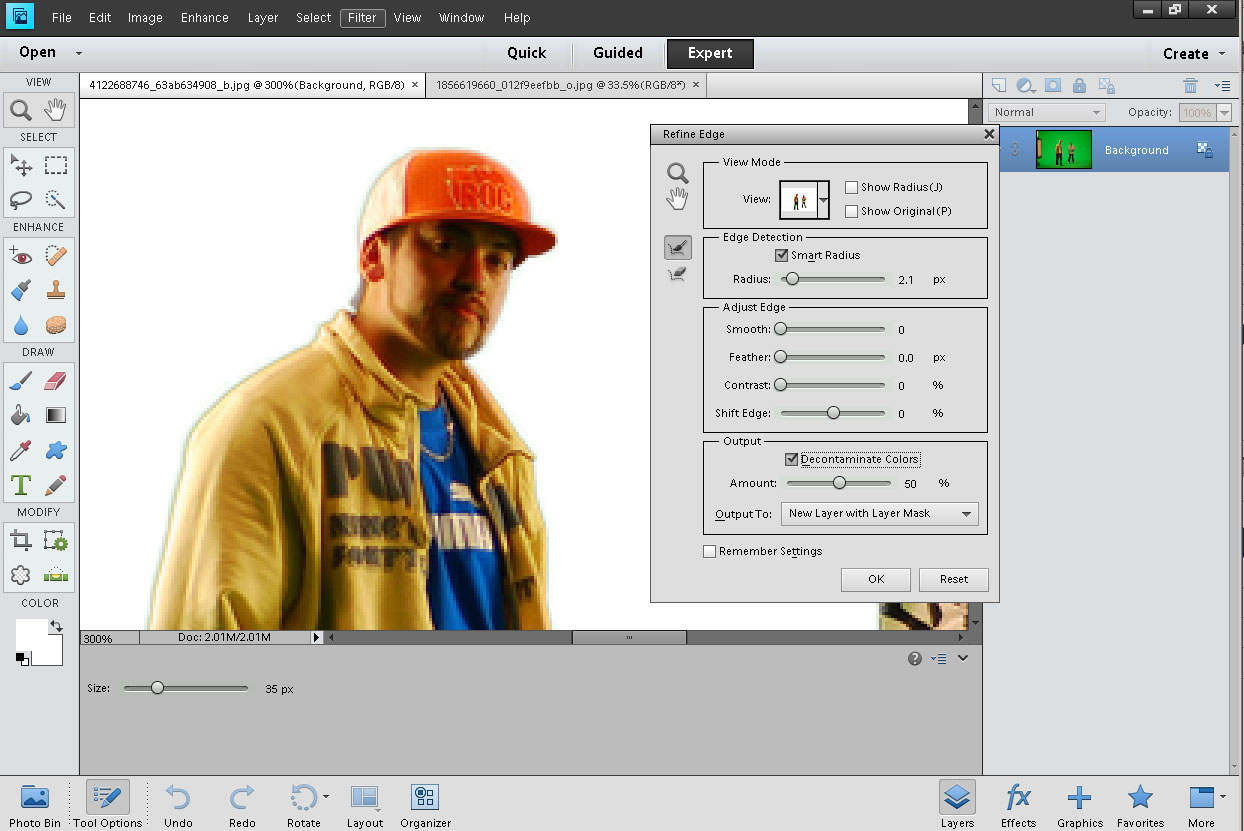
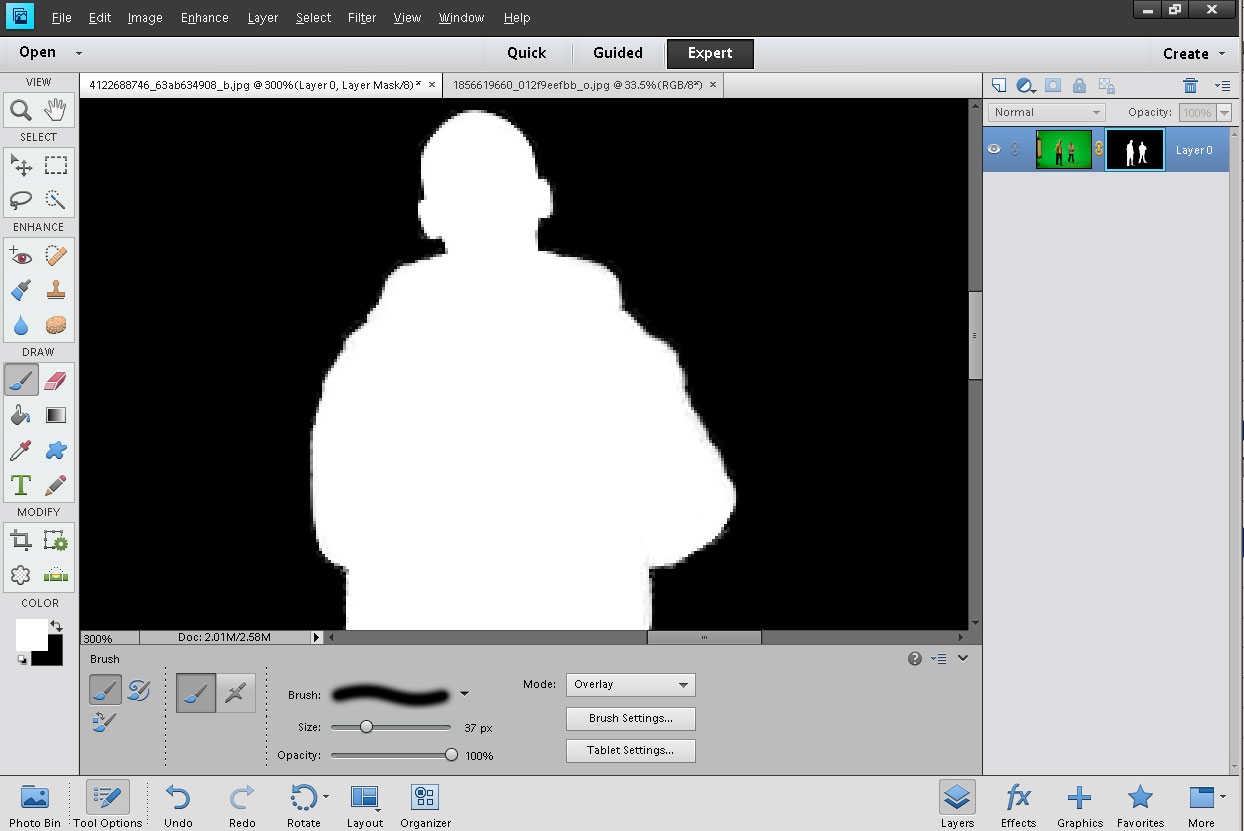
As the output to option, I selected layer mask. This then creates a layer mask for your background layer that masks out the background. You can view the layer mask by Alt / Option clicking on the mask in the layers palette.
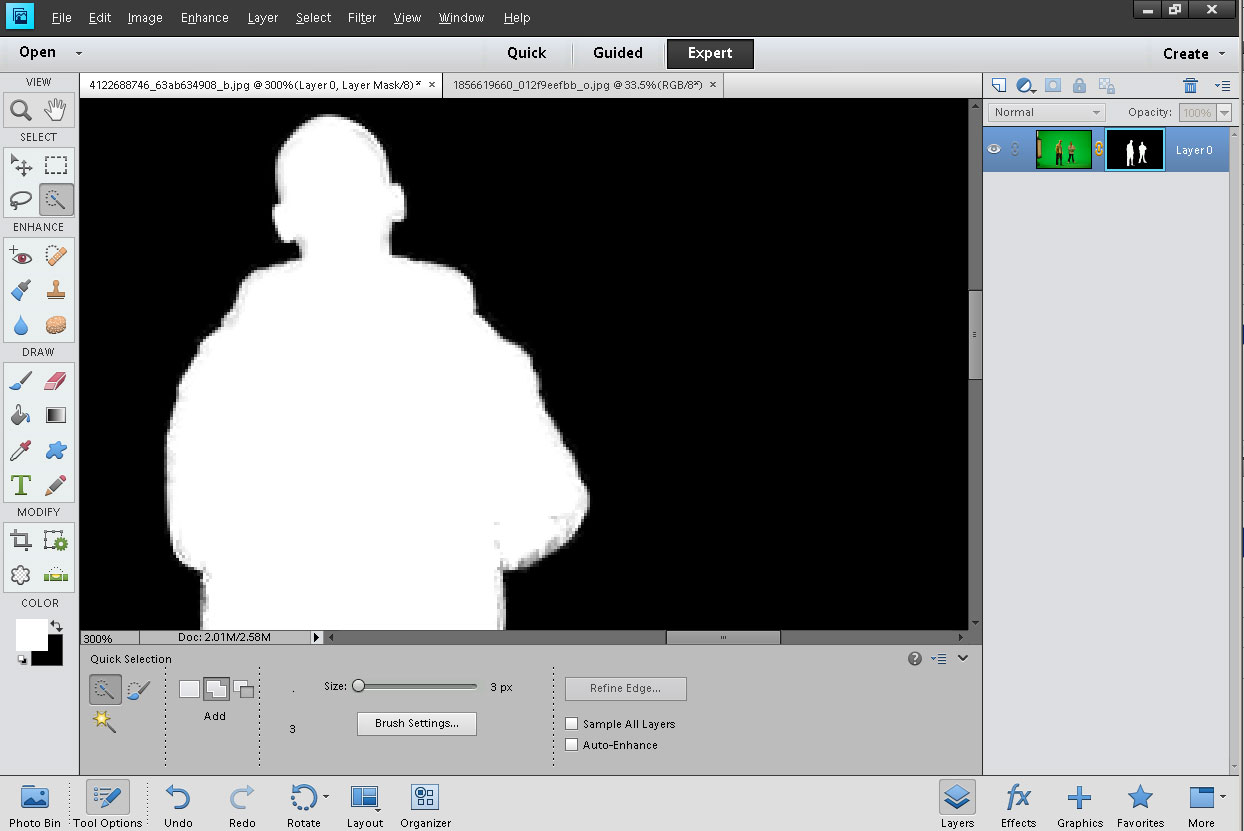
We can see the mask is not perfect. To fix it up, choose the paintbrush tool and set its blend mode to overlay.

To paint something in, use white as the foreground color and paint over the area. This will change a gray area of the mask (partially transparent) to white (fully opaque) without affecting black areas (completely transparent).
The opposite technique can be followed (painting with a black brush in overlay mode) if you have any gray areas that should be black.
Now let's move the image to our new background. Go to Window > Images > Tile on the top menu to show the photos side by side. In the layers palette click and drag your subject layer into the window with the background image.

This will drop the image into the background image as a new layer. You can close your subject photo now.
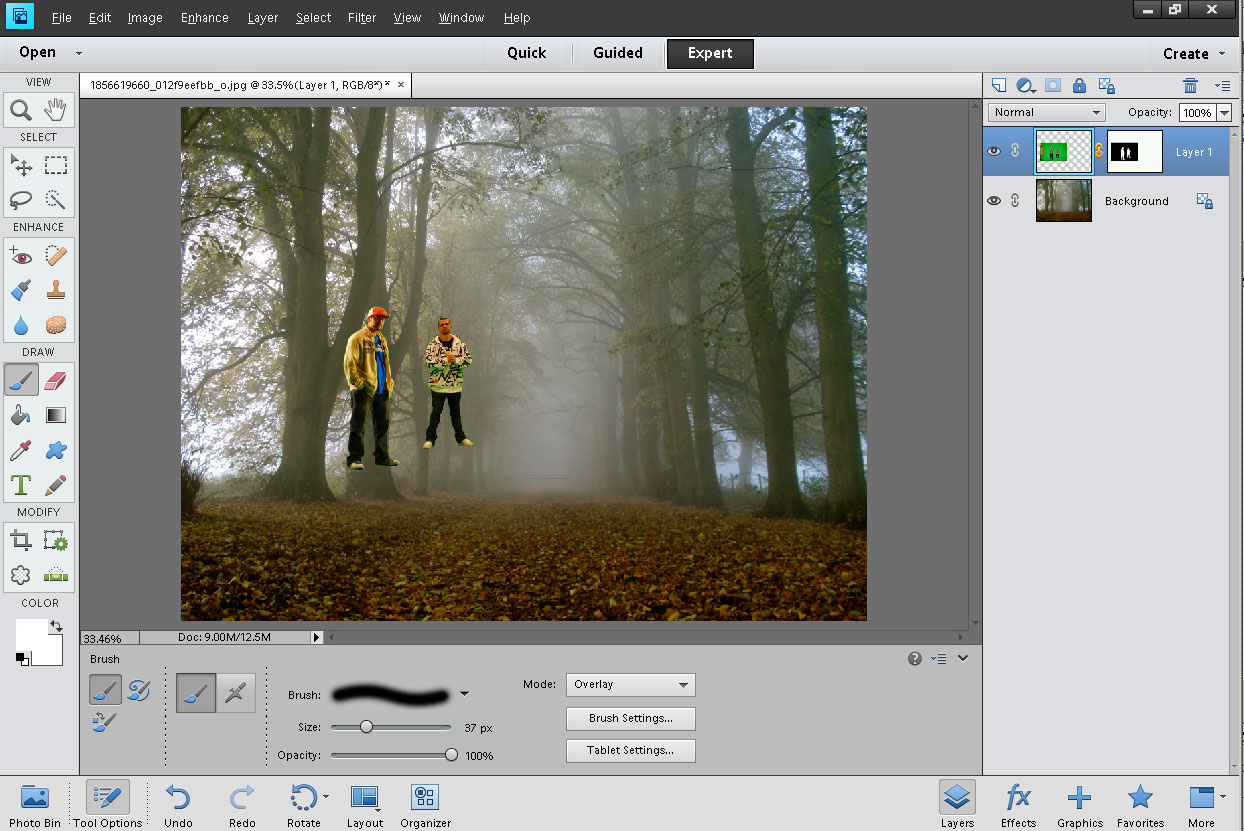
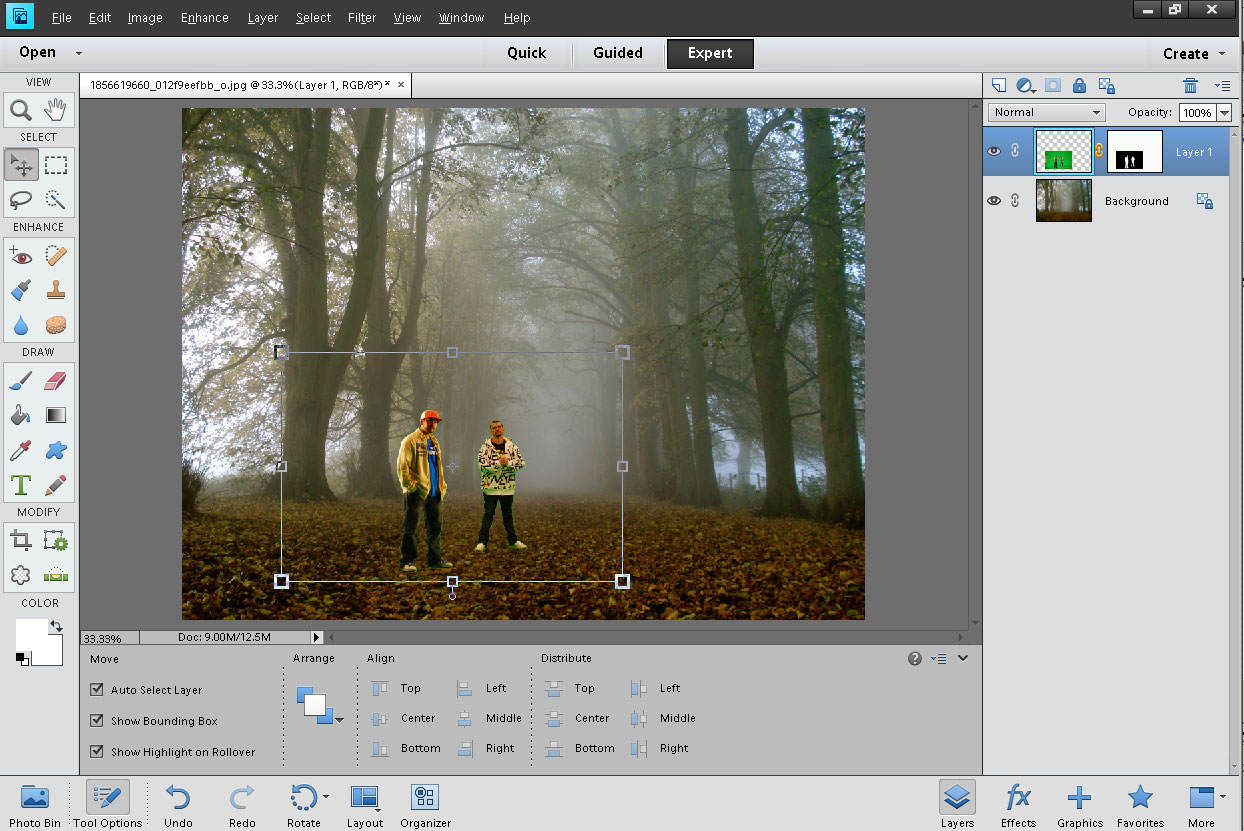
Resize and position your subject photo as wanted.
Our subjects have some green tint to their clothes caused by bounced light from the green screen, let's remove this. In the layer palette create a new Hue / Saturation adjustment layer. Clip the layer to the subject layer by Alt / Option clicking between the adjustment layer and the subject layer. The mouse cursor will change to show overlapping circles when you do this.
After the adjustment layer is clipped to the subject layer it will have a down facing arrow to its left.
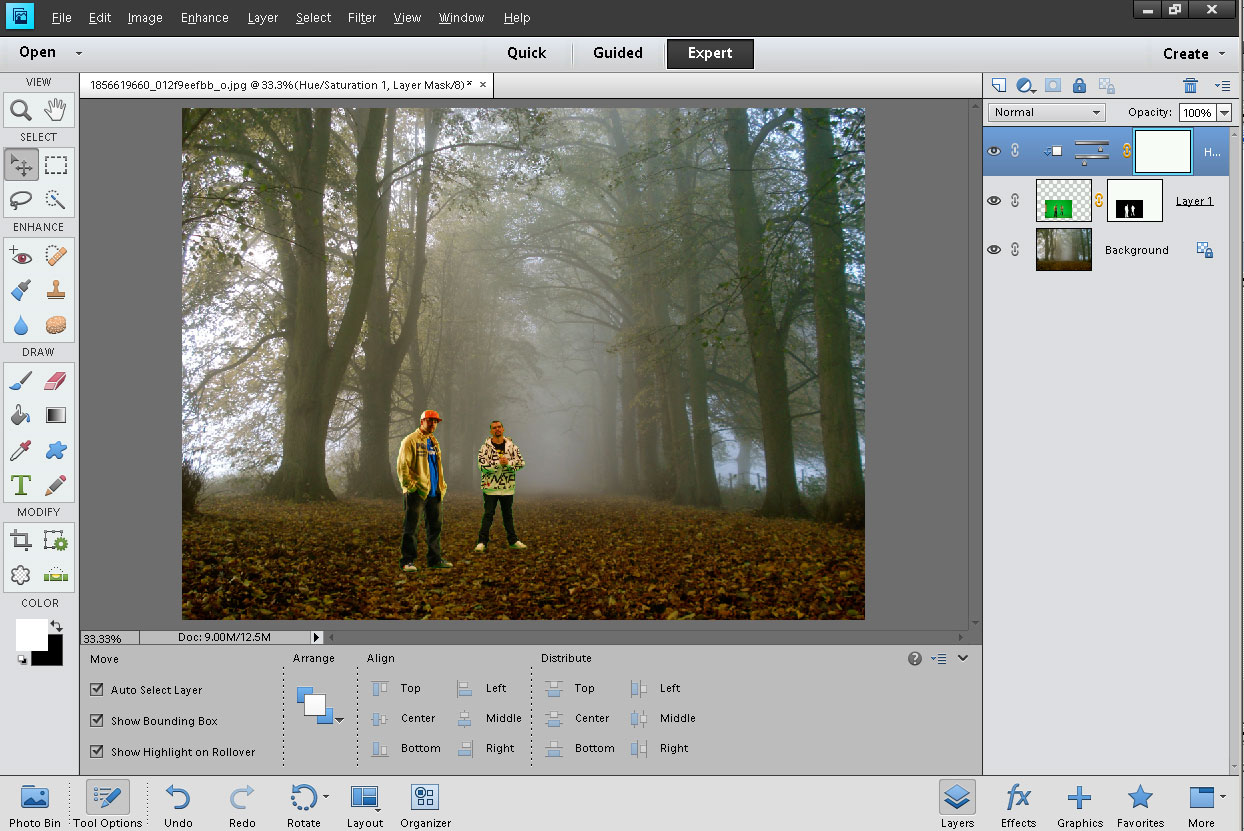
Double click on the Hue / Saturation adjustment layer to open the options. As the channel select Greens.

Any changes we make to the sliders will now only affect greens. An easy way to see what areas will be affected by the adjustment is to turn saturation up to +100. If it is not affecting all the areas that have a green tint, you can adjust the range of colors that are affected using the slider at the bottom of the options.
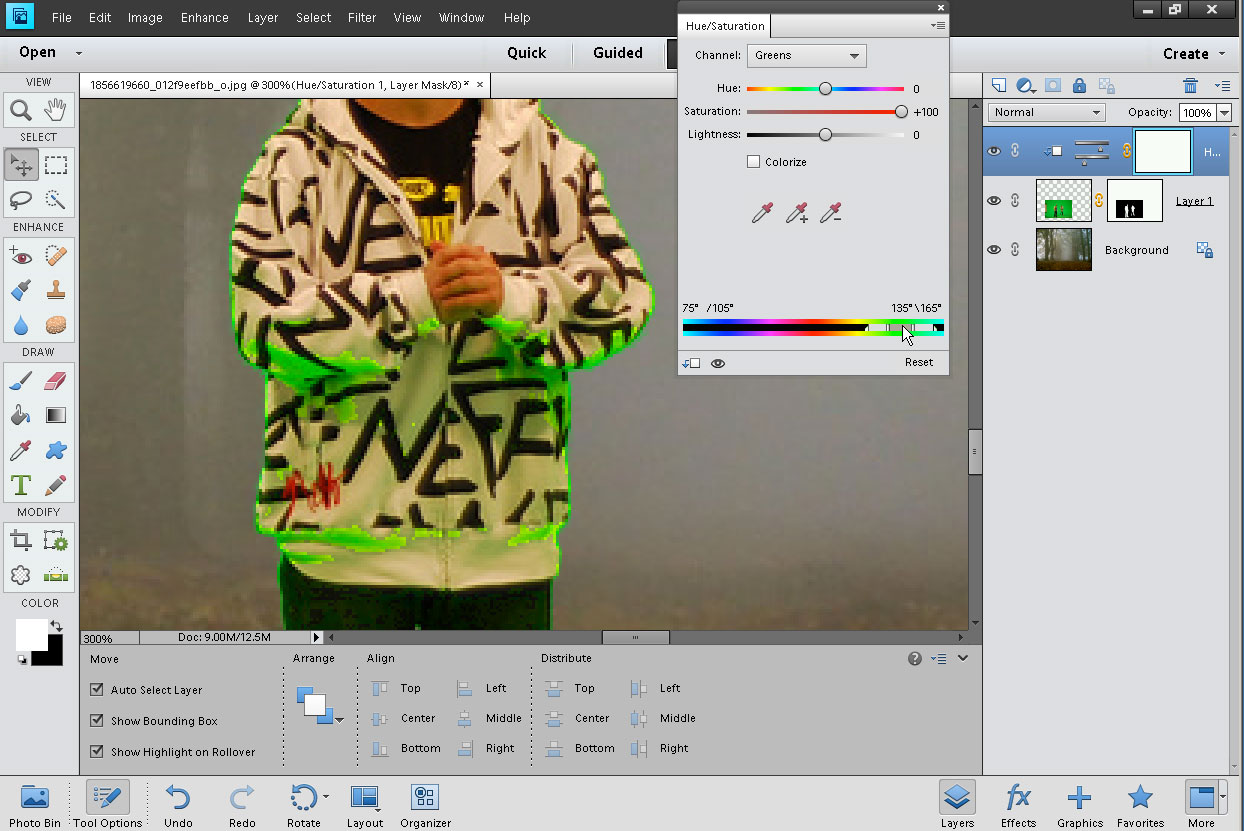
When you can see that the adjustment will be affecting the green tinted areas, turn the saturation back down to zero. Move the hue slider until the green tint has gone, or at least is not so obvious. Play with the saturation and lightness sliders as well until you find a good combination of settings for removing / reducing the green tint.

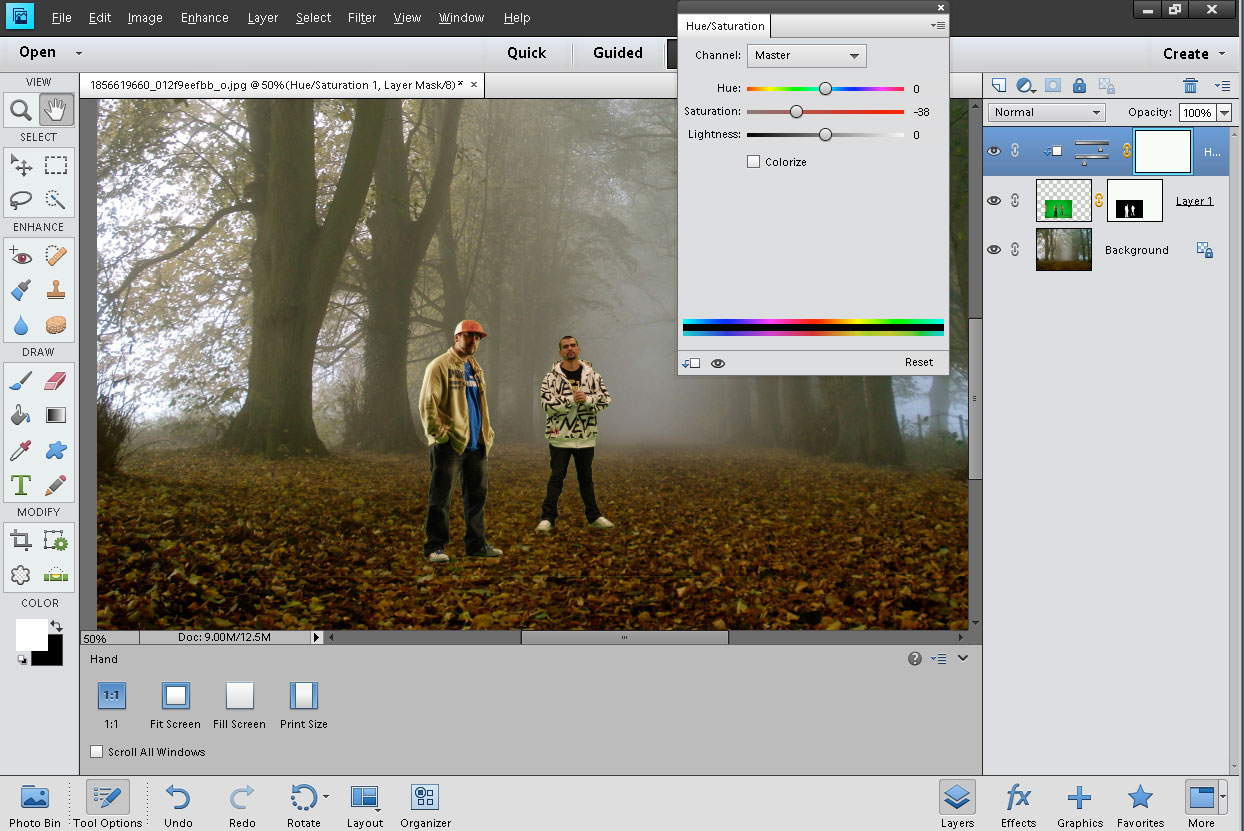
Our subjects don't quite fit in with the dull and misty tones of the background. To fix that change the channel in the Hue / Saturation adjustment back to master.

Next reduce the saturation a bit.
Your subject might also need color-correcting if they were photographed under a different temperature light source to that of the background photo. Adjusting the hue can sometimes work to fix this. Or adjusting the separate R, G, and B color curves can work well. You can read about how to do that here: Image editing – adjusting color with the curves tool.
For this particular image I think the color matches okay without any adjustments.
Our subjects look a little like they are floating in space, so the next step is to add some shadows. Create a new layer and place it between the background layer and the subject layer.
Select a soft brush with black paint and set the brush opacity quite low (approx 15%).
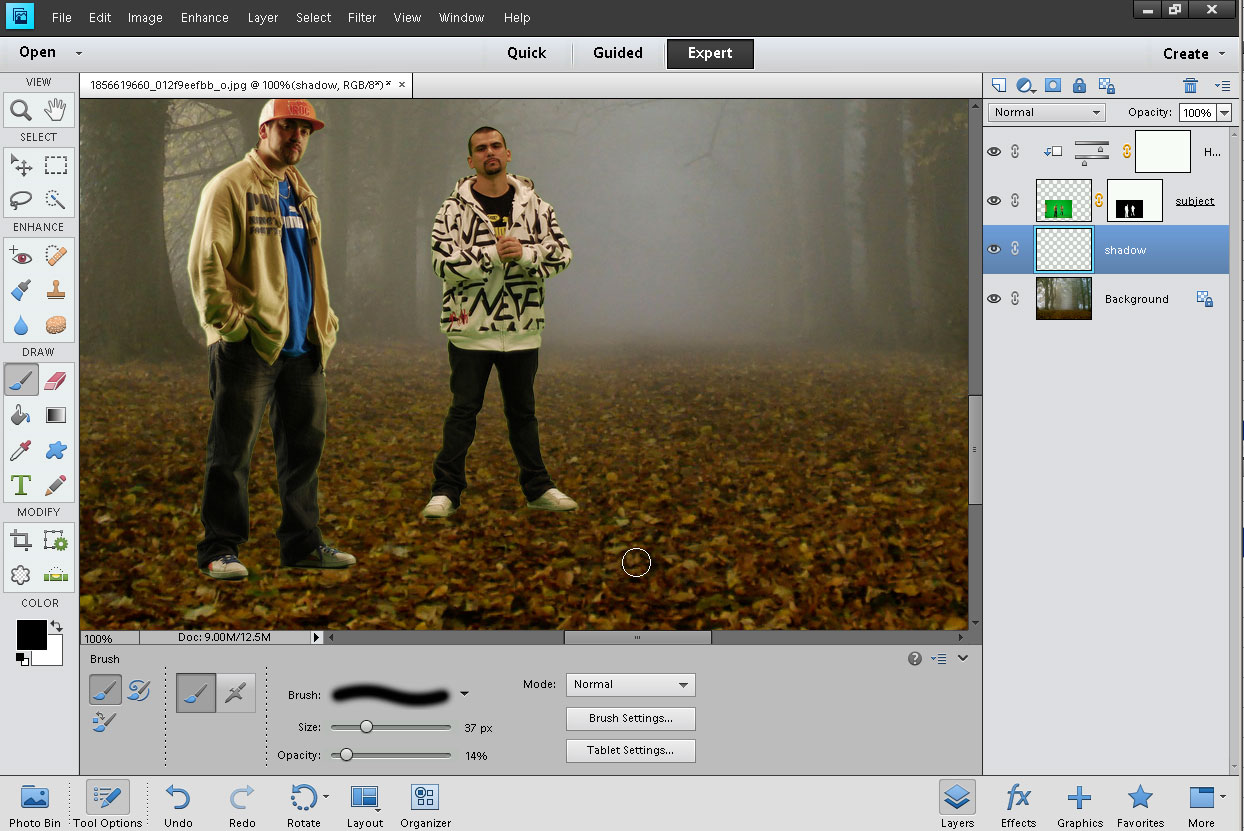
Use multiple strokes to paint in a shadow for the subject.
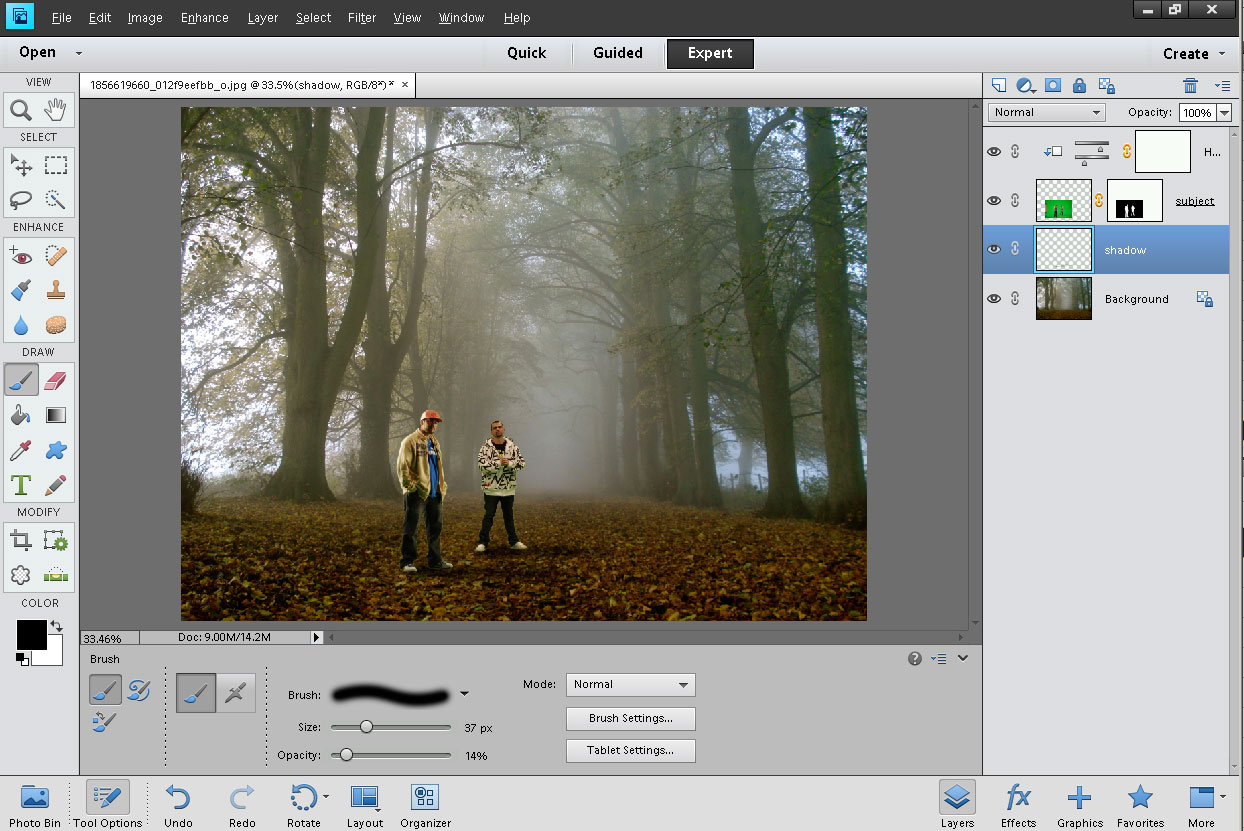
Note that if your background was taken in harsh daylight, then the shadows would be well defined, not soft. In that case you should use a brush with quite a hard edge, and 100% opacity. Draw the shadow as pure black and then reduce the opacity of the layer until the shadow has the correct amount of transparency.
Dealing with hair, semi transparent items, etc.
Long hair, frizzy hair, semi transparent material etc. can all be quite difficult to mask accurately. The full version of Photoshop has a Color Range selection tool that can be quite handy for dealing with these more difficult subjects.
However, most people will probably want to turn to a specialized masking / green screen software for this type of tricky image. While not impossible in software like Photoshop Elements, it will often be a lot of effort and take a lot of time to get a good result manually.


