Understanding Camera Settings For Better Photos
Got a new camera and wondering how all those different camera settings should be set for the best results? The good news is that just about all modern cameras will work resonably well with the settings set as they are straight out of the box. However, to really get the most from your camera, there are a few settings you should pay attention to.
In this article I'll cover the different settings for getting the best results. The settings available and setting locations in your camera's menu will vary between camera models, if you're not sure how to change a setting, check your camera's manual, or do a quick google search with the setting you want to change and your camera's model name.
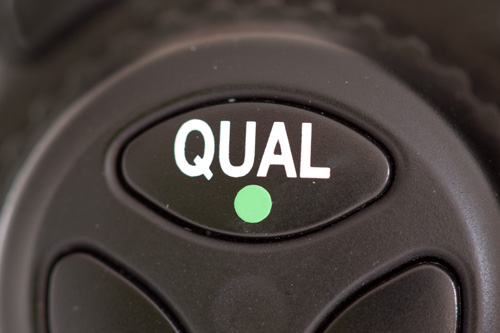
Image Quality
For the best image quality, set your camera to record in RAW rather than JPEG. RAW images contain much more information than JPEG files, and don't have settings like sharpness and white balance 'baked in'.
With a RAW file you can easily change the white balance to correct for a color cast on the computer. A RAW file also captures more highlight information, enabling you to pull back the highlights and reveal detail that was previously blown out pure white. See this article for more information: Why Use RAW Image Format?
Because of the extra information captured in a RAW file, they are also much more suited to post processing with image software. You can brighten shadows, increase or decrease saturation, etc. with much less chance of banding and artefacting that you can get when processing a JPEG file.
Metering
The metering mode determines how your camera decides to set the exposure when using an auto exposure mode. Most camera models have three metering modes - spot, center weighted, and matrix or evaluative metering.
Spot metering uses only a small spot at the center of the frame to determine the exposure. Center weighted uses the whole frame with an emphasis on the center of the frame. Matrix or evaluative metering uses the whole scene and guesses at what the exposure should be based on a built-in database of values. This is the mode you will want to use for the large majority of photos.
Autofocus
Most cameras have a range of autofocus modes. Single servo autofocus (AF-S) will focus on the subject, then stop focusing once focus has been achieved. This is best for static subjects. Continuous servo autofocus (AF-C) will focus on the subject, then continually adjust focus, keeping a moving subject in focus.
Manual focus, like it sounds, means you focus by turning the focus ring on the lens yourself. This is best when photographing close subjects where autofocus can struggle, such as in macro photography.
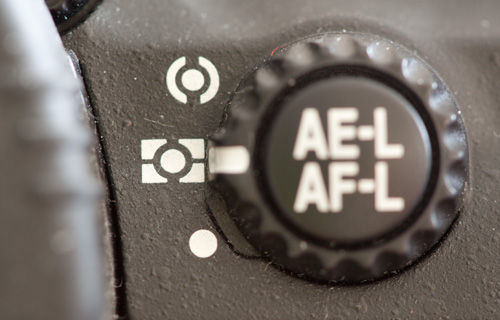
As well as choosing the autofocus mode, you can choose the autofocus point. You can usually see the point being used in the camera's viewfinder, and use controls on the camera to change the active AF point.
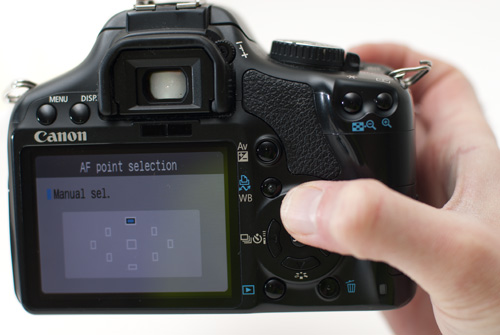
Single point autofocus means the camera uses a single point for determing where the focus should be. This is best for static subjects, or moving subjects where you can reliably keep the point over your subject in the viewfinder.
Dynamic area autofocus uses a point, and also the points around it. This is best for moving subjects where it is difficult to keep a AF single point locked on the subject.
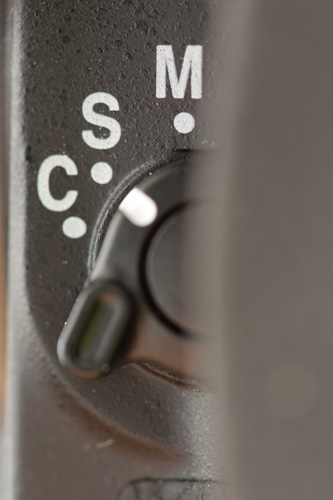
Drive mode
The drive mode affects how many photos your camera will take in quick succession if you hold the shutter button down. Single (S) is the standard drive mode, where the camera will take one shot and no more. This is best for most situations and prevents you accidentally taking extra photos, filling up your memory card, because you held the shutter button for slightly too long.
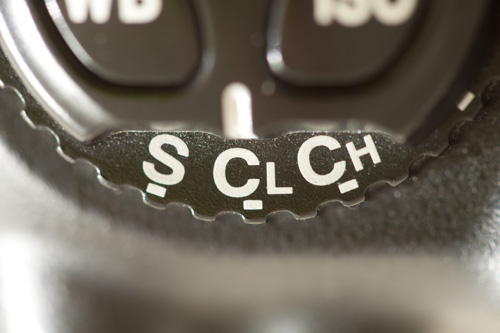
Continuous Low (CL) will keep taking shots if you hold the button down. It varies between cameras, but 3 frames per second is a usual setting for the continuous low drive mode. Continuous high (CH) meanwhile, will usually take many more shots per second, e.g. 7 frames per second is becoming more common.
Cameras can take shots faster than they can write the images to the memory card. The shots are stored in an internal buffer while they are waiting to be written to the card. Take too many shots too quickly, and the buffer will fill up, meaning you can't take any more shots. Because the continuous low (CL) drive mode takes less shots per second than continuous high (CH), CL can take more shots before you run the risk of the buffer filling up.
Two other settings often included with the drive modes are Self Timer and Mirror-up. Self timer will take a shot x seconds after you press the shutter button. Usually you can choose between 5, 10, and 15 seconds delay. This allows you to take photos with yourself as the subject.
Mirror-up is a mode found on DSLRs that lifts the internal mirror up on one press of the shutter, and then takes the photo on a second press. The mirror flipping up before an exposure can cause some vibration, so this mode allows time for the vibrations to dissipate before you press the shutter again to take the actual photo. Mirror-up mode is often used with the camera on a tripod for landscape photography.
Exposure mode
The exposure modes are a big part of controlling how your photos look. Many cameras have various scene modes, but it is safe to ignore these. What you want to look at is the Aperture Priority (A or Av), Shutter Priority (S or Tv), Manual (M), and Program auto (P) modes. These are usually found on a mode dial at the top of the camera.
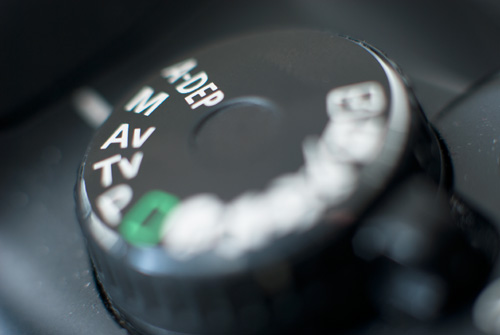
Aperture priority lets you set the aperture, while the camera automatically adjusts the shutter speed for a good exposure. This mode is best where you want to select the depth of field, use a large aperture e.g. f/2.8 for shallow depth of field, or a small aperture e.g. f/8 to get most of the image in focus. Aperture priority is the mode you will probably want to be in most of the time.
Shutter priority mode is suitable for action photography where you want to use a fast shutter speed to freeze the action. It allows you to set the shutter speed you want while the camera automatically sets the aperture for the correct exposure.
Manual mode allows you to set both the aperture and shutter speed. This is the best mode to use when you want to precisely control the exposure yourself rather than letting the camera decide.
Program mode is where the camera automatically sets both the aperture and shutter speed. This is the same as most basic compact cameras.
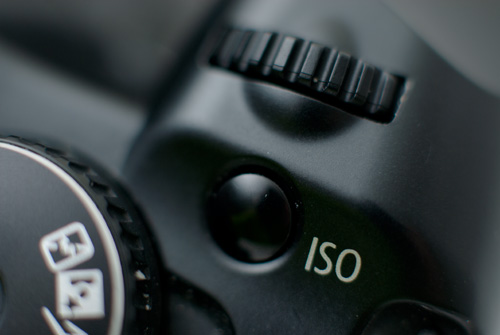
ISO
The ISO setting allows you to adjust the light sensitivity of your camera's sensor. By increasing the ISO you increase the light sensitivity, allowing you to use a smaller aperture or faster shutter speed without affecting the exposure. You can read more about ISO in this article: Photography Basics – ISO.
White Balance
White balance is used to adjust the color that appears as neutral in your photos. Tungsten light naturally has a very warm yellow tone, so you can set the white balance setting to tungsten to neutralize the orange cast.

Fluorescent light meanwhile tends to have a green cast. So the white balance needs to be set to fluorescent to prevent everything appearing greenish when shooting under fluorescent light.

Example photo taken under tungsten light with white balance set to daylight

Setting the white balance correctly to tungsten removes the orange cast from the photo
As per the first point of this article, if you are shooting JPEG, then it is important to try and set the correct white balance mode before taking the shot. If shooting RAW, it is still best to do this, but not essential since you can change the white balance setting of a RAW file after the fact.
I hope these tips on camera settings have been helpful. It is not possible to go into great detail on all the possible settings in one article, but the above should give you a good overview of the main settings and what they mean. Now get out there and take some photos!


