High angle photography tips
High angle photography is probably not a technique you'll use very often, but it can come in handy for certain types of shot. It requires you to get up above your subject, and then shoot down on them. Depending on the location, you might be able to get up on a table or chair, or you might have to bring a step ladder with you.
The main use for high angle photography is probably the group shot. In some situations it is not possible to have a large group line up with the people further back higher up than the ones at the front. In this case a high angle shot is the best way to include everyone in the photo.
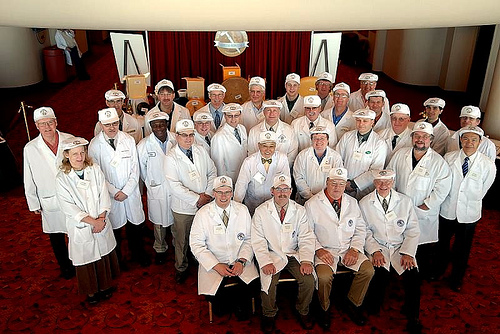
by M e l o d y on flickr (licensed CC-BY-ND)
Even if it is possible to line up the group with those at the back higher than those at the front, a high angle shot can give a very different dynamic to a standard eye level shot.
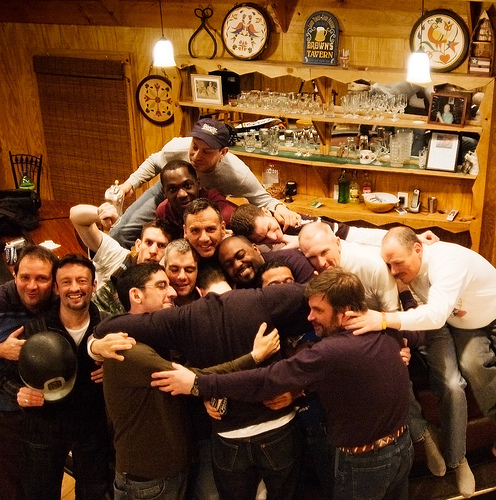
Group Hug by David Goehring on flickr (licensed CC-BY)
When taking a high angle photograph, be careful not to get too wrapped up in the photographic process and remember your safety. Be aware of leaning to one side too much to try and get the shot in case you or the object you're standing on topples over. Better to be careful than risk hurting yourself and damaging your camera.
High angle shots can also be used for standard portrait photography. By having your subject look up at you, the high angle helps keep focus on the face, while throwing the rest of the body out of focus.

Cheryl by Ken on flickr (licensed CC-BY)
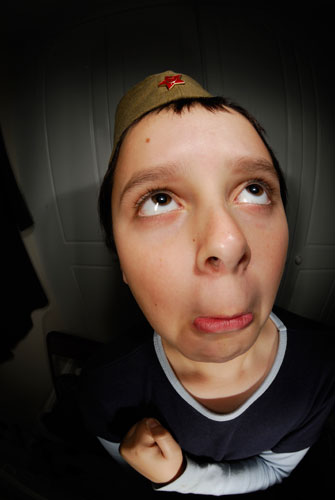
Using a wide-angle lens for a portrait in this fashion can give a distorted effect, where the subject's head appears much larger than the rest of their body. Usually this effect will not be wanted, but it can make for some fun photos.
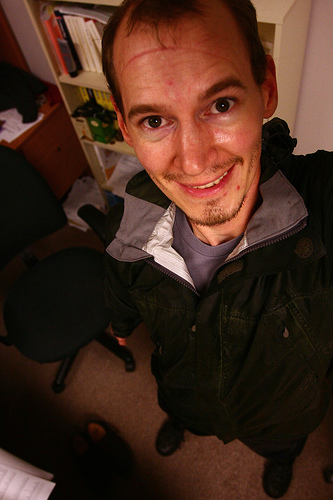
12/30 by Martin Cathrae on flickr (licensed CC-BY-SA)
This effect will become even more extreme if using a fisheye lens.
Looking down from a building can also make for some great street photography. Your subjects are less likely to be aware that they are being photographed if you are photographing them from above. This results in more natural poses and action.
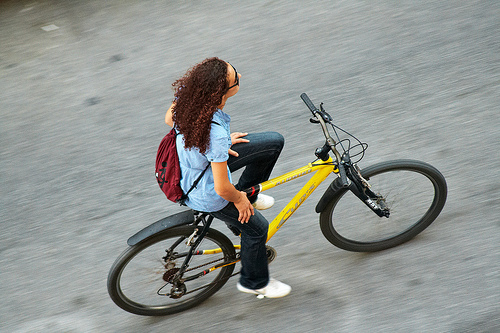
Bike Panning by Miguel Checa on flickr (licensed CC-BY-ND)
Although you will be less likely to capture people's faces and expressions when shooting street / candid photography from above, you can capture their actions and placement in the environment around them. Shooting down on a subject can be used to create a sense of solitude and isolation if there are no other people in the frame.
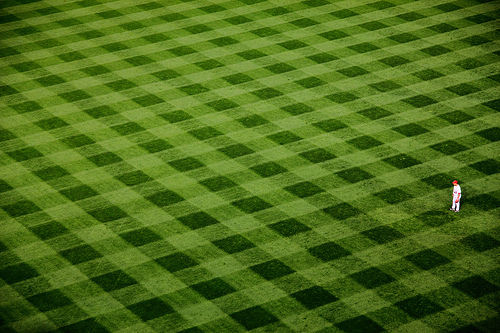
IMG_0960.jpg by Michael on flickr (licensed CC-BY)
Look for lines and objects around that help create a strong composition. Sometimes you may find what looks like it could be a strong shot, and then have to patiently wait until someone walks into the correct position to complete the photo.

PsycoInter by isabella on flickr (licensed CC-BY-SA)
For high angle shots in busy areas where it isn't possible to get up at a higher angle, or enough room to set up a step ladder, you still have a couple of options. The first is to just hold the camera up above your head and point it down at your subject. If your camera has a vari-angle screen this can be very useful in this situation to allow you to see what the camera is looking at and adjust your composition accordingly.
The second option is to use a monopod, and place the base of the monopod in a belt pouch or your pocket. With the camera mounted at the top of the monopod, adjust the camera so that it will be pointing down towards your subject, and then extend the monopod. As you won't be able to reach the camera's controls when the monopod is extended, you would either need to activate the camera's timed shutter release before you extend the monopod, or use a remote shutter release cable.
By gripping onto the shaft of the monopod while holding it against your body and pushing it down into the pouch / pocket, you should be able to keep it fairly steady. This technique can come in handy when trying to photograph large crowds. The stability of the monopod technique over holding the camera up with your hands is especially useful if shooting in dim conditions or at night, allowing for longer shutter speeds before camera movement blurs the photo.
Using a monopod in this way also allows you to get the camera up higher than if you were holding the camera in your hands. The disadvantage is that if you want to adjust the angle of the camera you will have lower the monopod, make the adjustment as a best guess, and then extend the monopod again. If you do use a monopod in this way, be very careful to keep a tight grip on it, as you don't want it falling over and hurting someone or damaging the camera.


